Dell’s XPS line consists of high-end desktops and laptops. The desktops live up to their reputation and are pretty reliable. The laptops aren’t bad either, but one recurring issue I’ve seen with XPS laptops is that they don’t turn on.
Troubleshooting a Dell XPS laptop that doesn’t turn on is usually pretty easy though, thanks to the diagnostic indicators. The pattern of the LEDs and beeps will point you to the exact component that has failed.

I’ll first cover cases where the laptop doesn’t show any signs of power at all. If the laptop at least powers on, you can skip ahead to the Diagnostic Indicators section.
Drain Residual Charge
When you press the power button, the PSU sends aPWR_OKsignal to the motherboard to indicate that it’s safe to boot. Sometimes, the capacitors in the components store static charge which blocks this signal andprevents your system from booting.
Draining this residual flea power, as Dell calls it, gets the laptop working again in most cases. There are a couple of ways to do this. On laptops with removable batteries, you may perform a hard reset with the following steps:

On laptops that have a non-removable battery, you may perform a Real-Time Clock (RTC) reset instead:
Check Power Components
If the device showsno signs of power at all(no fans, beeps, LEDs, etc.), one of the components is likely dead.
Check Diagnostic Indicators
If the laptop at least powers on and tries to POST, there should be some indication as to what the issue is (LEDs, beeps, etc.). I recommend checking the blinking pattern of the LEDs first.
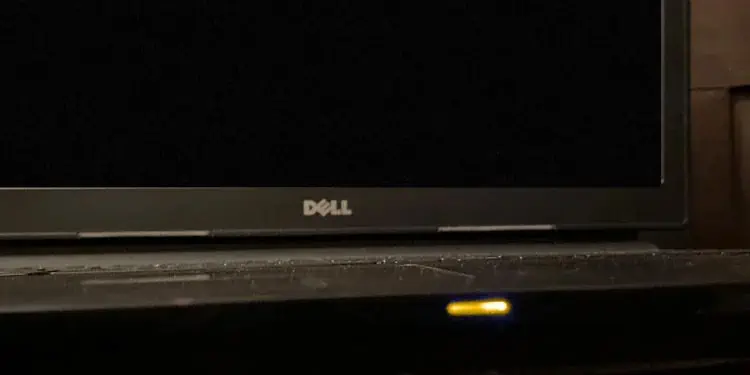
Let’s say the LED blinks Amber two times, pauses for 1.5 seconds, then blinks white three times. The LED code here is 2,3 (Amber – 2, White – 3). This pattern will keep repeating every three seconds.

you may check thisreference guide from Dellor your device manual to understand what the code is indicating and what you can do to fix it. The same applies if your device is producing audible beeps. Simply note the number of beeps and check theBeepssection in the linked guide.
After referencing the guide, you’ll need to take appropriate steps to fix the root problem. This can range from BIOS reset or recovery to reseating or replacing certain components. We have adetailed article covering such fixeswith step-by-step instructions that you may find helpful going forward.

Troubleshoot Faulty Components
You should know what the exact issue is thanks to the diagnostic indicators. For instance, the 2,3 LED code from earlier indicates that no memory was detected. You can usually fix this by reseating the RAM.
But there will be other cases where you need to replace faulty components with new ones. I’ll cover how you can replace the CMOS battery as an example here as I’ve foundCMOS battery failureto be one of the most common reasons for this issue.
You can replace other components in a similar manner as required. I recommend referring to your device’s service manual/owner’s manual for this, as you’ll find step-by-step instructions with pictures of your exact device model and components. You can always take the device to the service center too if you’re worried that you’ll damage the hardware.


