Tom’s Hardware Verdict
Valkyrie’s SYN 360 features exquisite packaging and uniquely upgradable storage. But its high price and unpolished software make it hard to recommend against competitors.
2.1-inch programmable display
32 GB of removable storage (SD Card)
Included ARGB and PWM hub

Five-year warranty
High price of $209.99 USD
Clunky software feels like a beta release
Why you can trust Tom’s HardwareOur expert reviewers spend hours testing and comparing products and services so you can choose the best for you.Find out more about how we test.
Features and Specifications
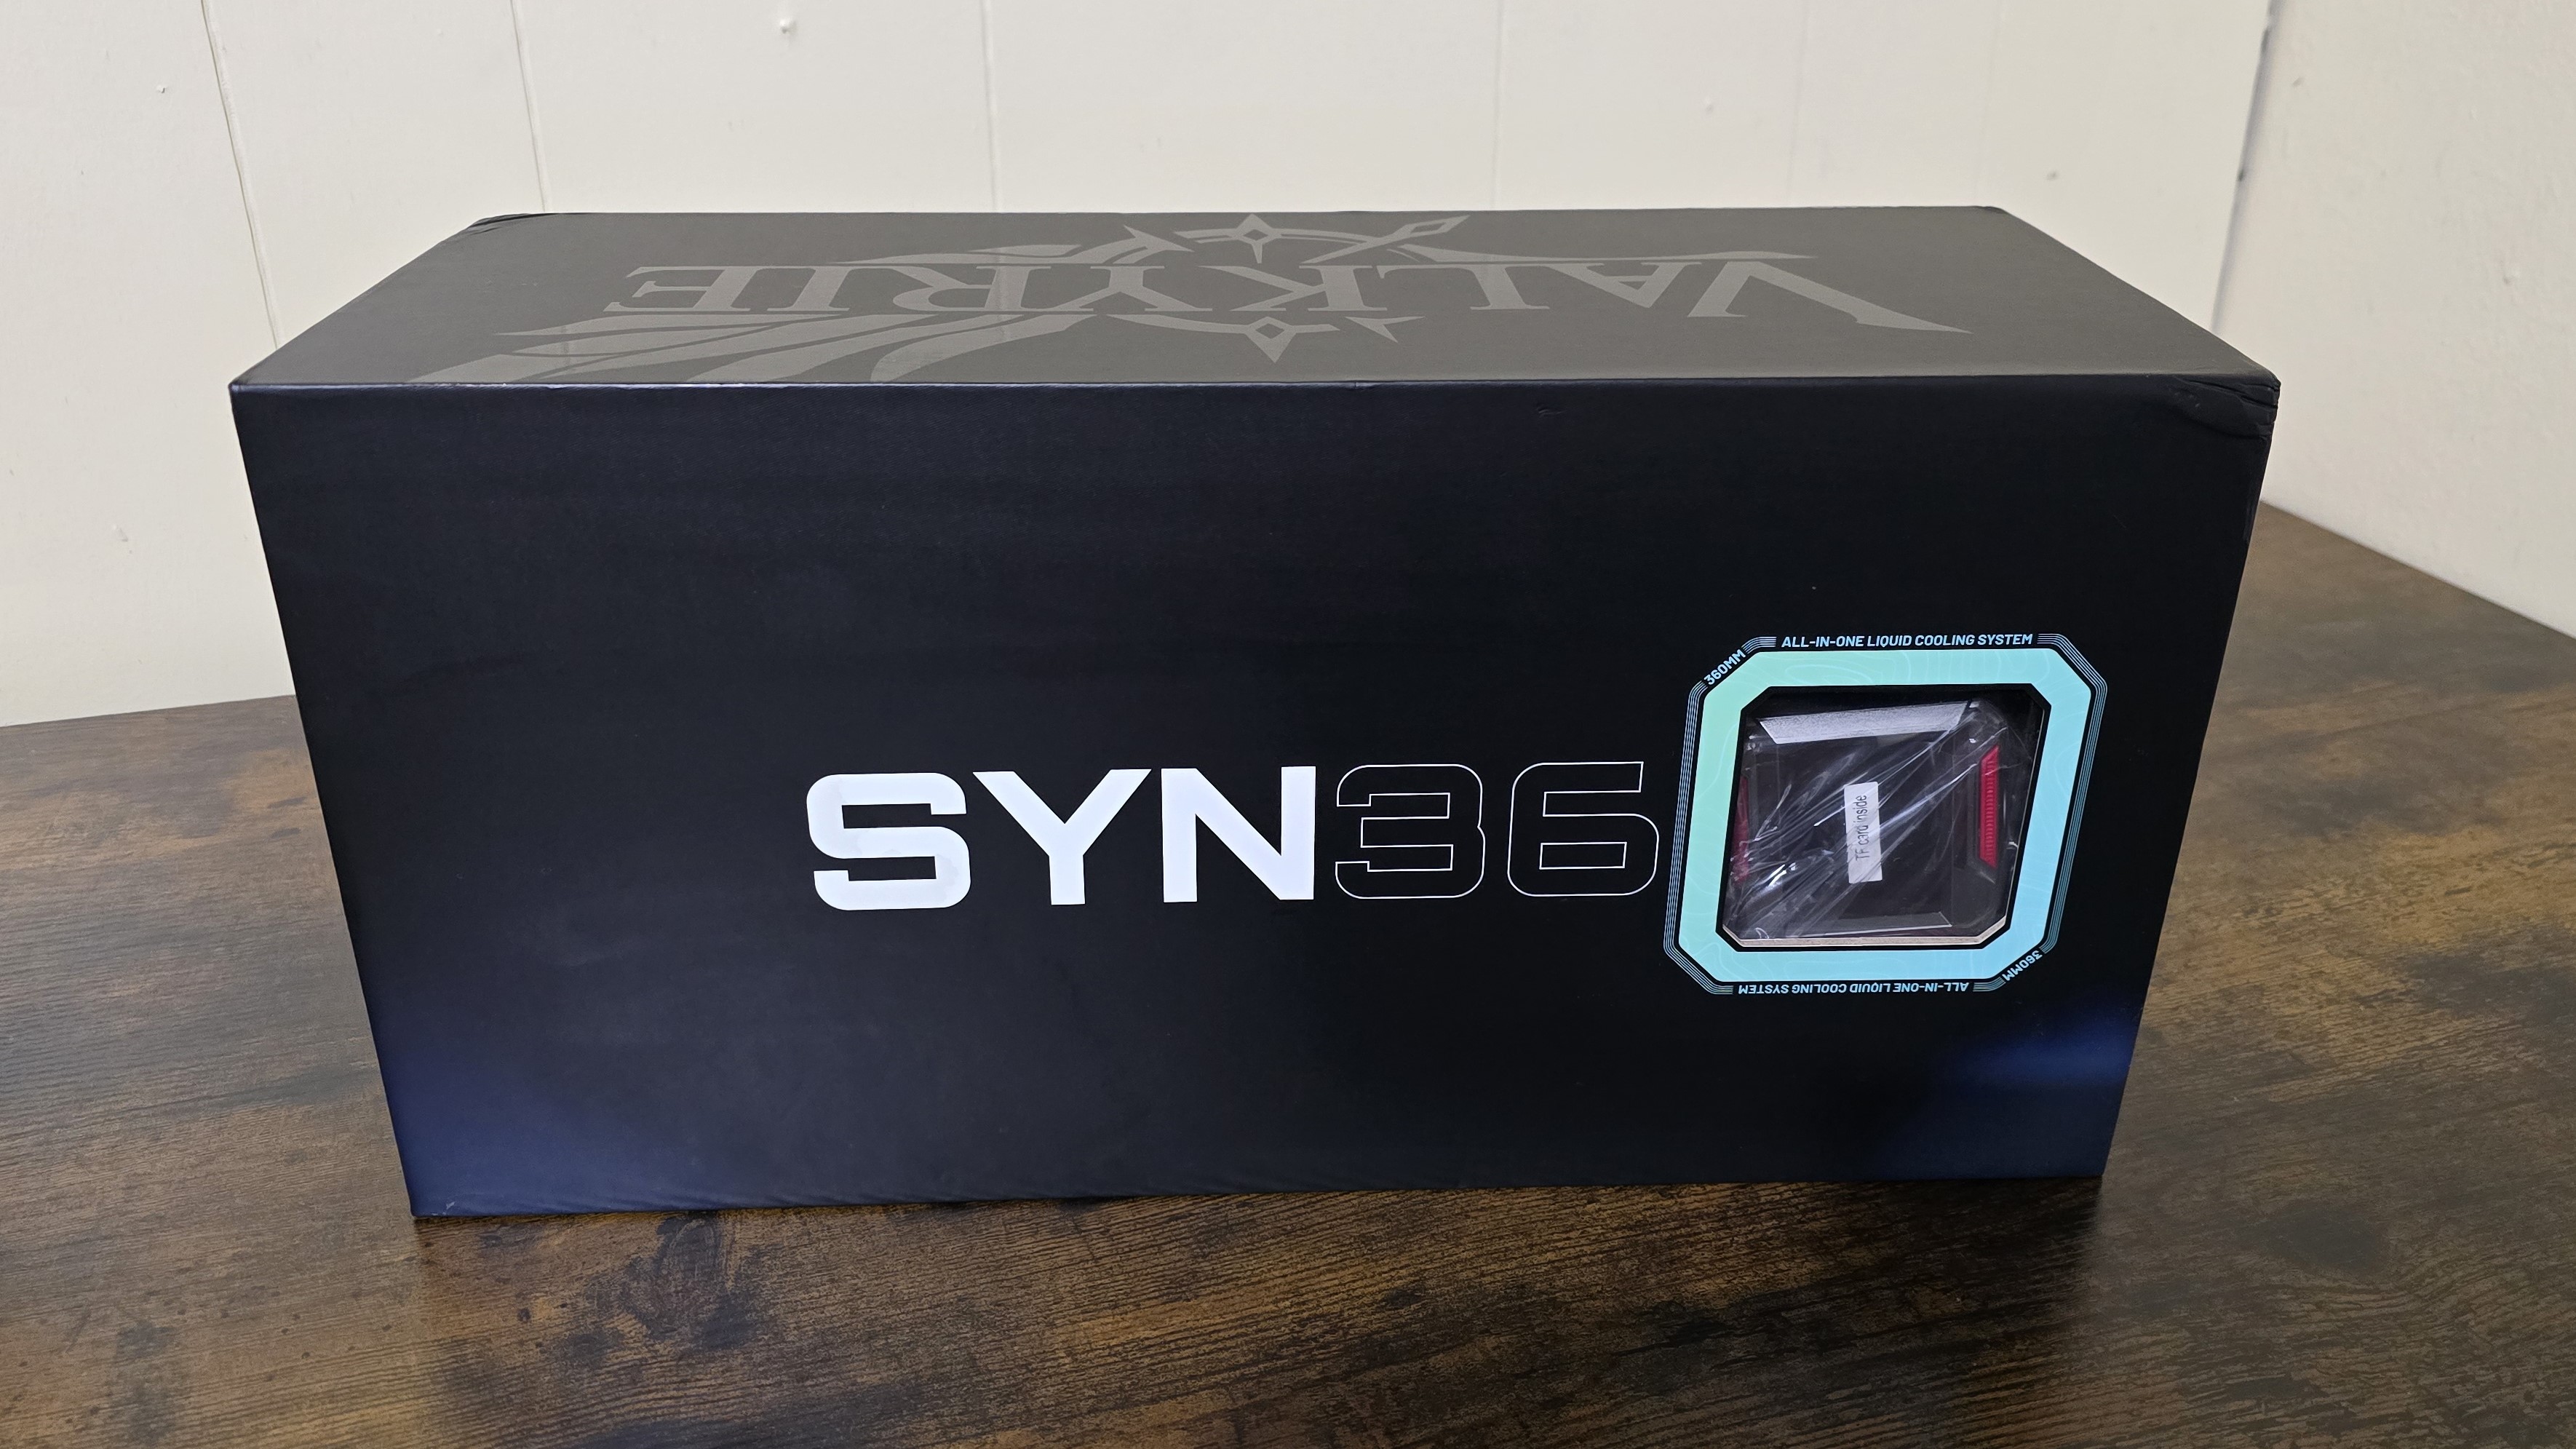
The SYN AIO from MyValkyrie features what might be the fanciest packaging I’ve seen for a cooling product, plus upgradable storage via an SD Card, and is available in both 240mm and 360mm models. Does the 360mm version of Valkyrie’s SYN AIO have what it takes to make our list ofbest AIO coolers? We’ll have to put it through testing to be sure, but first here are the specifications from My Valkyrie.
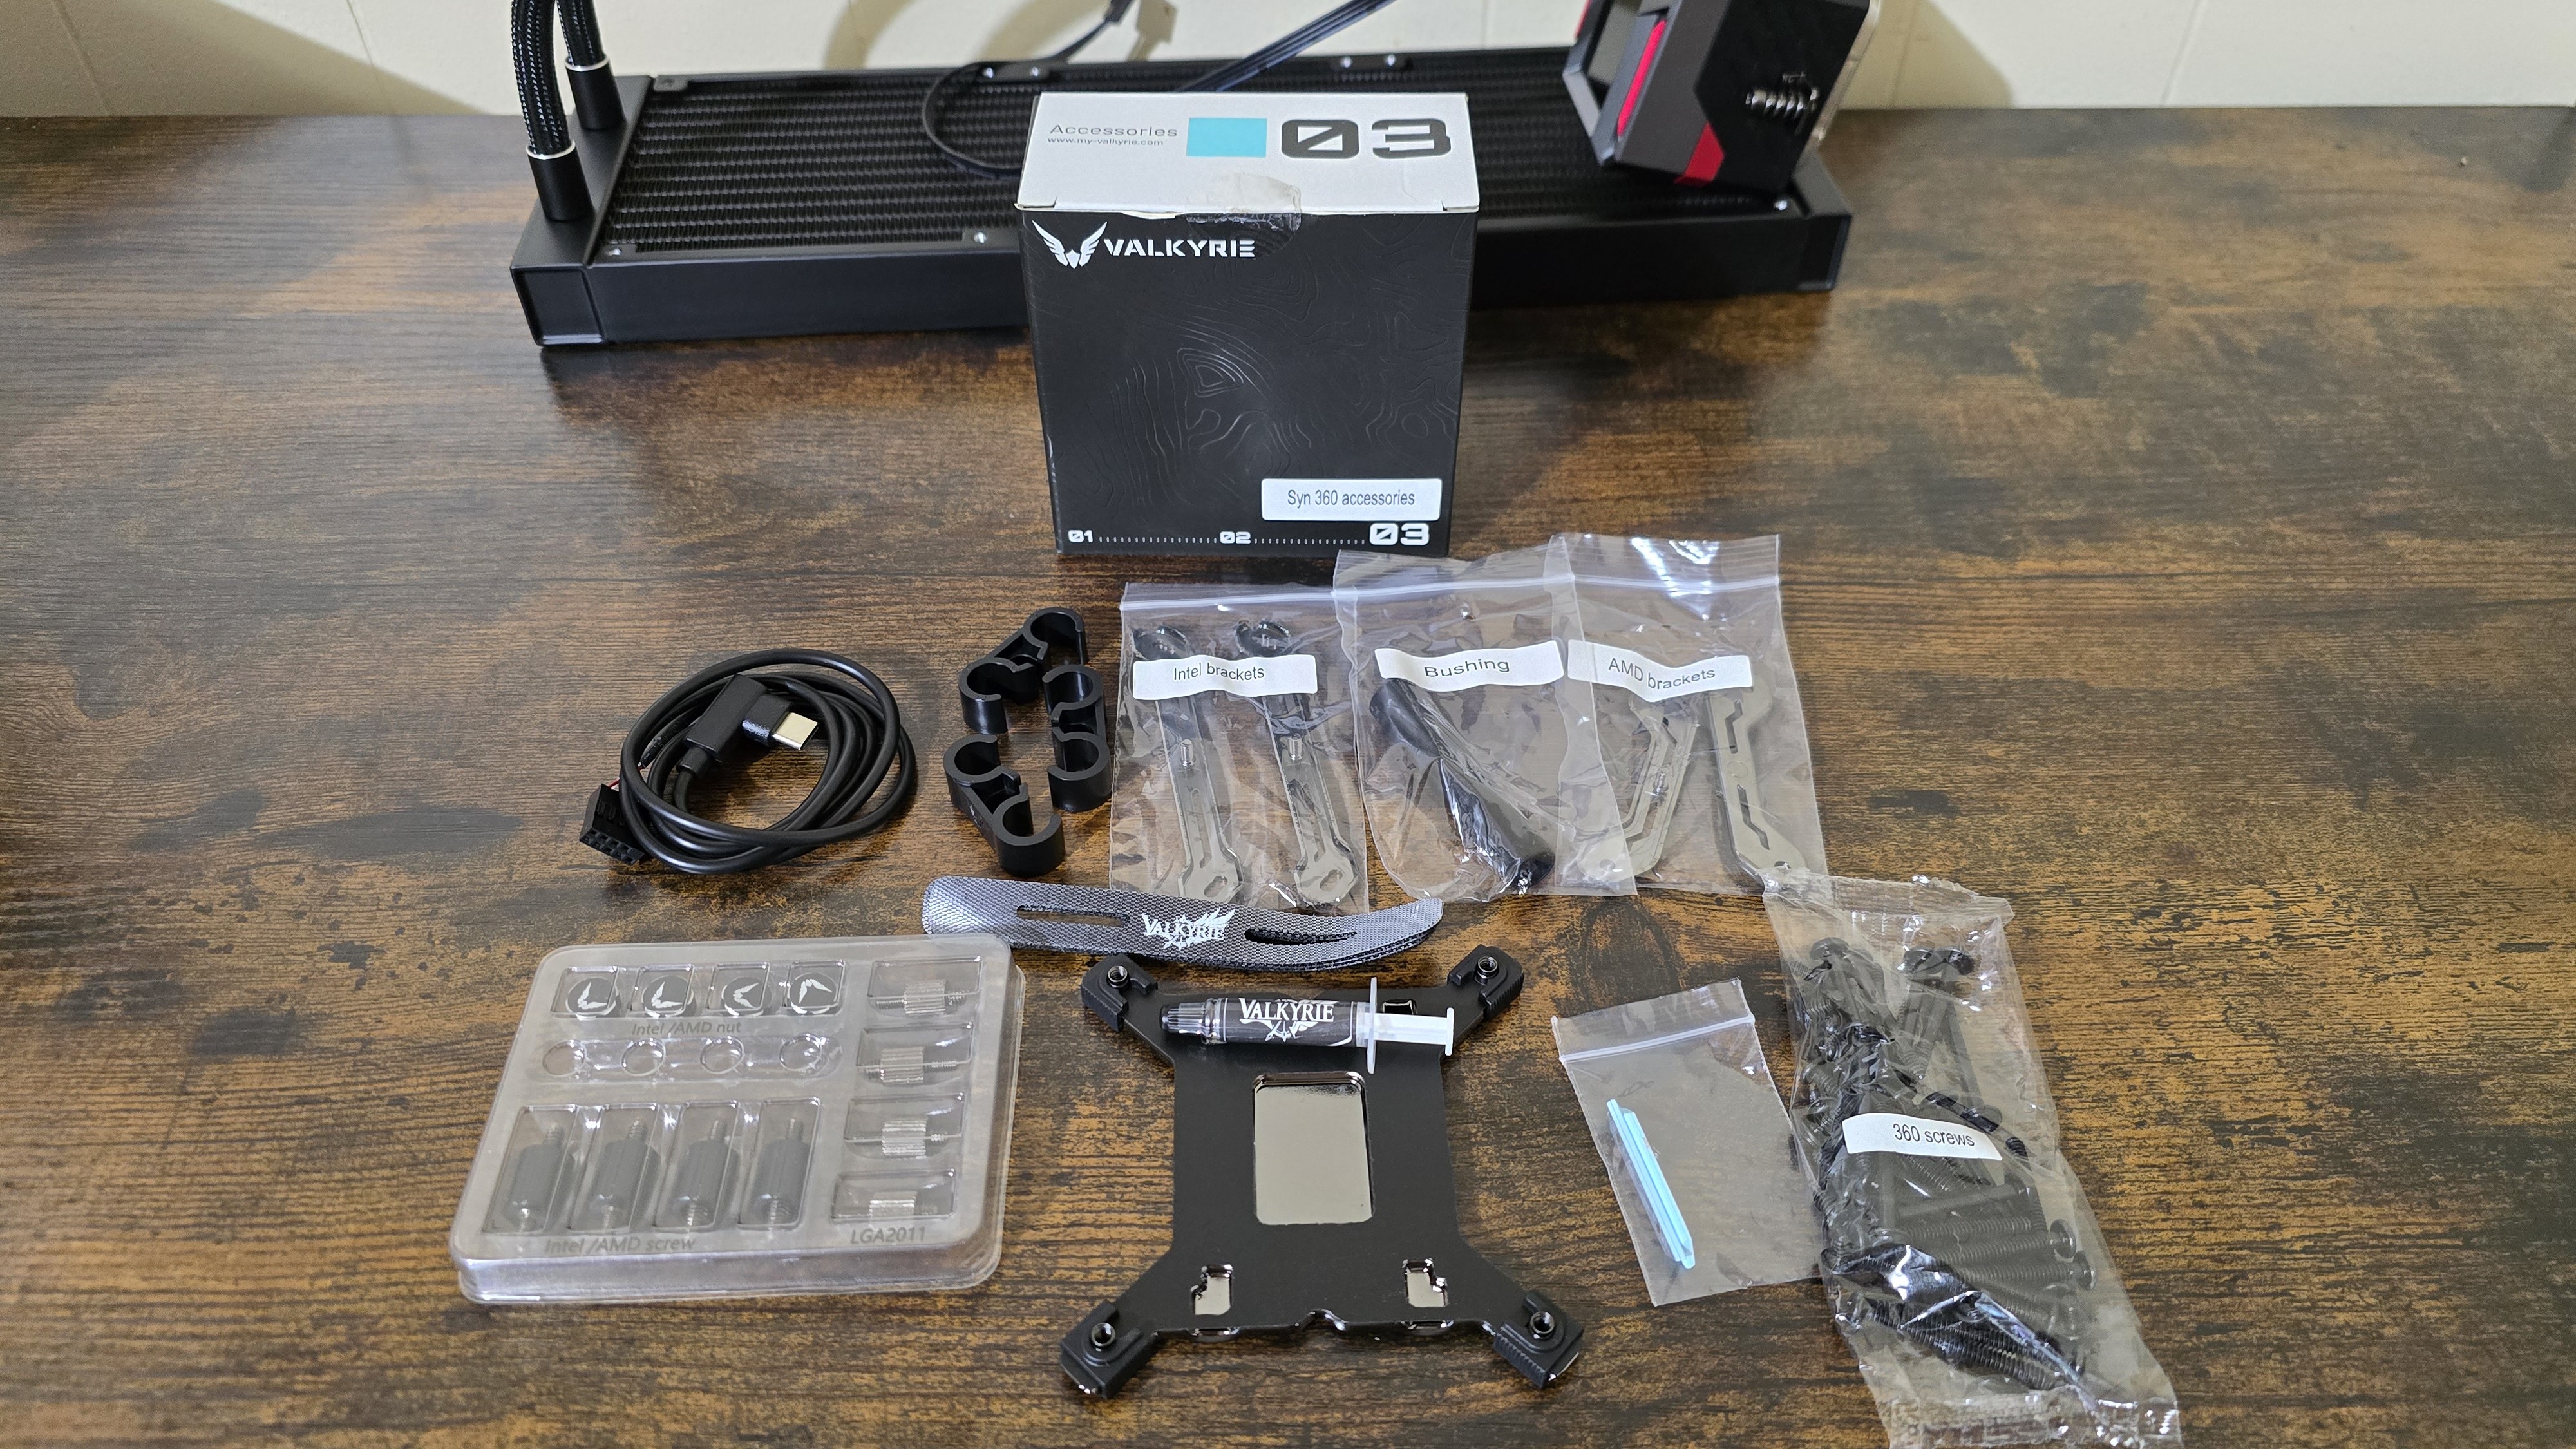
Packing and included contents
The packaging of the AIO is rather different from most coolers. It feels like luxury product packaging. The individual parts are protected by molded foam, carboard, and plastic coverings. On the side of the unit, a removable keychain is attached which can be used to open the drawers. The fans are contained in a second drawer below the main parts.
Features of Valkyrie’s SYN 360
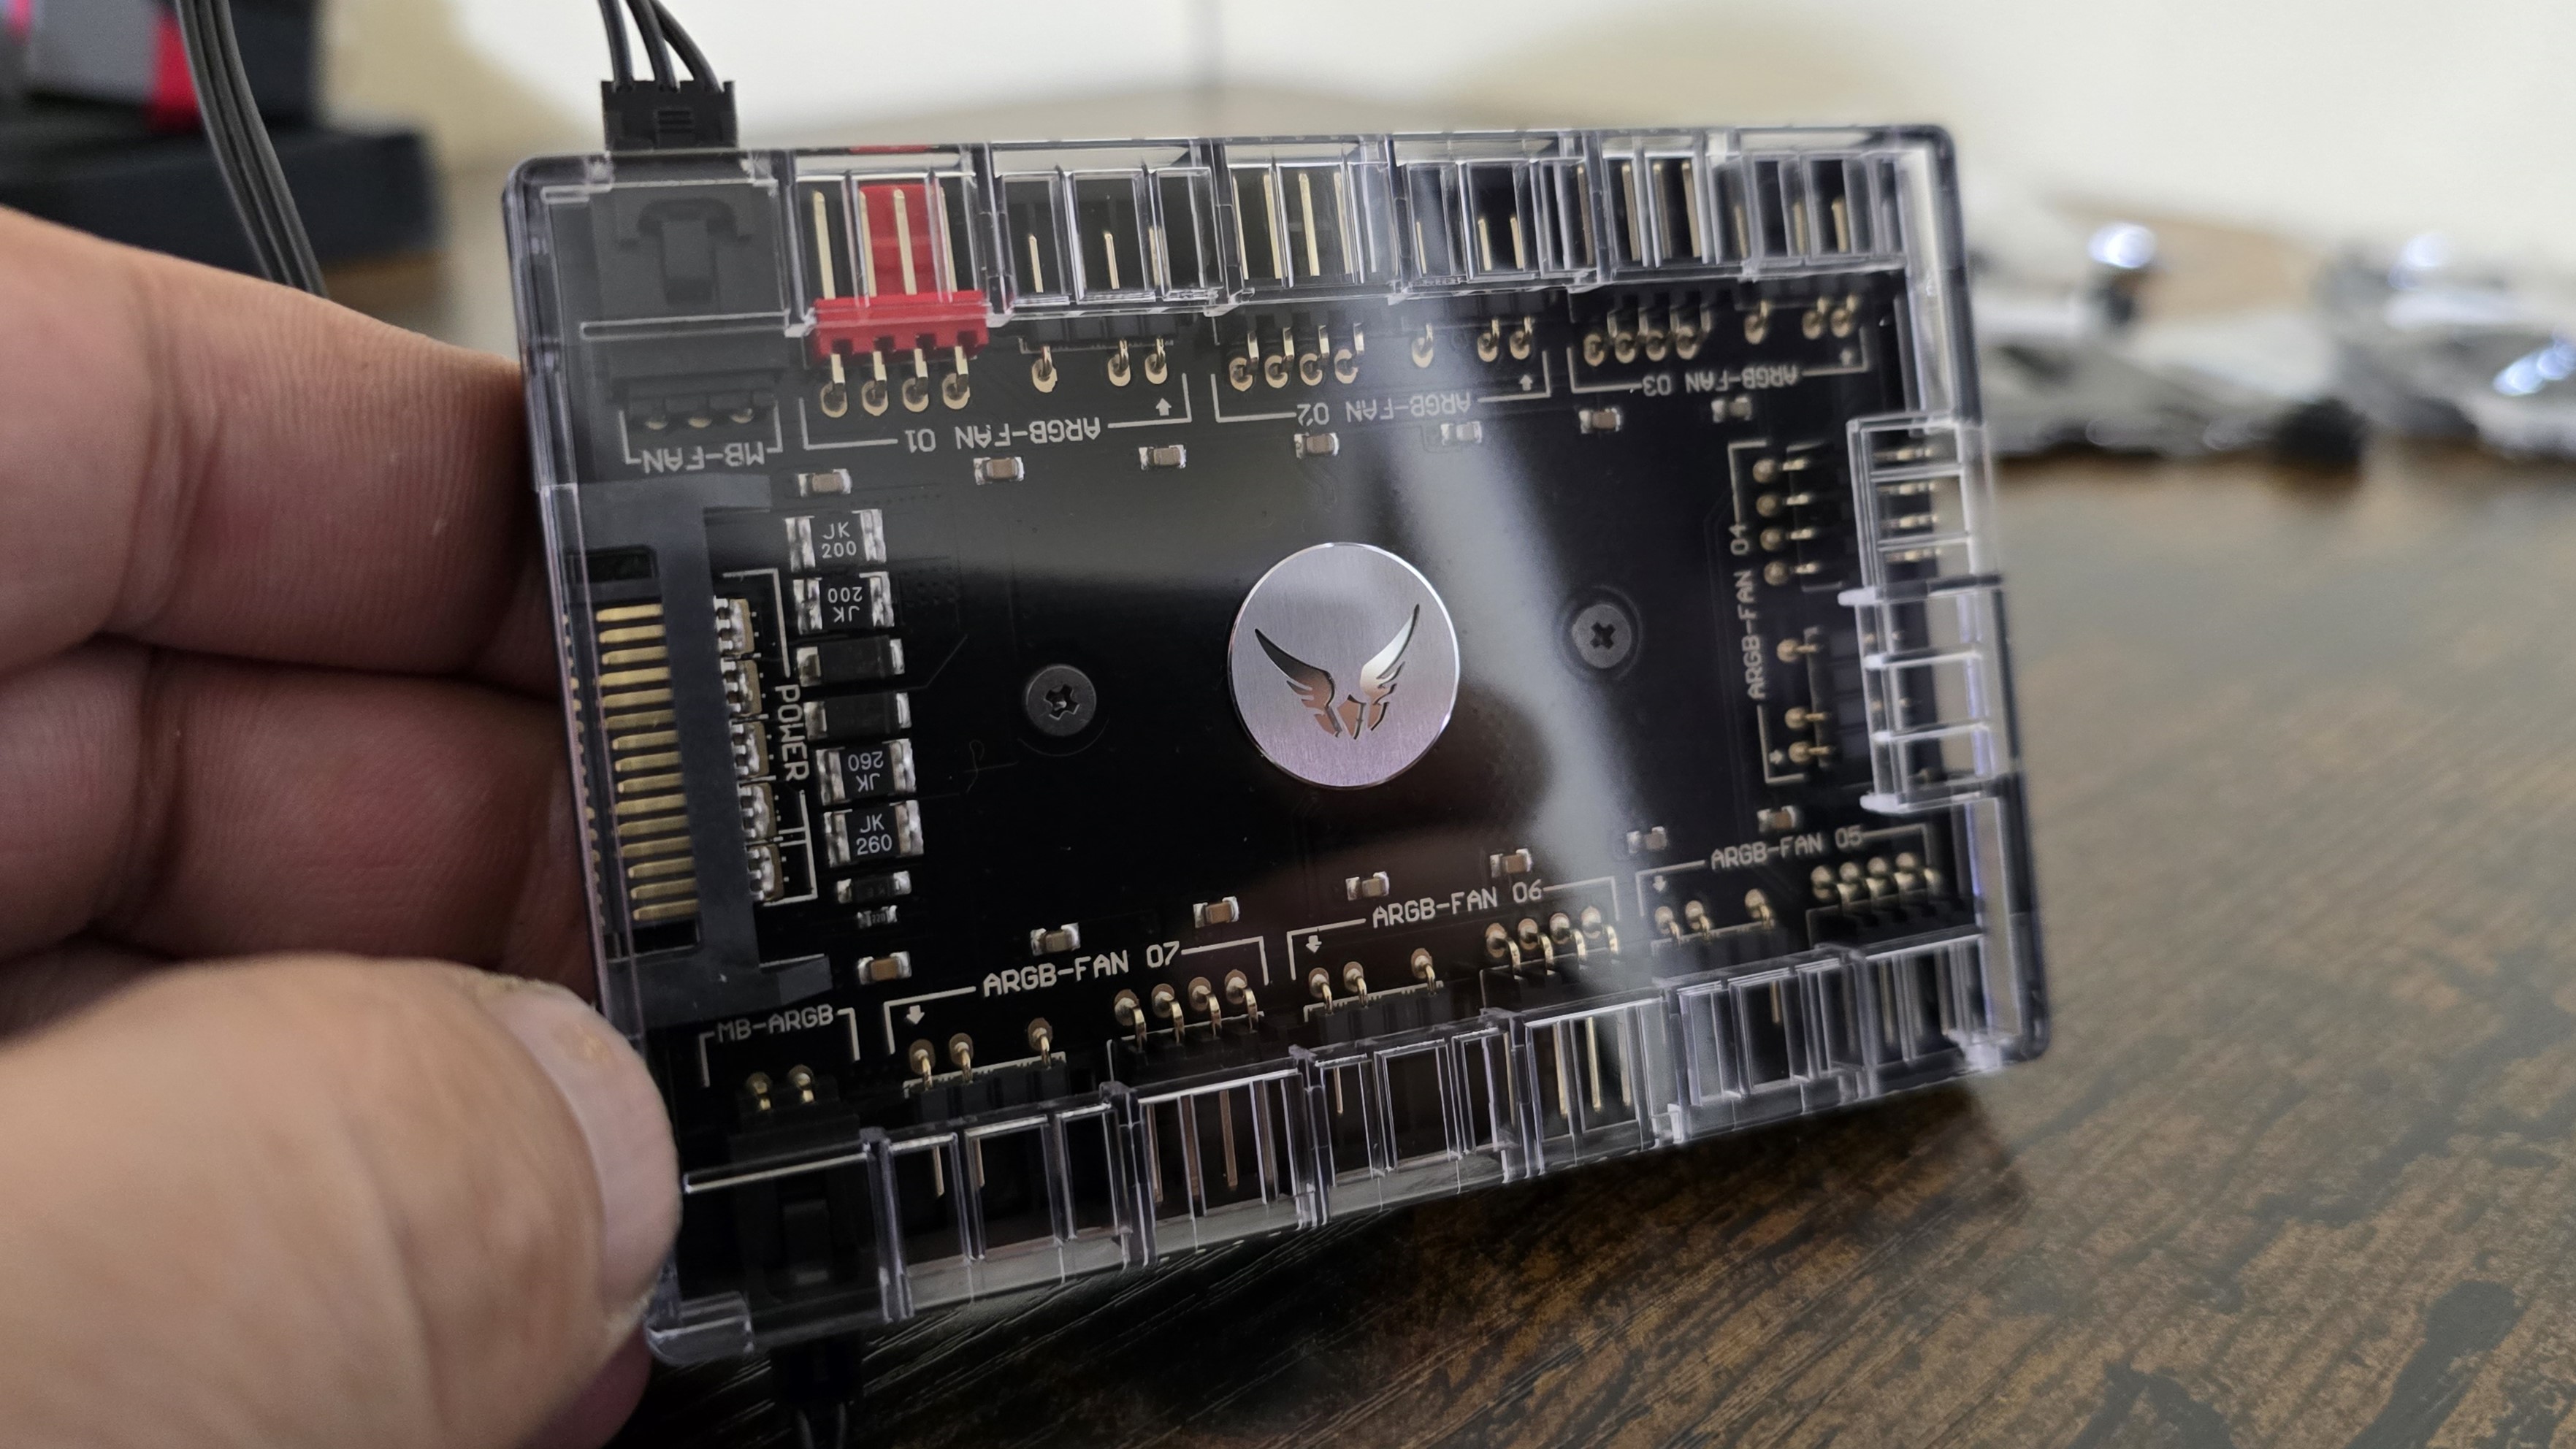
*️⃣ Included PWM and ARGB Hub
A transparent PWM and ARGB hub is included, which supports up to six devices.
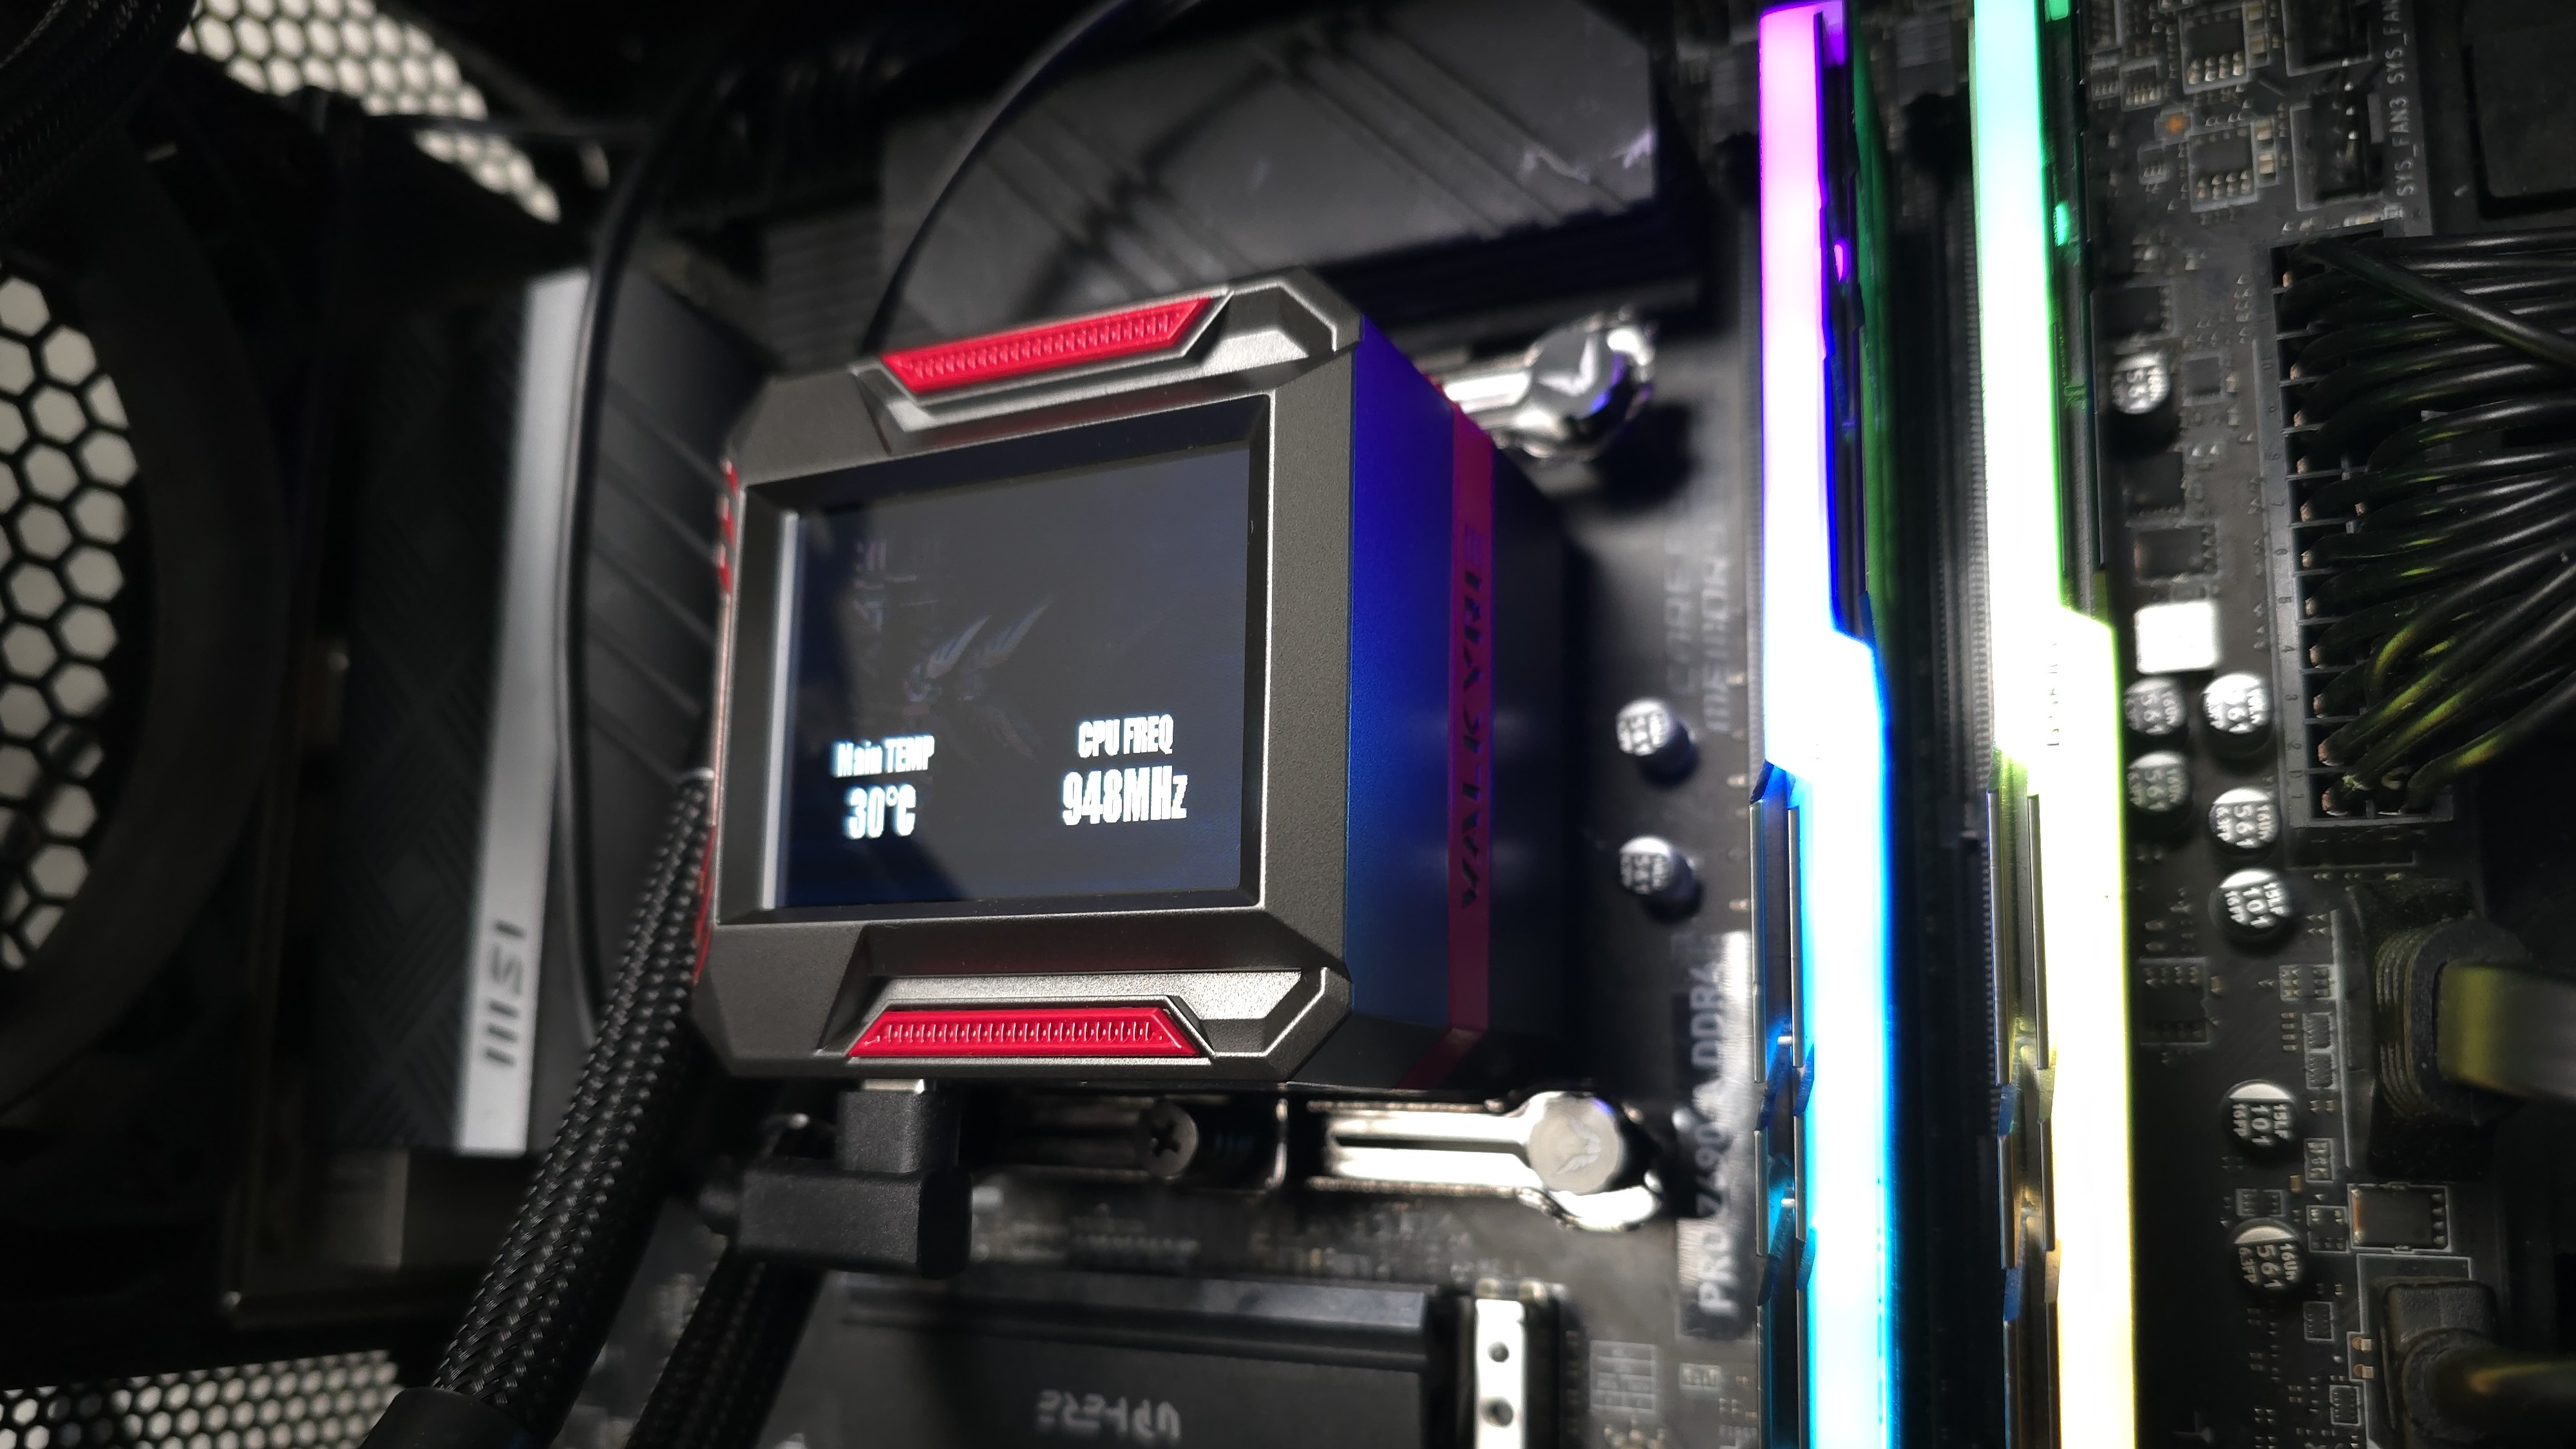
*️⃣Full RAM compatibility
As this AIO does not interfere or overhang DIMM slots in any manner, all sizes of RAM, no matter how tall, are compatible with the SYN 360
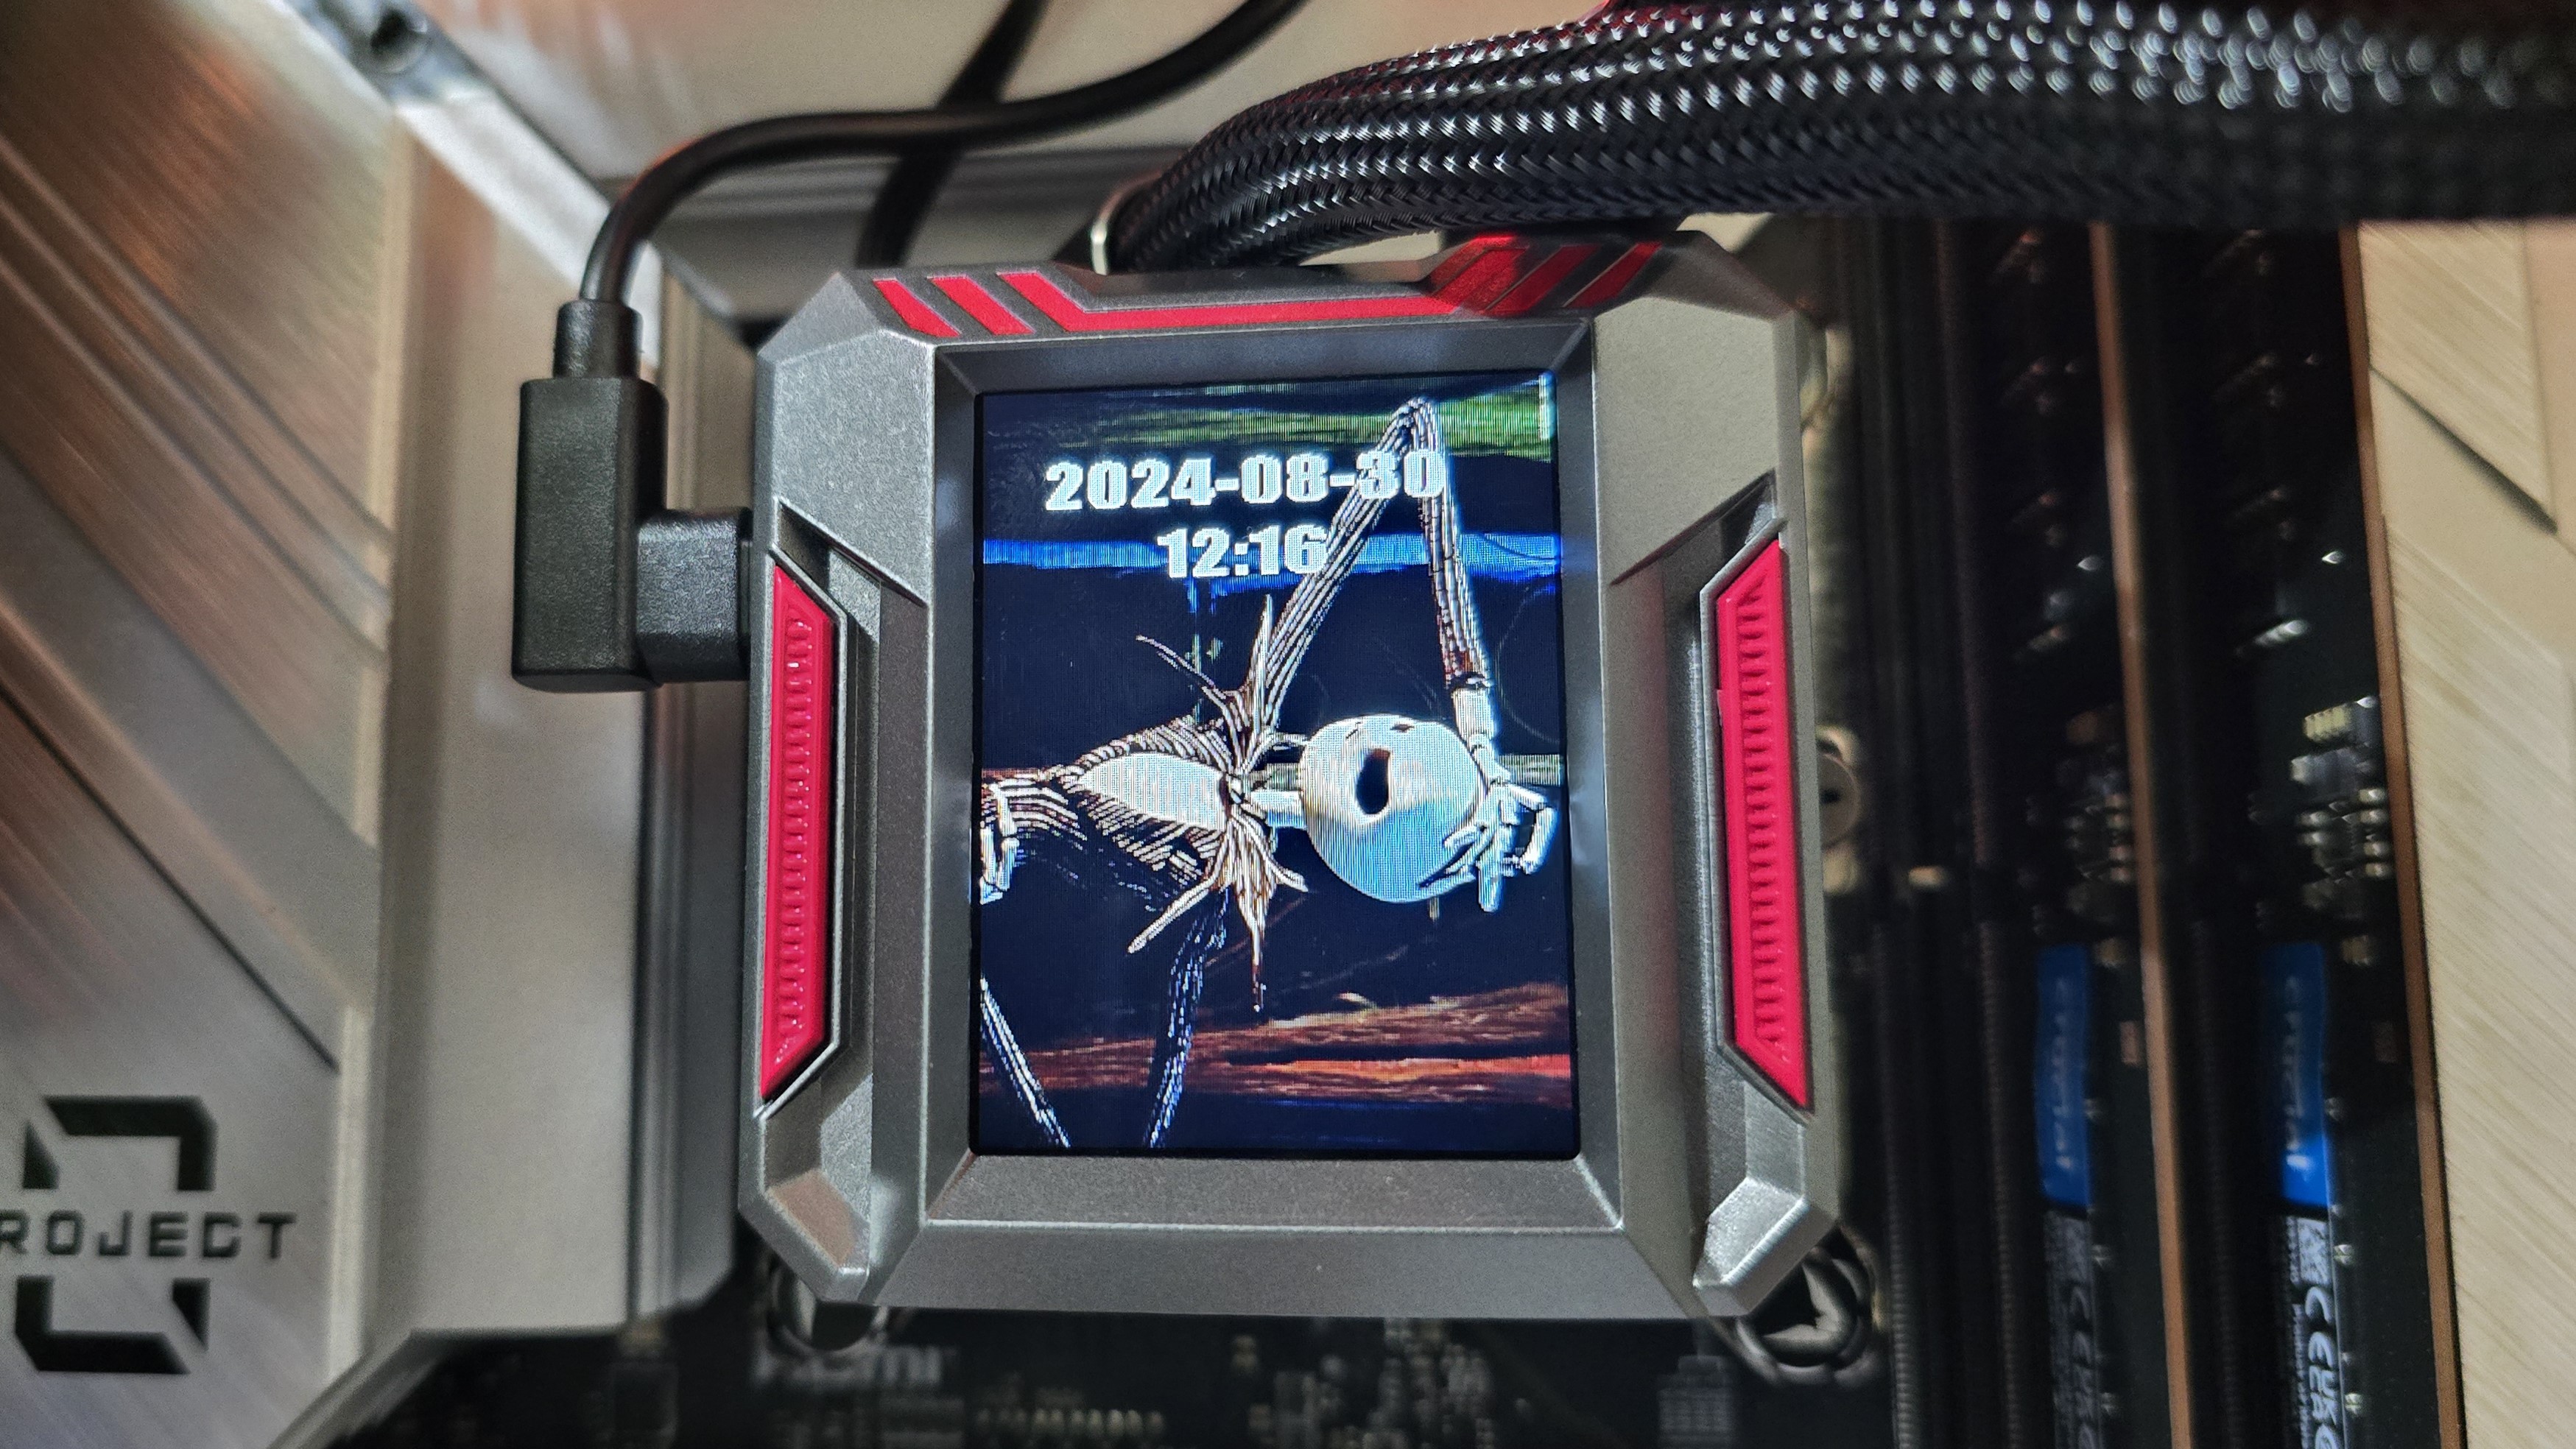
*️⃣2.1-inch LCD display, MythCool software
Valkyrie’s SYN features a 2.1-inch round display, which can be customized with a custom background, GIF, or video file via the MythCool software. You can also control the software using a mobile phone, if you prefer. I’ll go over a few more details about the software in the next section of the review.
*️⃣27mm thick radiator
The radiator included is a standard 27mm size, for a total of 52mm in thickness if you include the fans attached.
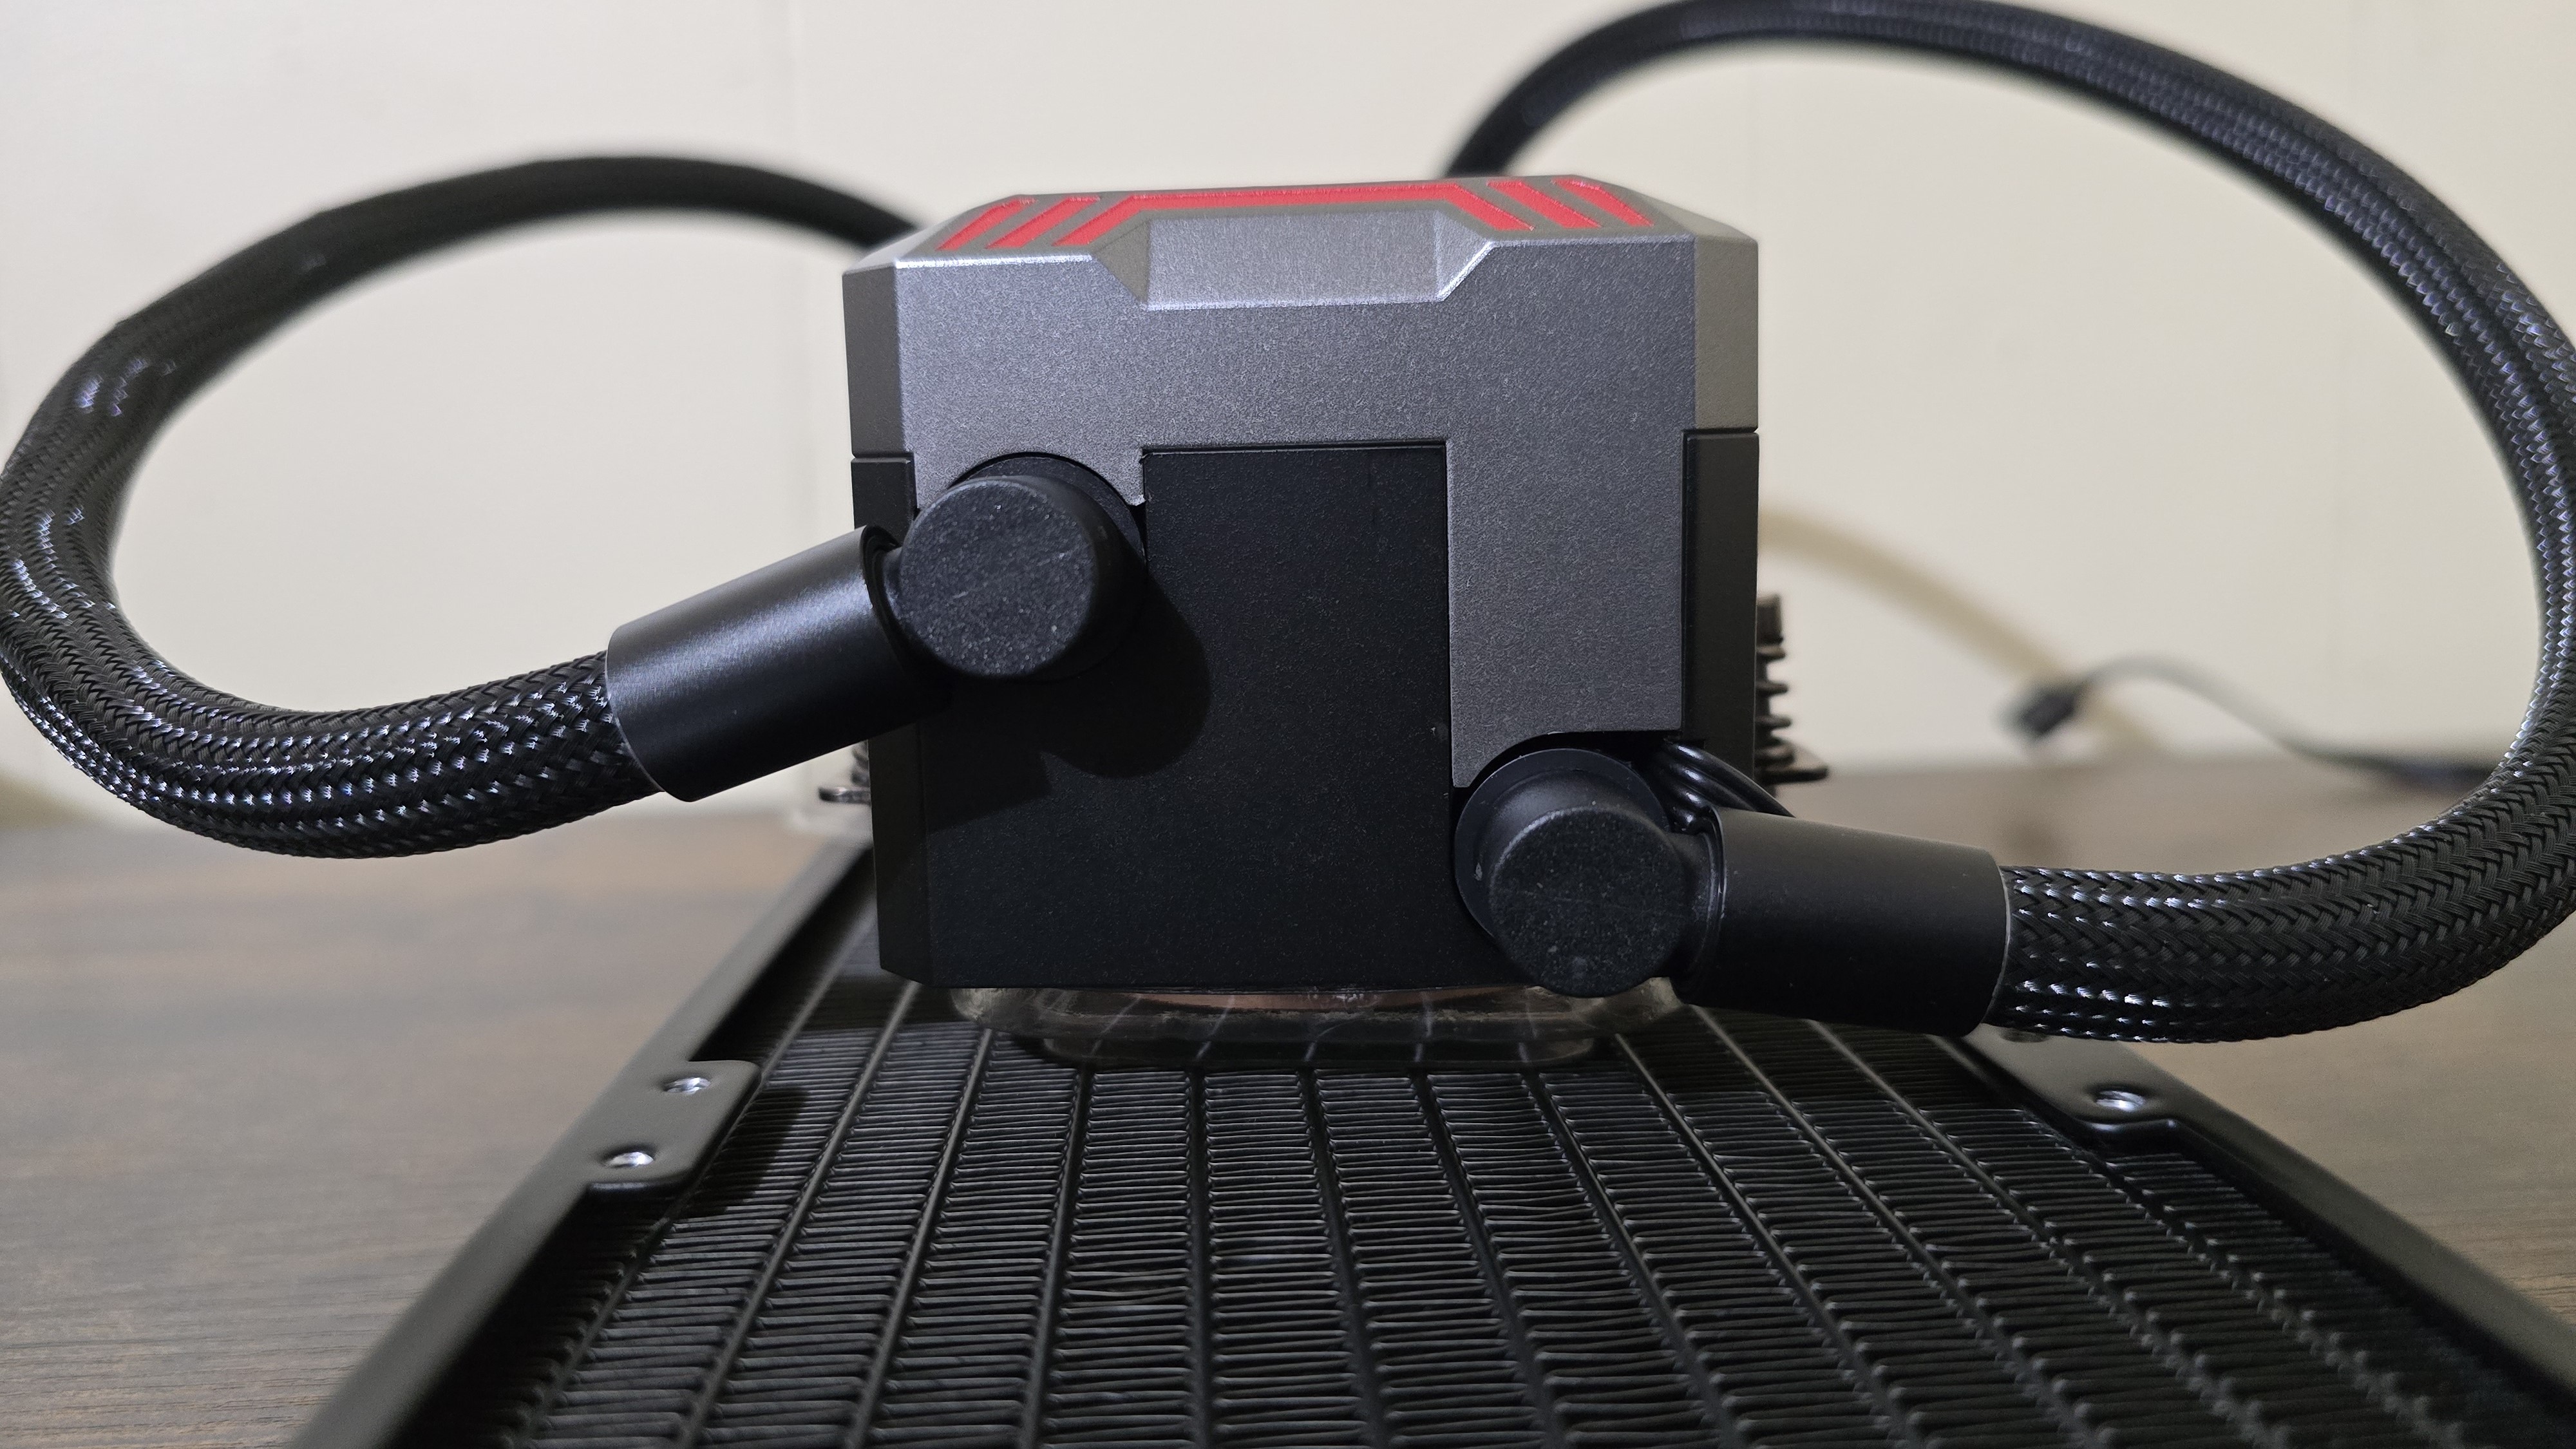
*️⃣Rotatable, braided tubing
The braided tubing of the AIO is fully rotatable, which can help make installation easier.
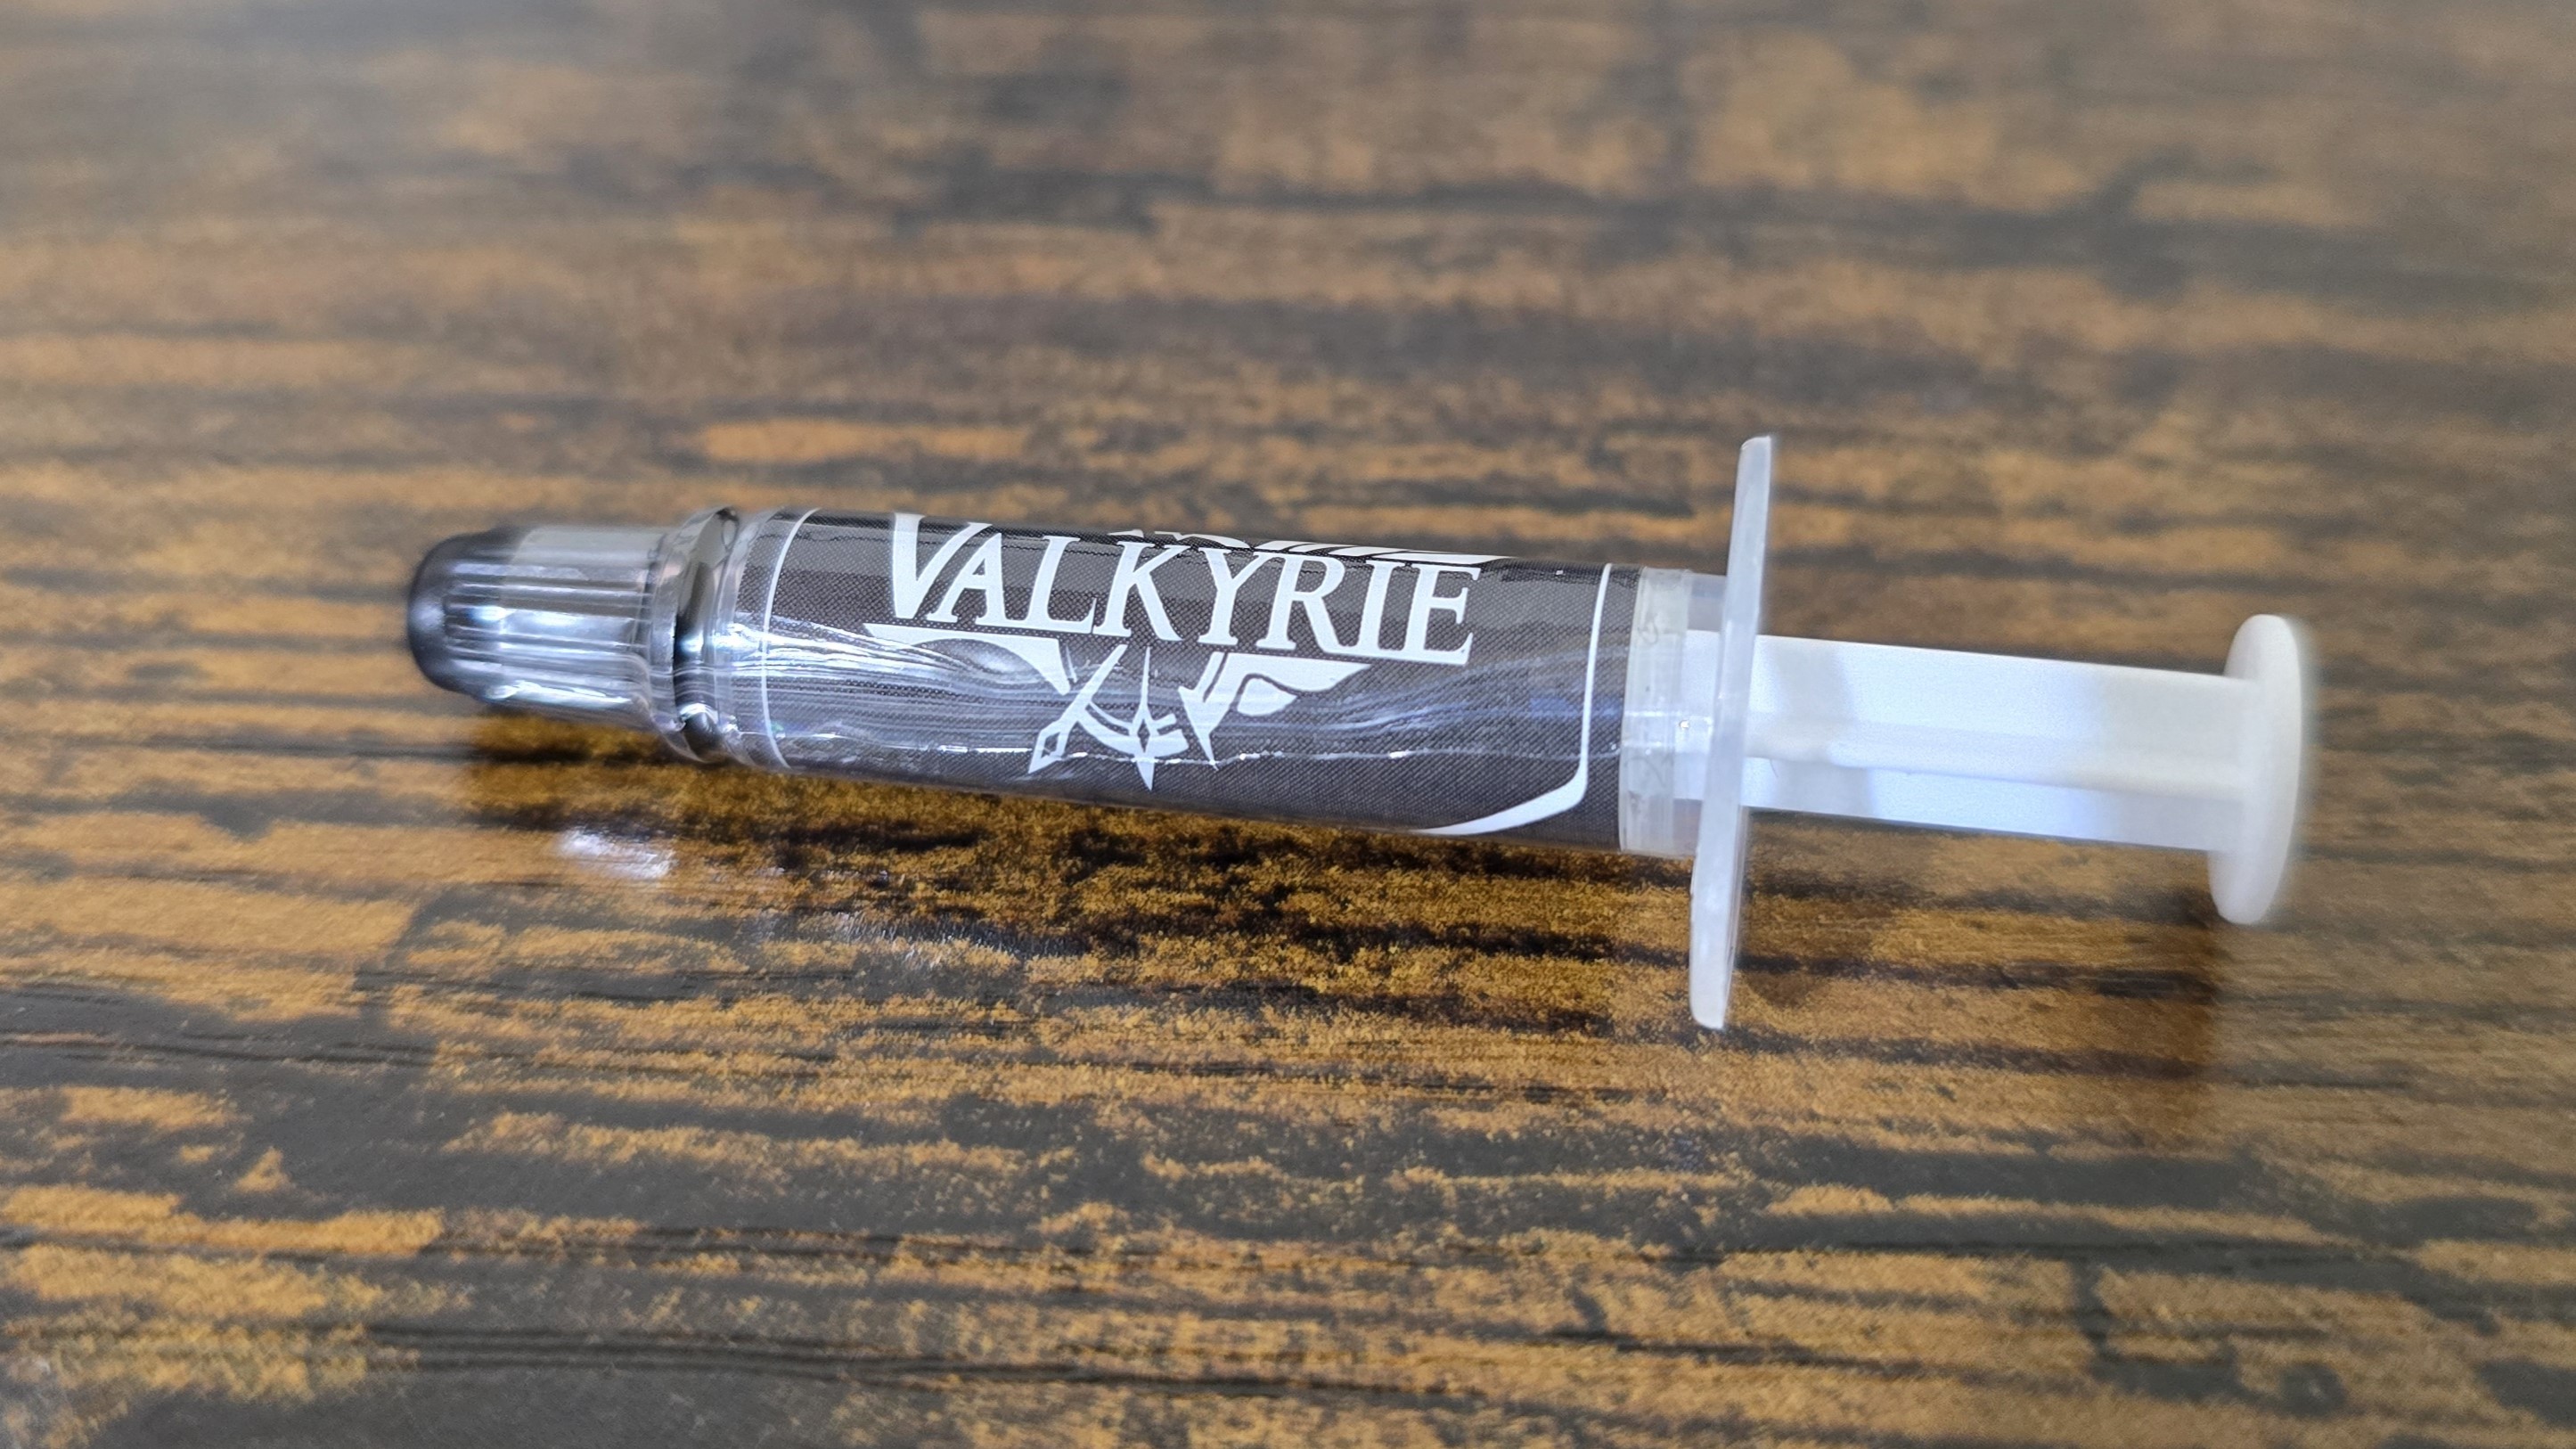
*️⃣Extra thermal paste
Most companies either have pre-applied thermal paste for their coolers, or include a small tube of thermal paste for the user to apply. MyValkyrie goes the extra mile and does both – pre-applying paste to the CPU block, and also including an extra tube for future use.
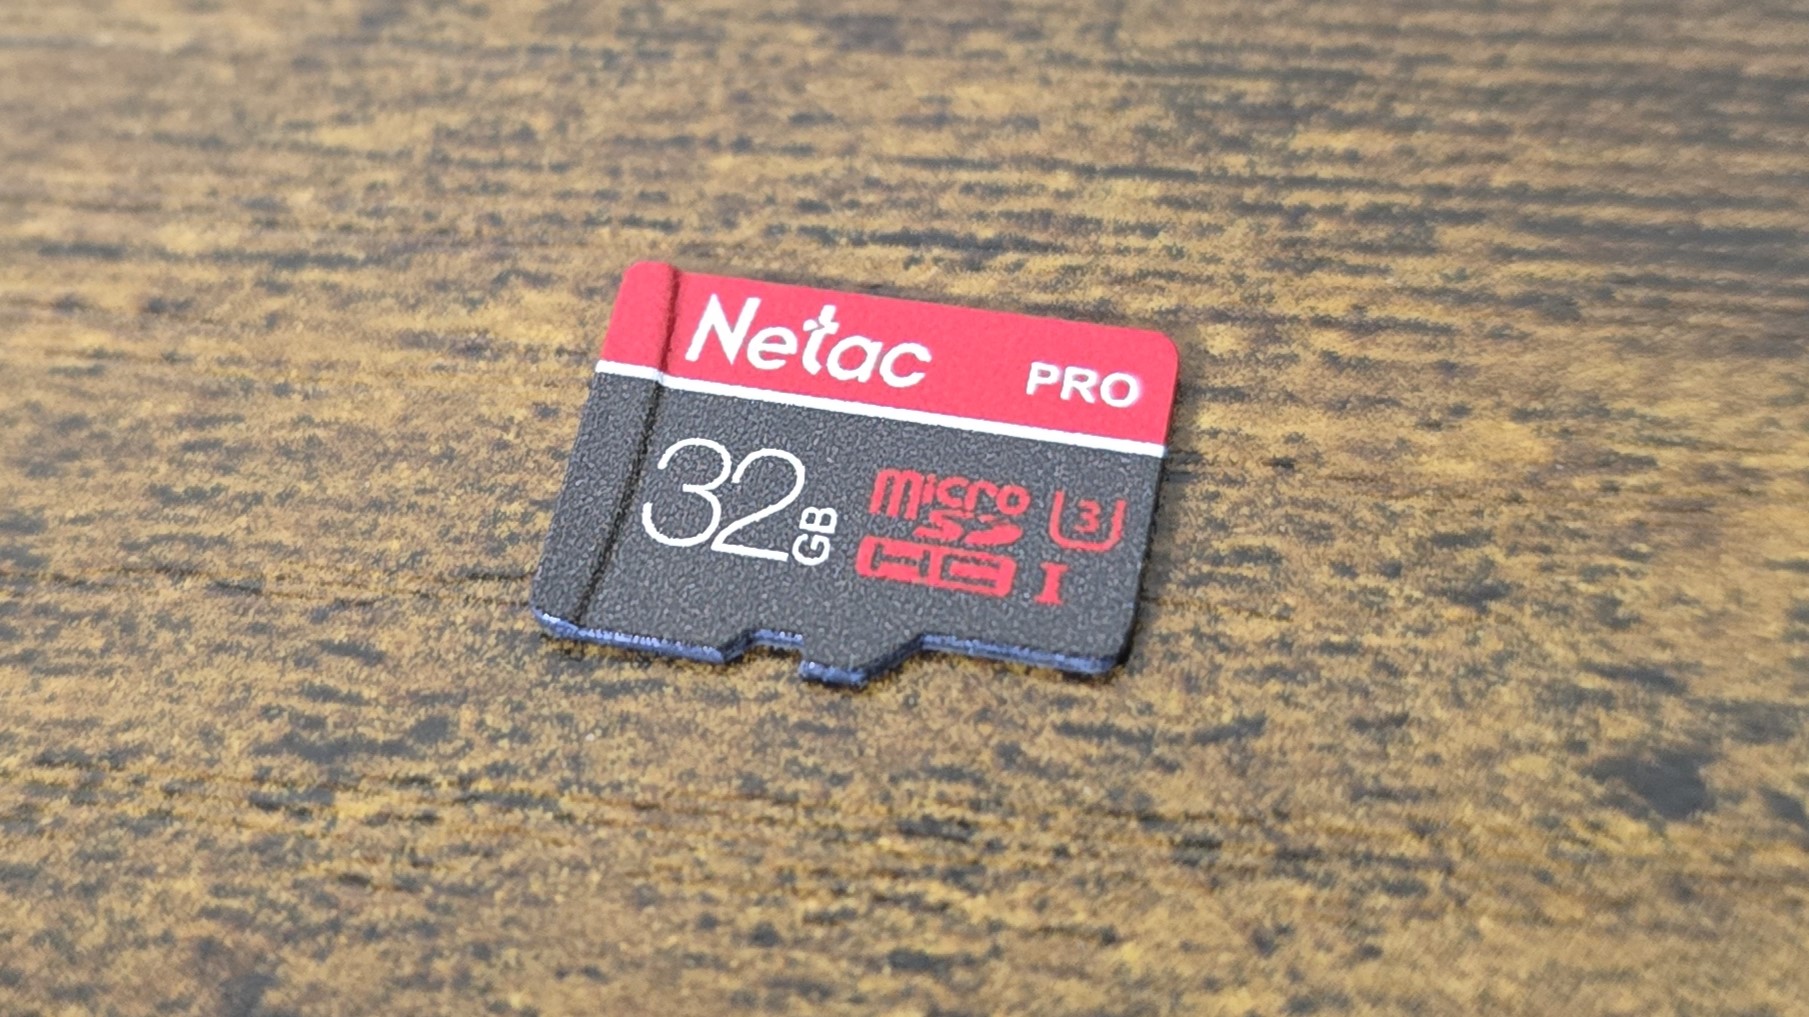
*️⃣Upgradeable storage
Valkyrie’s SYN AIOs include a removable 32GB SD card for storing custom animations and videos.
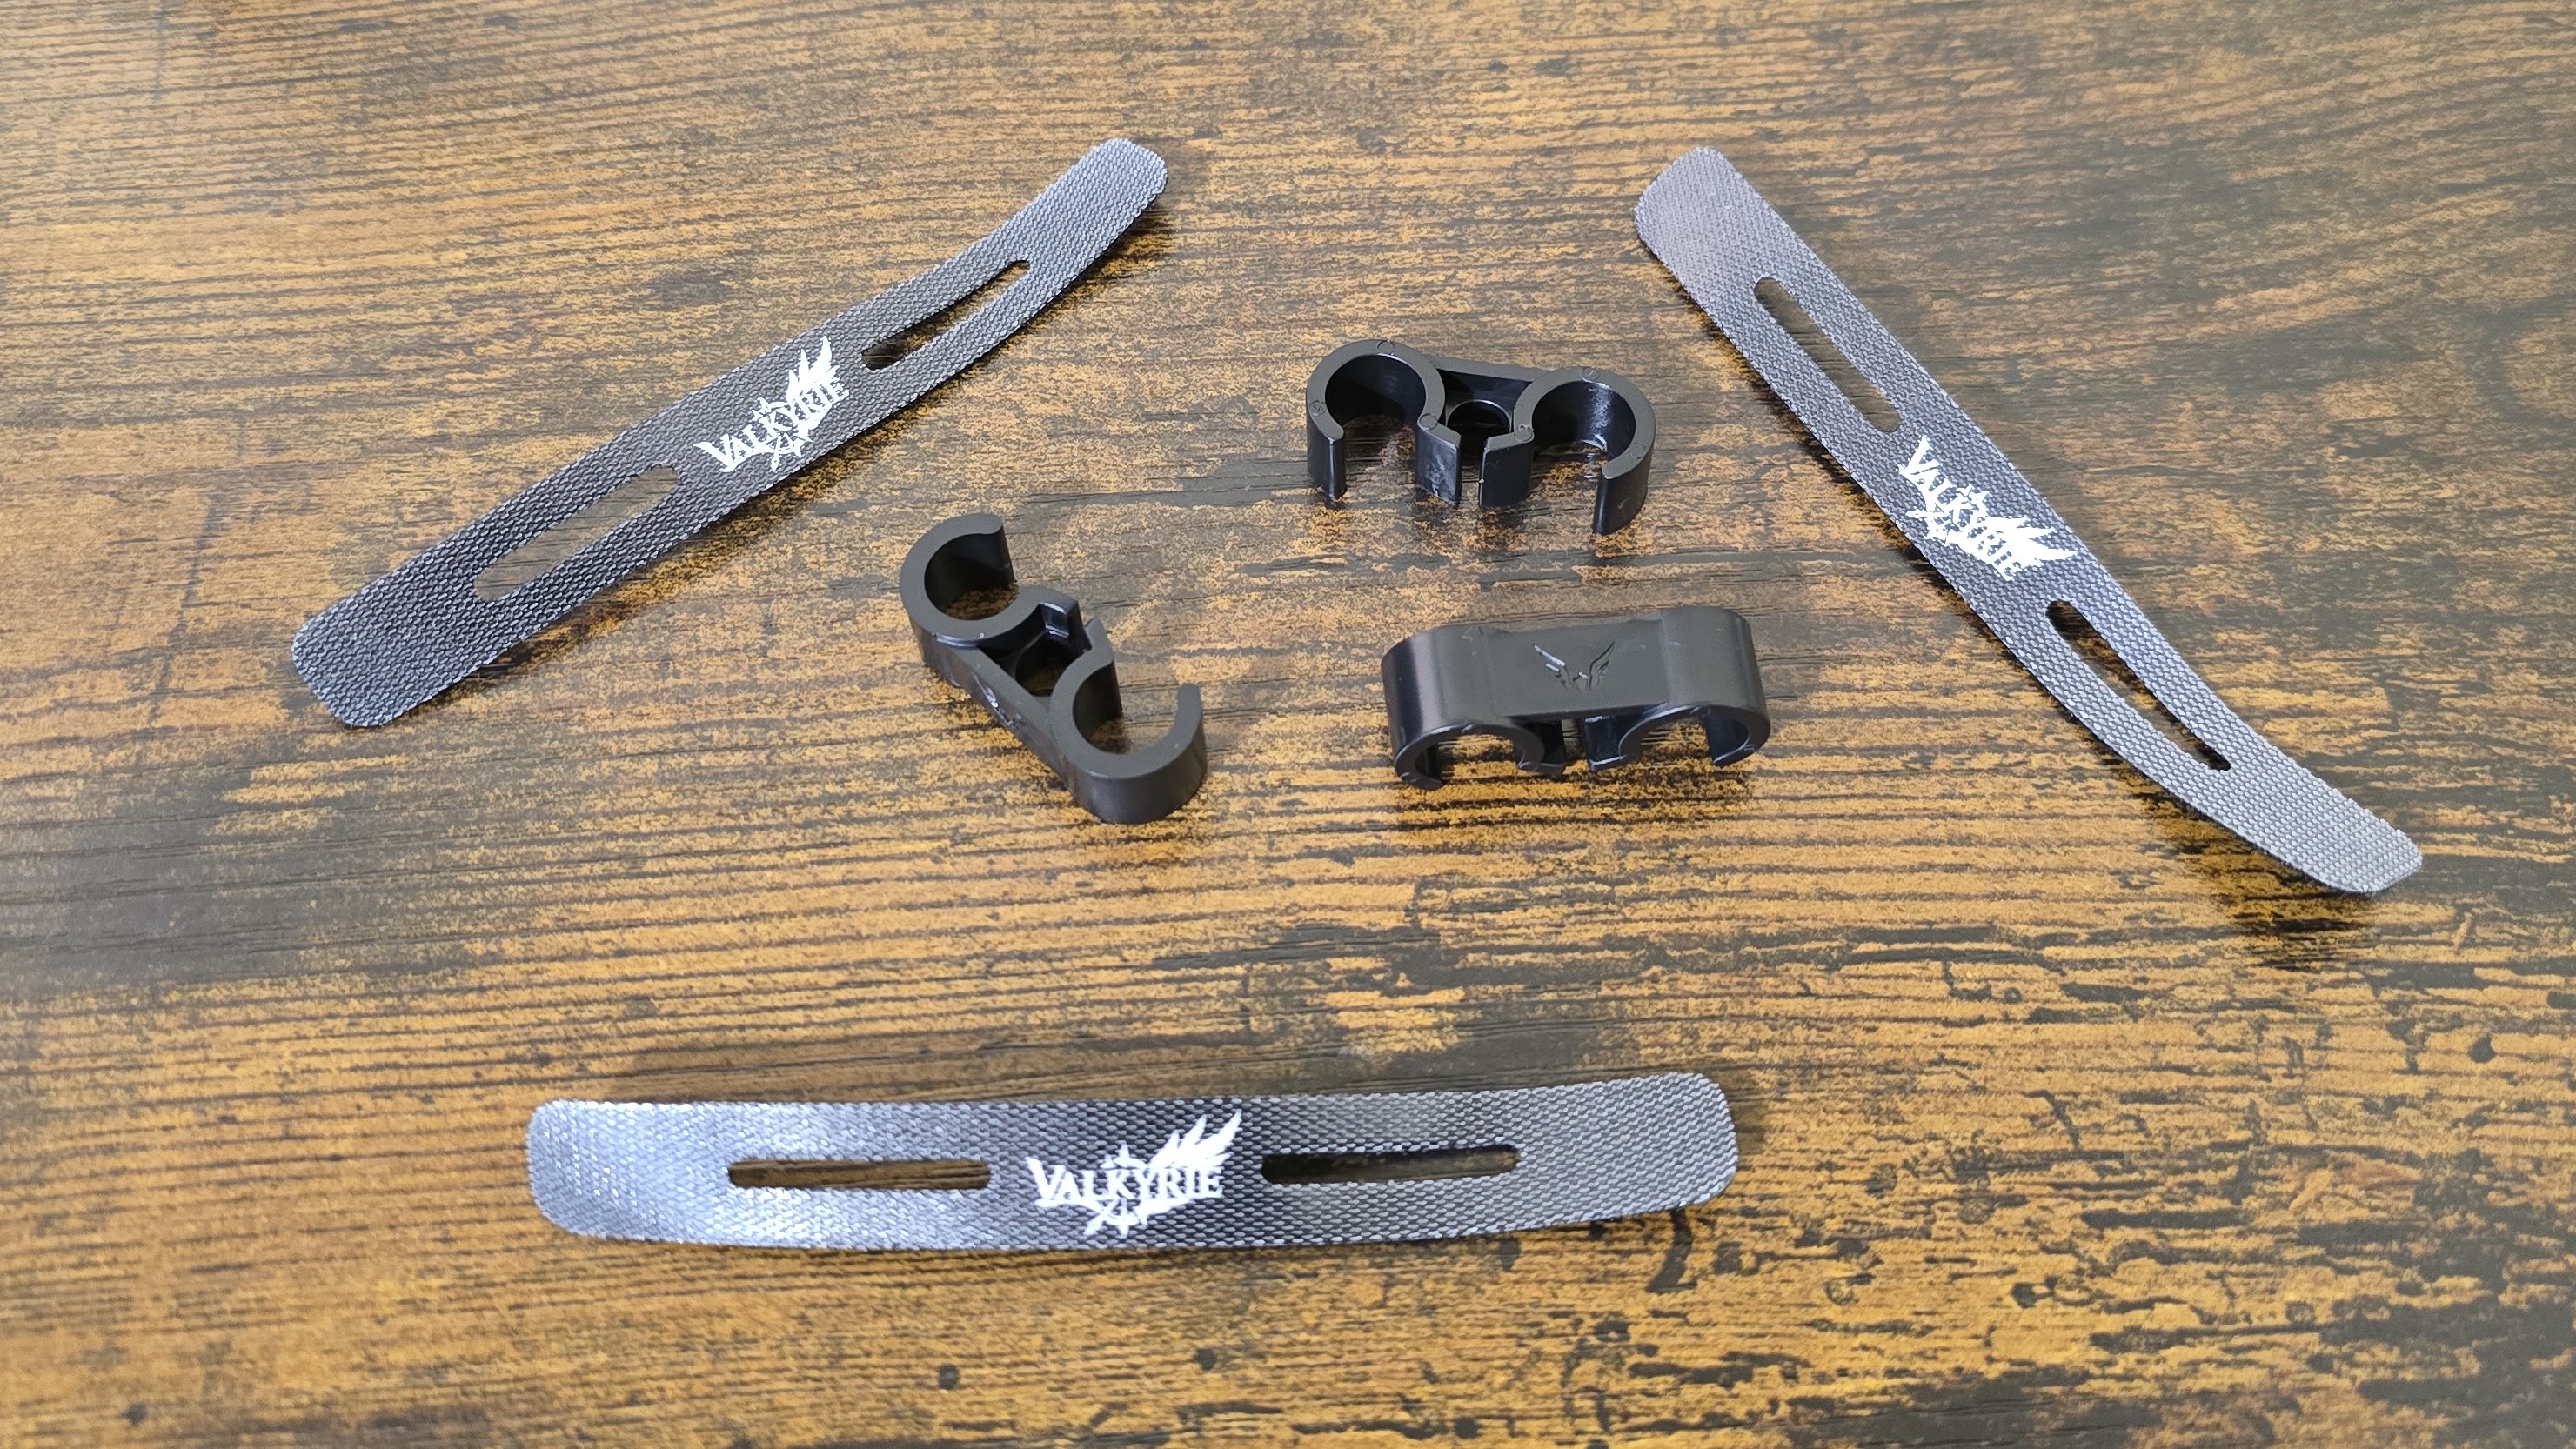
*️⃣Cable management features
Included are cable management clips and velcro straps, which can help keep the tubing of the AIO organized.
*️⃣3x Valkyrie X12 fans
There’s more to a cooler than just the heatsink or radiator. The bundled fans have a significant impact on cooling and noise levels, as well as how the cooler looks in your case.
Valkyrie includes its X12 120mm fans with the AIO. These fans feature 9 blades, rubber anti-vibration pads, and incorporate ARGB strips for decorative lighting.
What I don’t like about the SYN 360
❌ High Price
The price of this AIO is higher than competing 360mm AIOs. Part of this can be explained by the inclusion of the LCD screen and included PWM hub, but $209.99 is still hard to accept because of the next point.
❌“Beta” level software
The software is very rough around the edges and feels clunky and rushed. Some parts have not been translated into English yet and display in Mandarin.
The software also only includes one background for the display. No other visuals are available, unless you upload a custom image or video file.
Testing Methodology, and how my testing differs vs the competition
I do a few things differently than many other reviewers, to ensure my results are actually applicable to most users. I test in an actual case, rather than an open bench. The problem with testing on an open bench is that with typical consumer usage – you know, with an enclosed computer case – the ambient temperature within the case will be higher than that of outside air, which adds difficulty to the cooler’s job.
I also strictly regulate the ambient temperature to 23 degrees C during testing. I do not accept results at 22 or 24 C as valid, even though in theory there wouldn’t be a significant difference in terms of test results.
Testing is also only performed with recent-generation CPUs. Older CPUs have bigger hotspots due to older manufacturing processes, and they also have lower clock speeds, which can make them easier to cool.
Many other reviewers, and also most of my own older reviews, only test coolers with a load running on the CPU. While this does provide good and useful information, it doesn’t paint a complete picture of how a cooler will perform. Many workloads, and especially gaming, will stress both the CPU and GPU.
To test how well a CPU’s cooler will perform in these situations I’ve added two tests: one with a light CPU and one with a moderate CPU load, both while running a full load on with AMD’sRadeonRX 7900GRE.
Today’s highest-end CPUs, whether Intel or AMD, are difficult to cool in intensive workloads. In the past. reaching 95 degrees Celsius or more on a desktop CPU might have been a cause for concern. But with today’s top-end CPUs, this is considered normal operation. Similar behavior has been present in laptops for years due to cooling limitations in tight spaces.
All testing is performed with a 23 C ambient room temperature. Multiple thermal tests are run on each CPU to test the cooler in a variety of conditions, and acoustic measurements are taken with each result. These tests include:
Noise-normalized testing at low noise levels
Out-of-the-box / Default configuration thermal and acoustic testing
a. No power limits enforced
b. Because CPUs hit TJ Max in this scenario, the best way to compare cooling strength is by recording the total CPU package power consumption.
- Thermal and acoustic testing in power-limited scenarios
a. Power limited to 175W to emulate a medium-intensity workload
b. Power limited to 125W to emulate a low-intensity workload
The thermal results included are for 10-minute testing runs. To be sure that was sufficiently long to tax the cooler, we tested both Thermalright’s Assassin X 120 R SE and DeepCool’s LT720 with a 30-minute Cinebench test with Intel’s i9-13900K for both 10 minutes and 30 minutes. The results didn’t change much at all with the longer test: The average clock speeds maintained dropped by 29 MHz on DeepCool’s LT720 and 31 MHz on Thermalright’s Assassin X 120 R SE. That’s a small 0.6% difference in clock speeds maintained, a margin of error difference that tells us that the 10-minute tests are indeed long enough to properly test the coolers.
Testing configuration – Intel LGA1700 platform
There are many factors other than the CPU cooler that can influence your cooling performance, including the case you use and the fans installed in it. A system’s motherboard can also influence this, especially if itsuffers from bending, which results in poor cooler contact with the CPU.
In order to prevent bending from impacting our cooling results, we’ve installed Thermalright’sLGA 1700 contact frameinto our testing rig. If your motherboard is affected by bending, your thermal results will be worse than those shown below. Not all motherboards are affected equally by this issue. I tested Raptor Lake CPUs in two motherboards. And while one of them showed significant thermal improvements after installing Thermalright’s LGA1700 contact frame, the other motherboard showed no difference in temperatures whatsoever! Check outour review of the contact framefor more information.
Installation
The cooler installation is simple and easy. The fans come pre-installed, saving a few moments of installation time. I generally recommend securing the radiator to the case before proceeding to other steps.
Place the CPU bracket against the rear of the motherboard, and secure it using the included standoffs.
With the first installation of the cooler, you won’t need to apply thermal paste – it’s already on the copper contact plate. However, additional paste is included for other installations. If you’re not sure how to apply thermal paste, we have aguide you’re able to read for more details.
Attach the mounting bars, and secure it using the included thumbscrews.
After securing the CPU block, you’ll need to connect the pump to a USB header using the included cable. You’ll also need to connect the power cord to the CPU block and a SATA power port. Finally, connect the ARGB and PWM cables to finish installation.
Current page:Features and Specifications
Albert Thomas is a contributor for Tom’s Hardware, primarily covering CPU cooling reviews.
