Tom’s Hardware Verdict
If you’re building a PC with a strict budget, Thermalright’s Assassin X 120 R SE provides essential cooling performance that’s sufficient for most users, along with low noise levels.
Essential cooling performance sufficient for most users
Low noise levels
Available for less than $20 USD
Cons
Fan clips are a bit flimsy, but it’s $20
Why you can trust Tom’s HardwareOur expert reviewers spend hours testing and comparing products and services so you can choose the best for you.Find out more about how we test.
Features and Specifications
Thermalright is well-known by PC enthusiasts in recent years, for pushing the bar of both performance and value with its low-cost air coolers. I consider theirPhantom Spirit 120to have the best overall value on the market when you consider performance, cost, and noise levels.
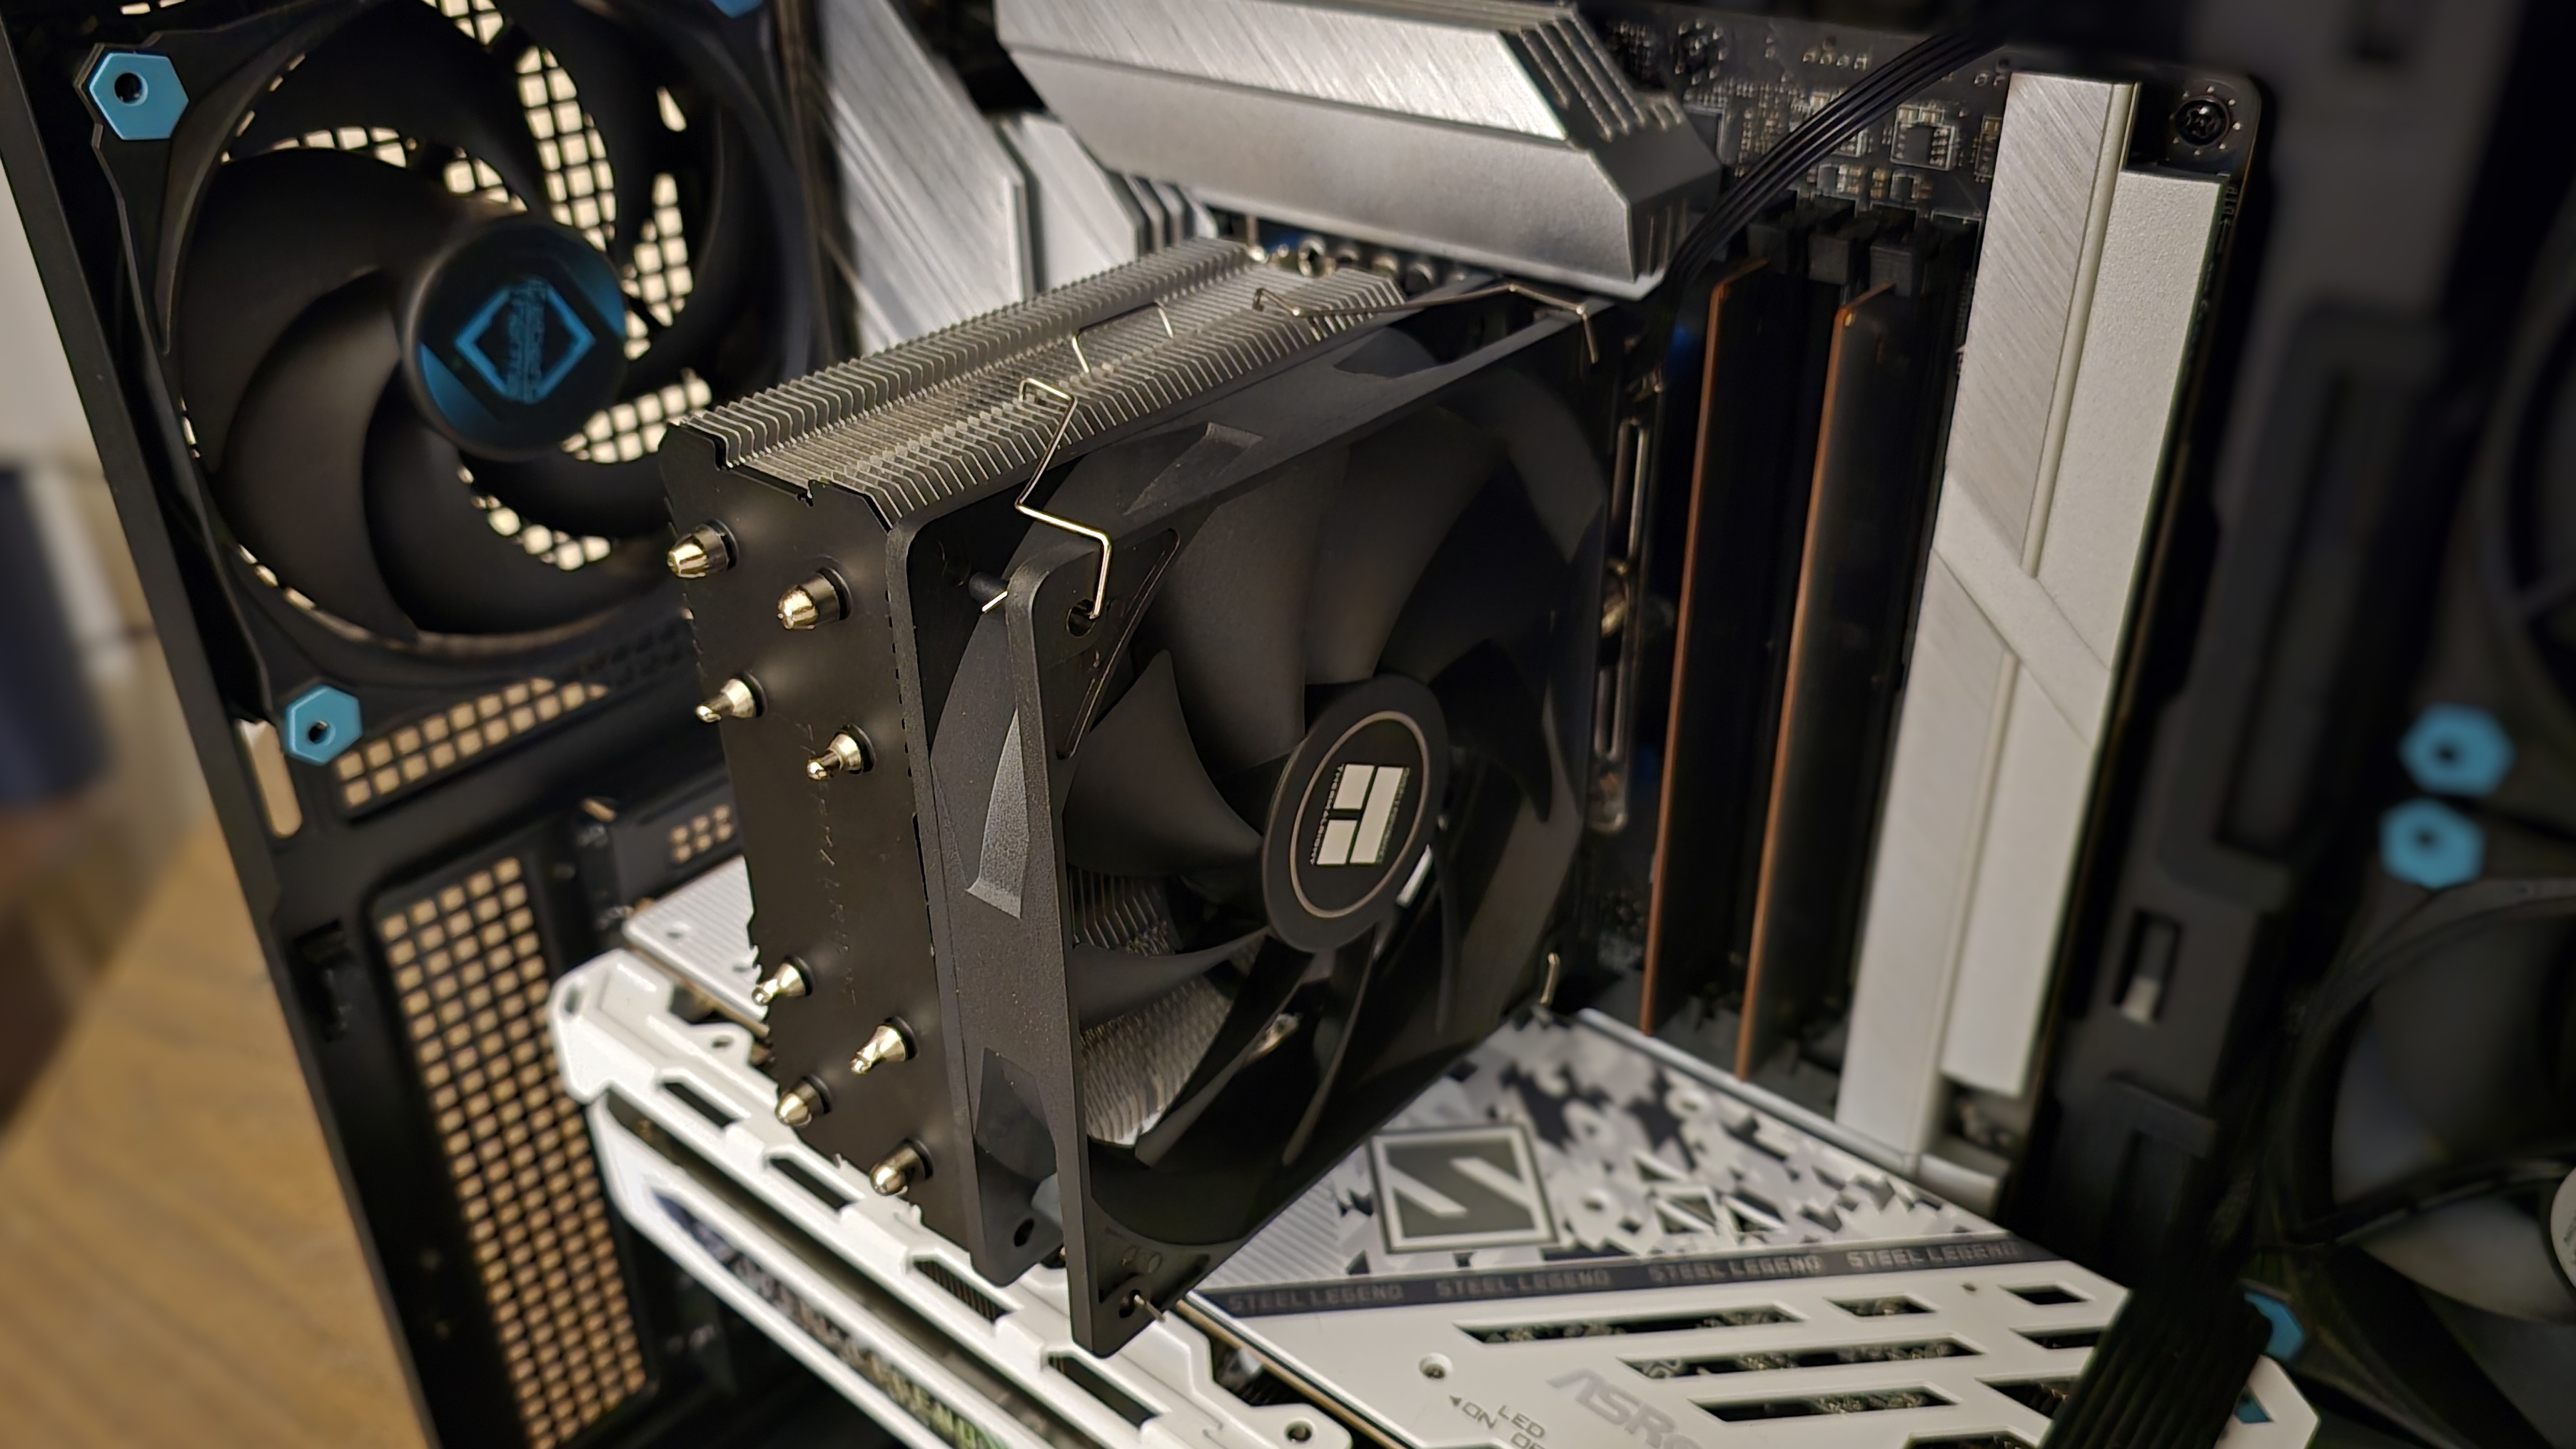
With this review we’re looking at one of Thermalright’s cheapest desktop coolers, theAssassin X 120 R SE. This is a basic, entry-level cooler with a single-tower radiator, four copper heatpipes, and a single 120mm fan.
This cooler won’t makeour list of best CPU coolers, but it is definitely a great value in entry-level cooling. Let’s take a quick look at the unit’s specifications, then we’ll dive into its features and the testing.
Cooler specifications
Packing and included contents
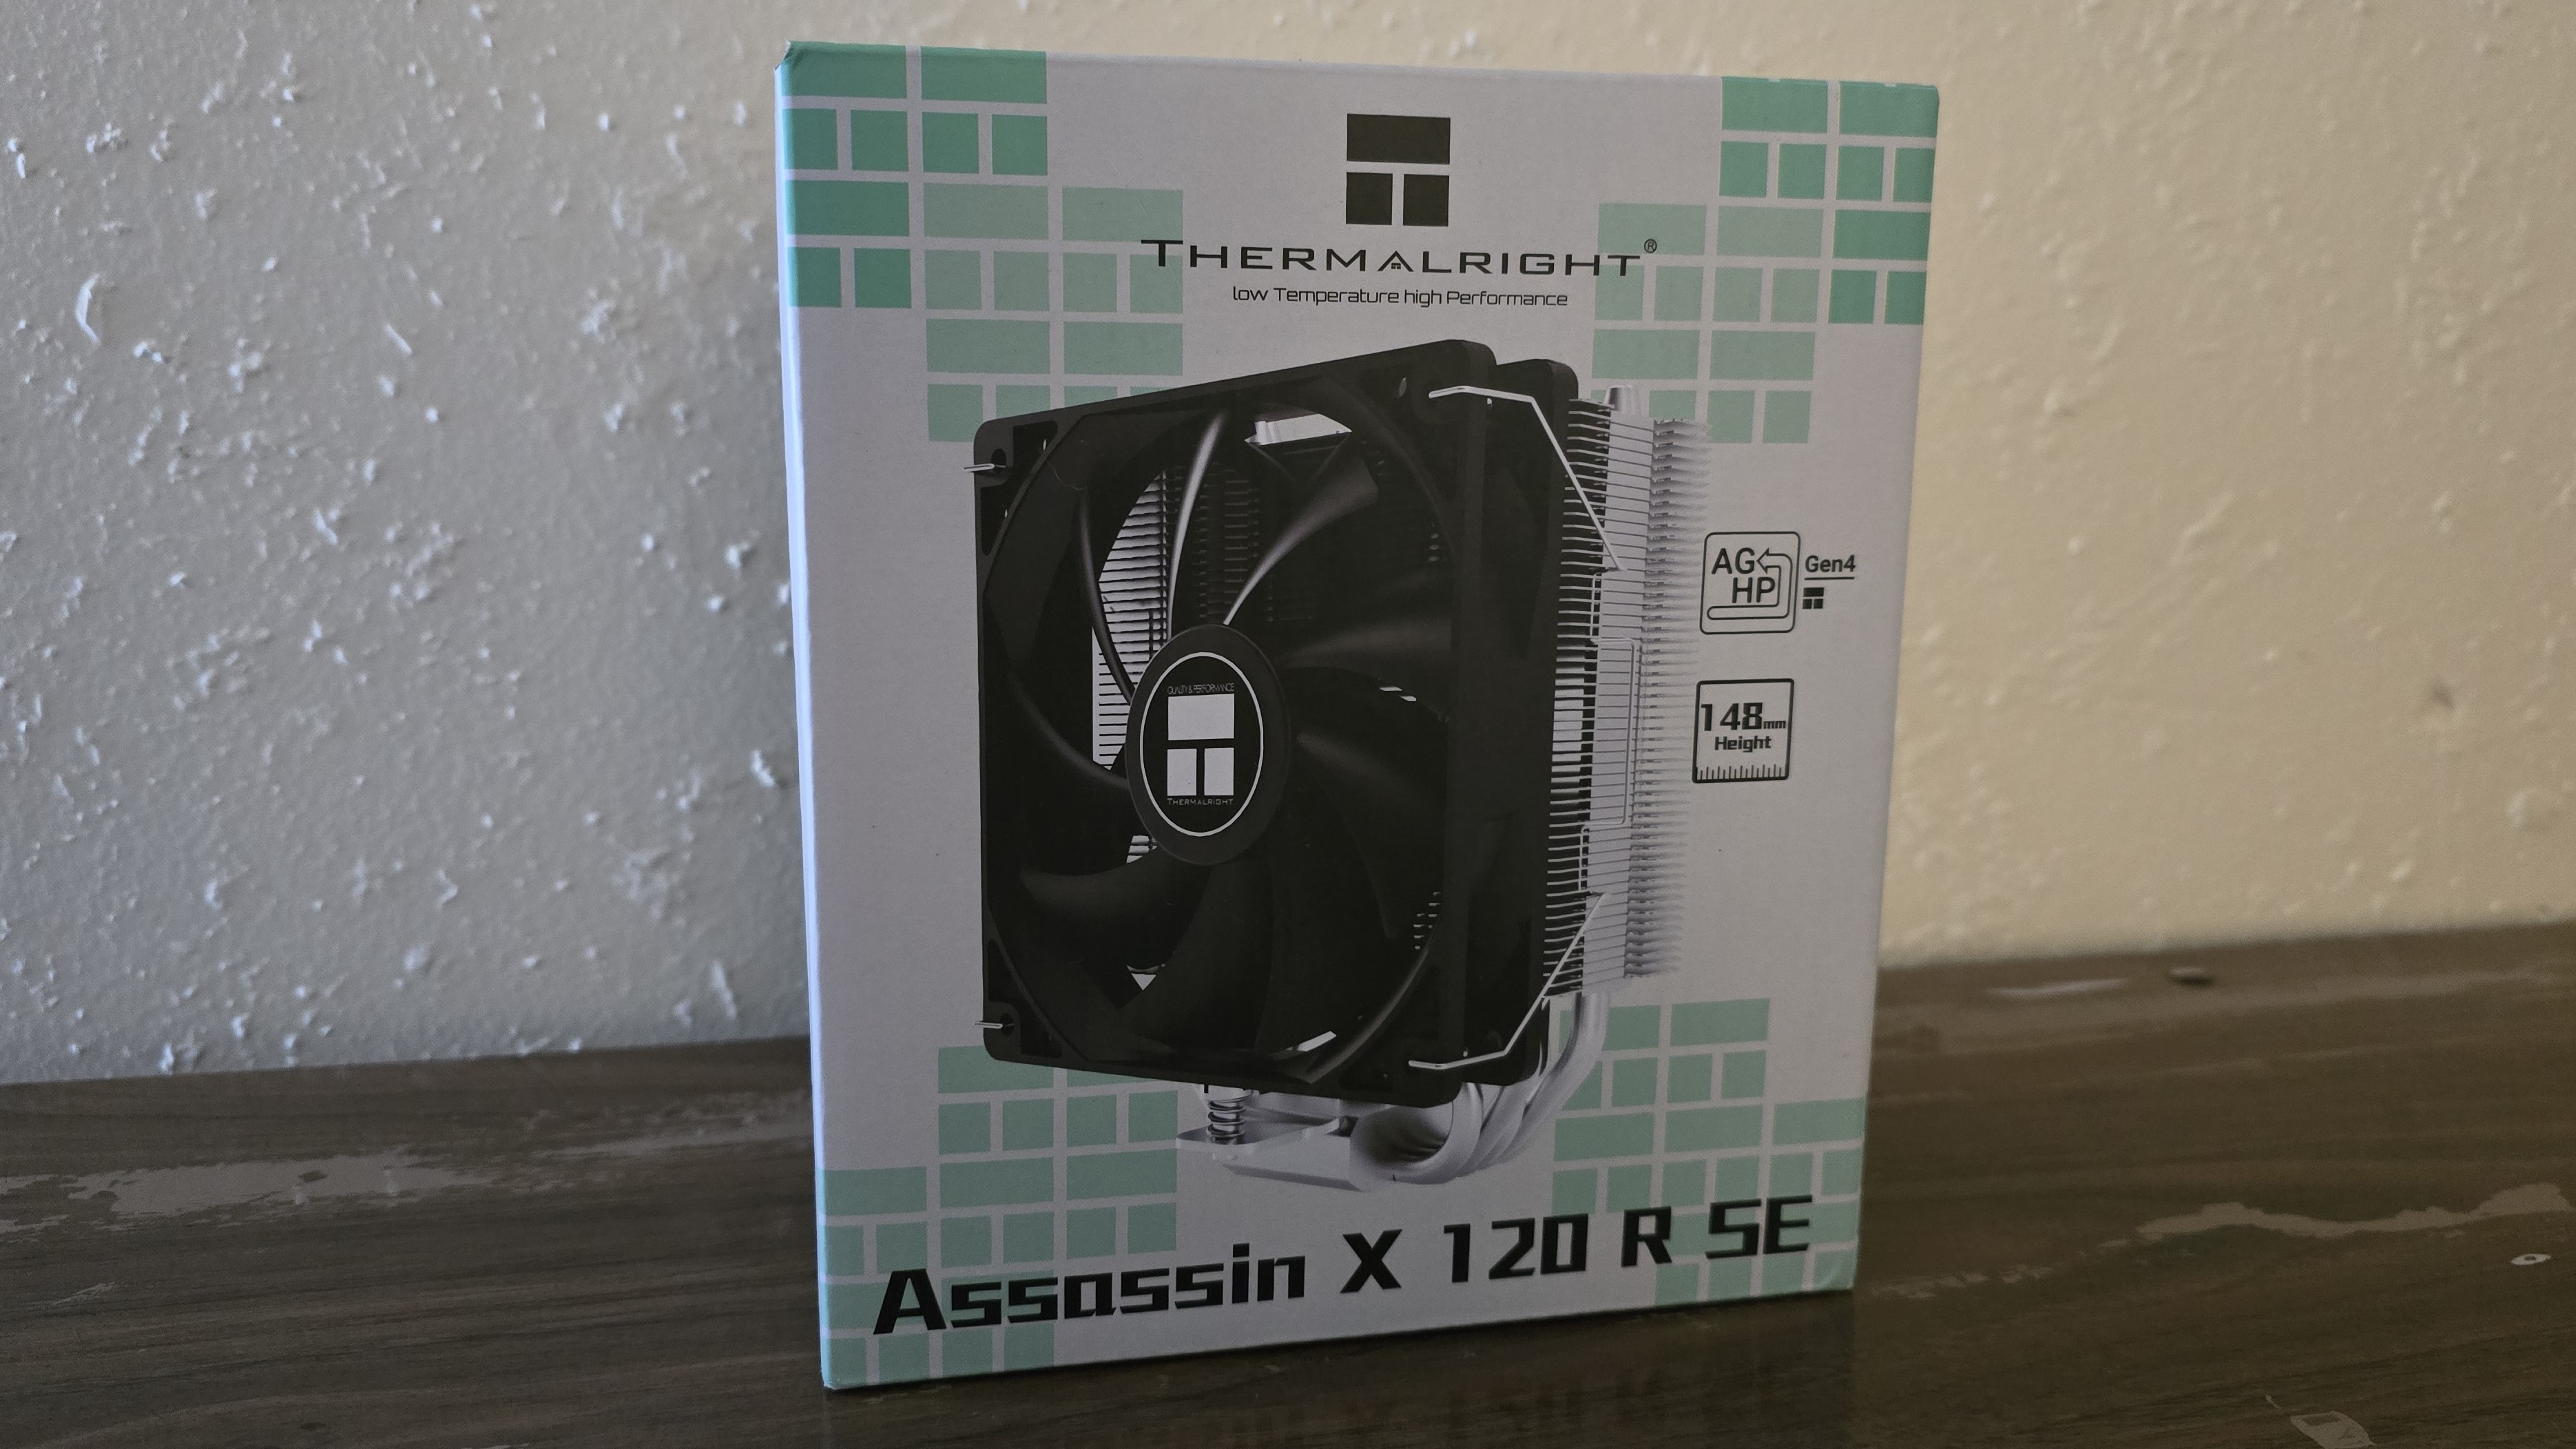
The packaging for this cooler is fairly basic, as to be expected for a low-cost product.
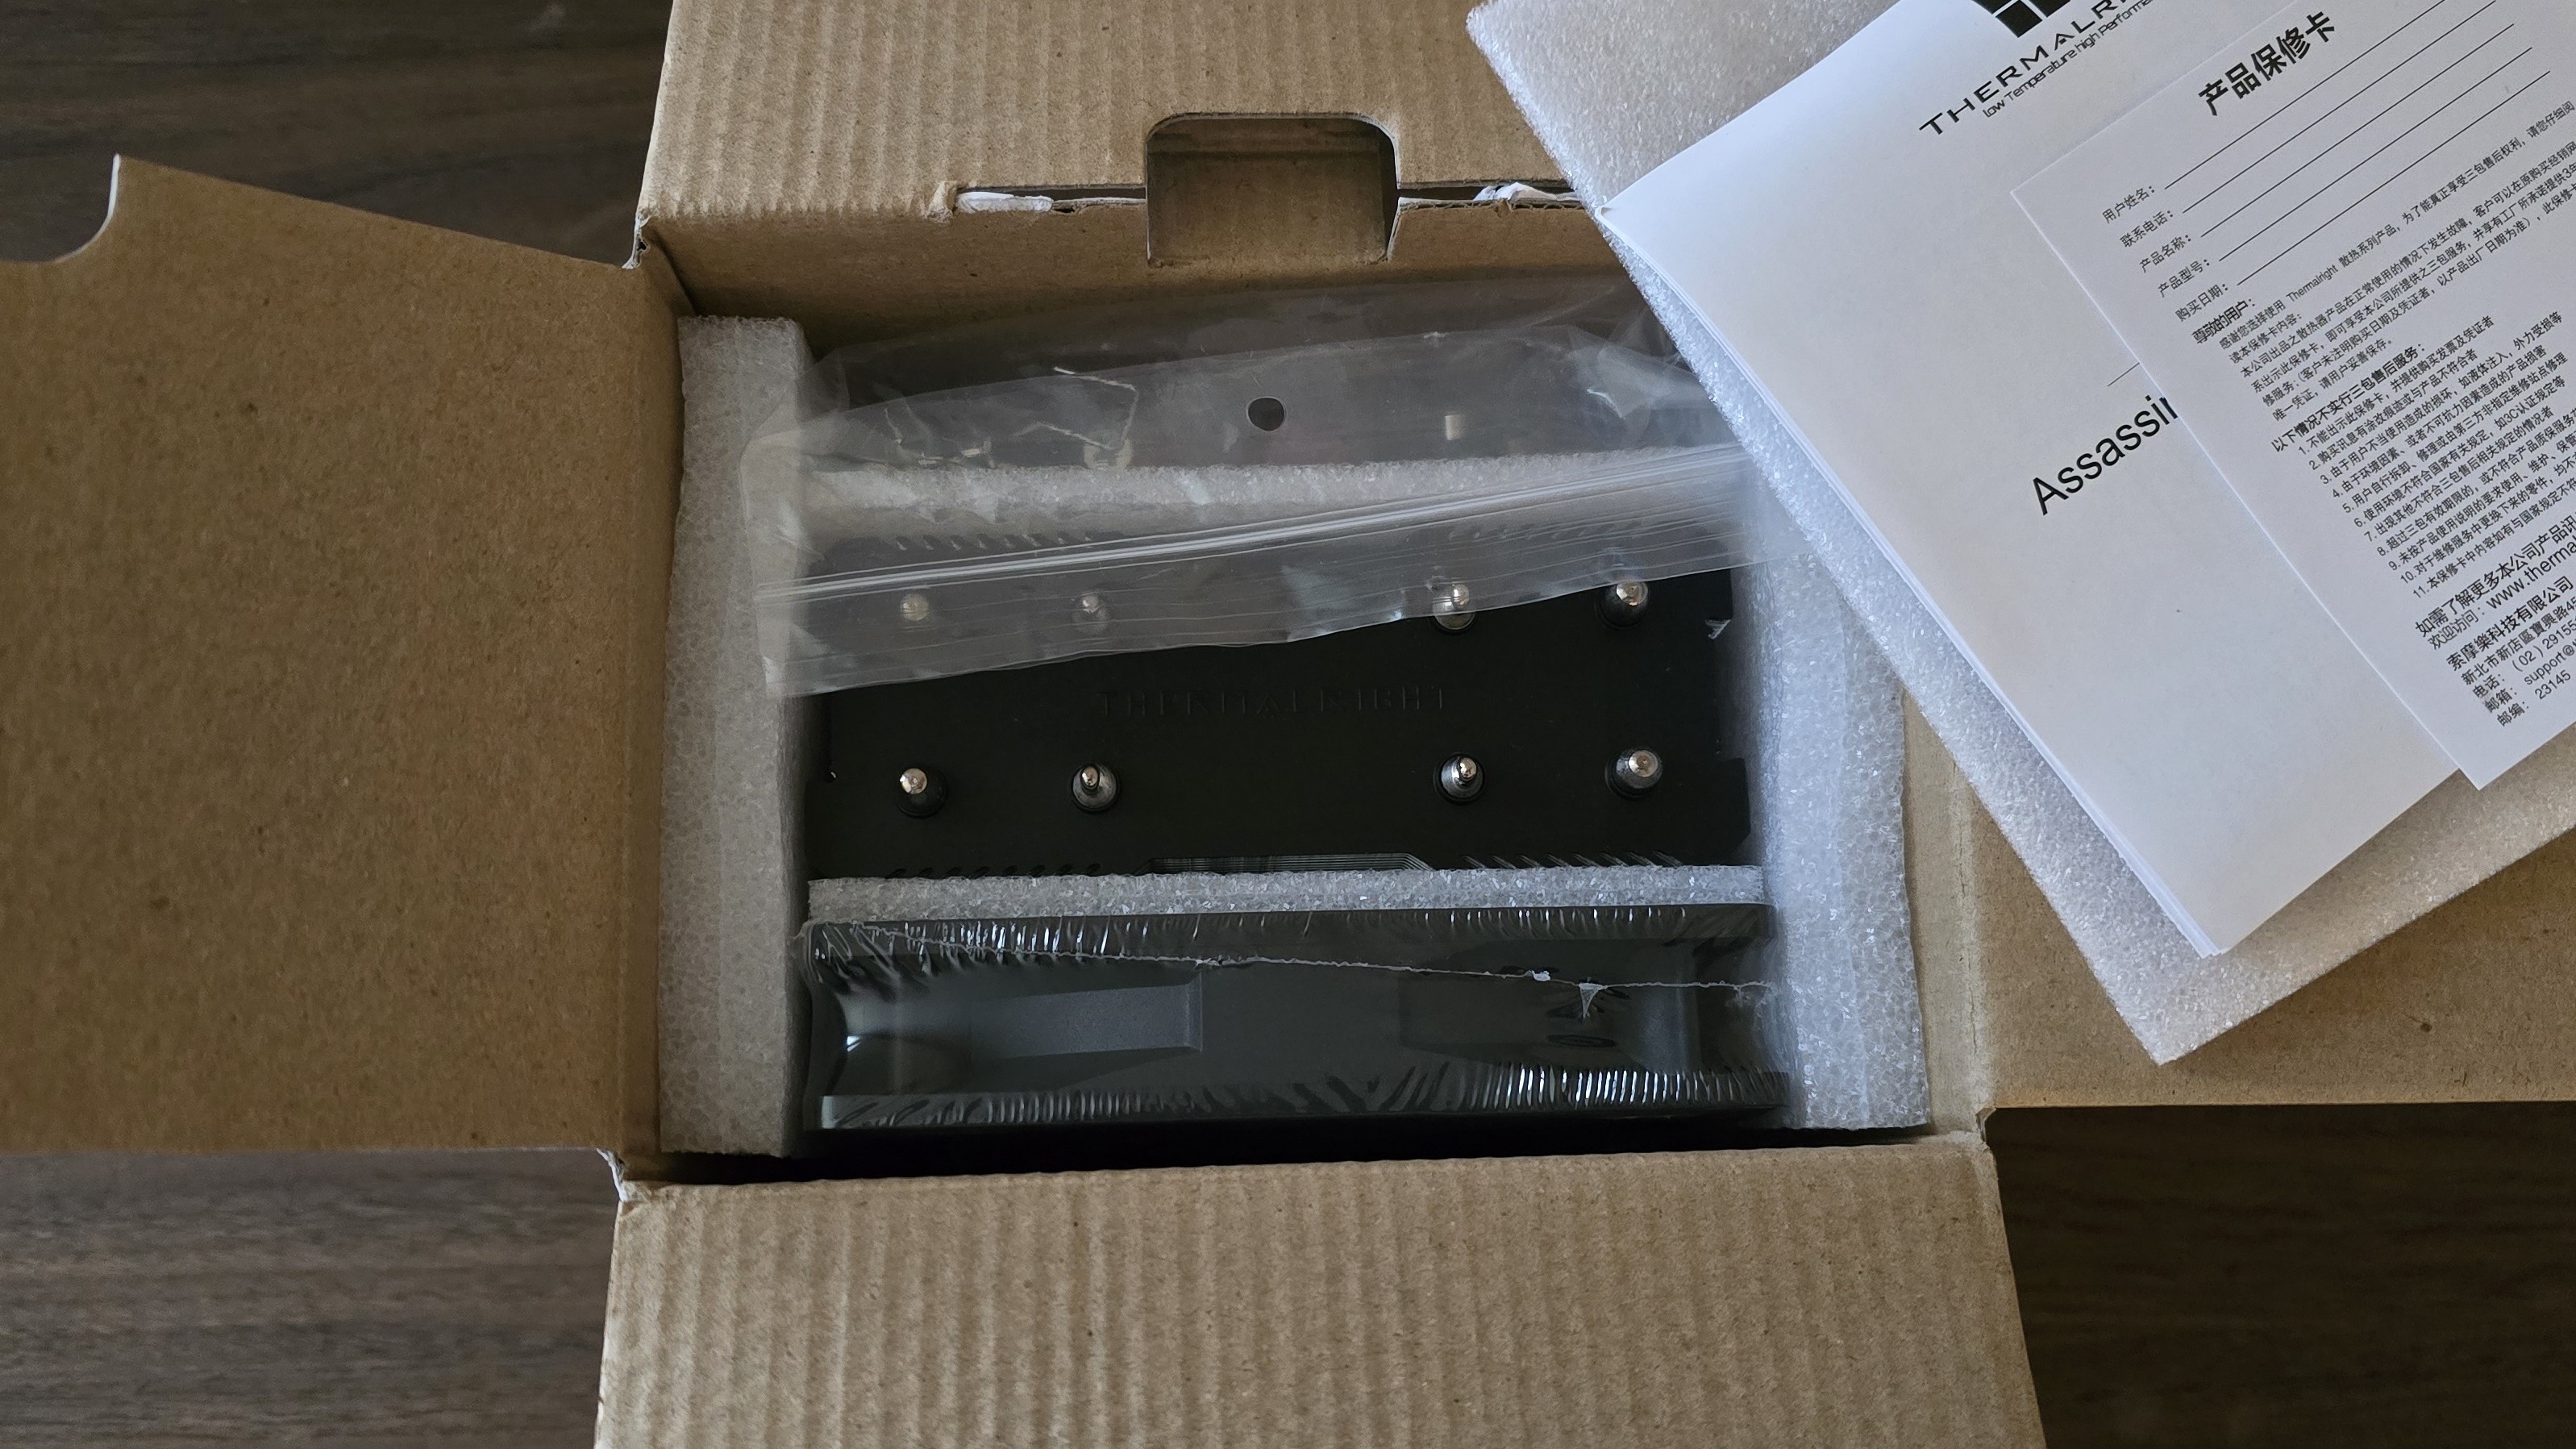
Opening the box reveals the cooler and fan, protected by a combination of molded foam and plastic wrap.
Features of the Assassin X 120 R SE
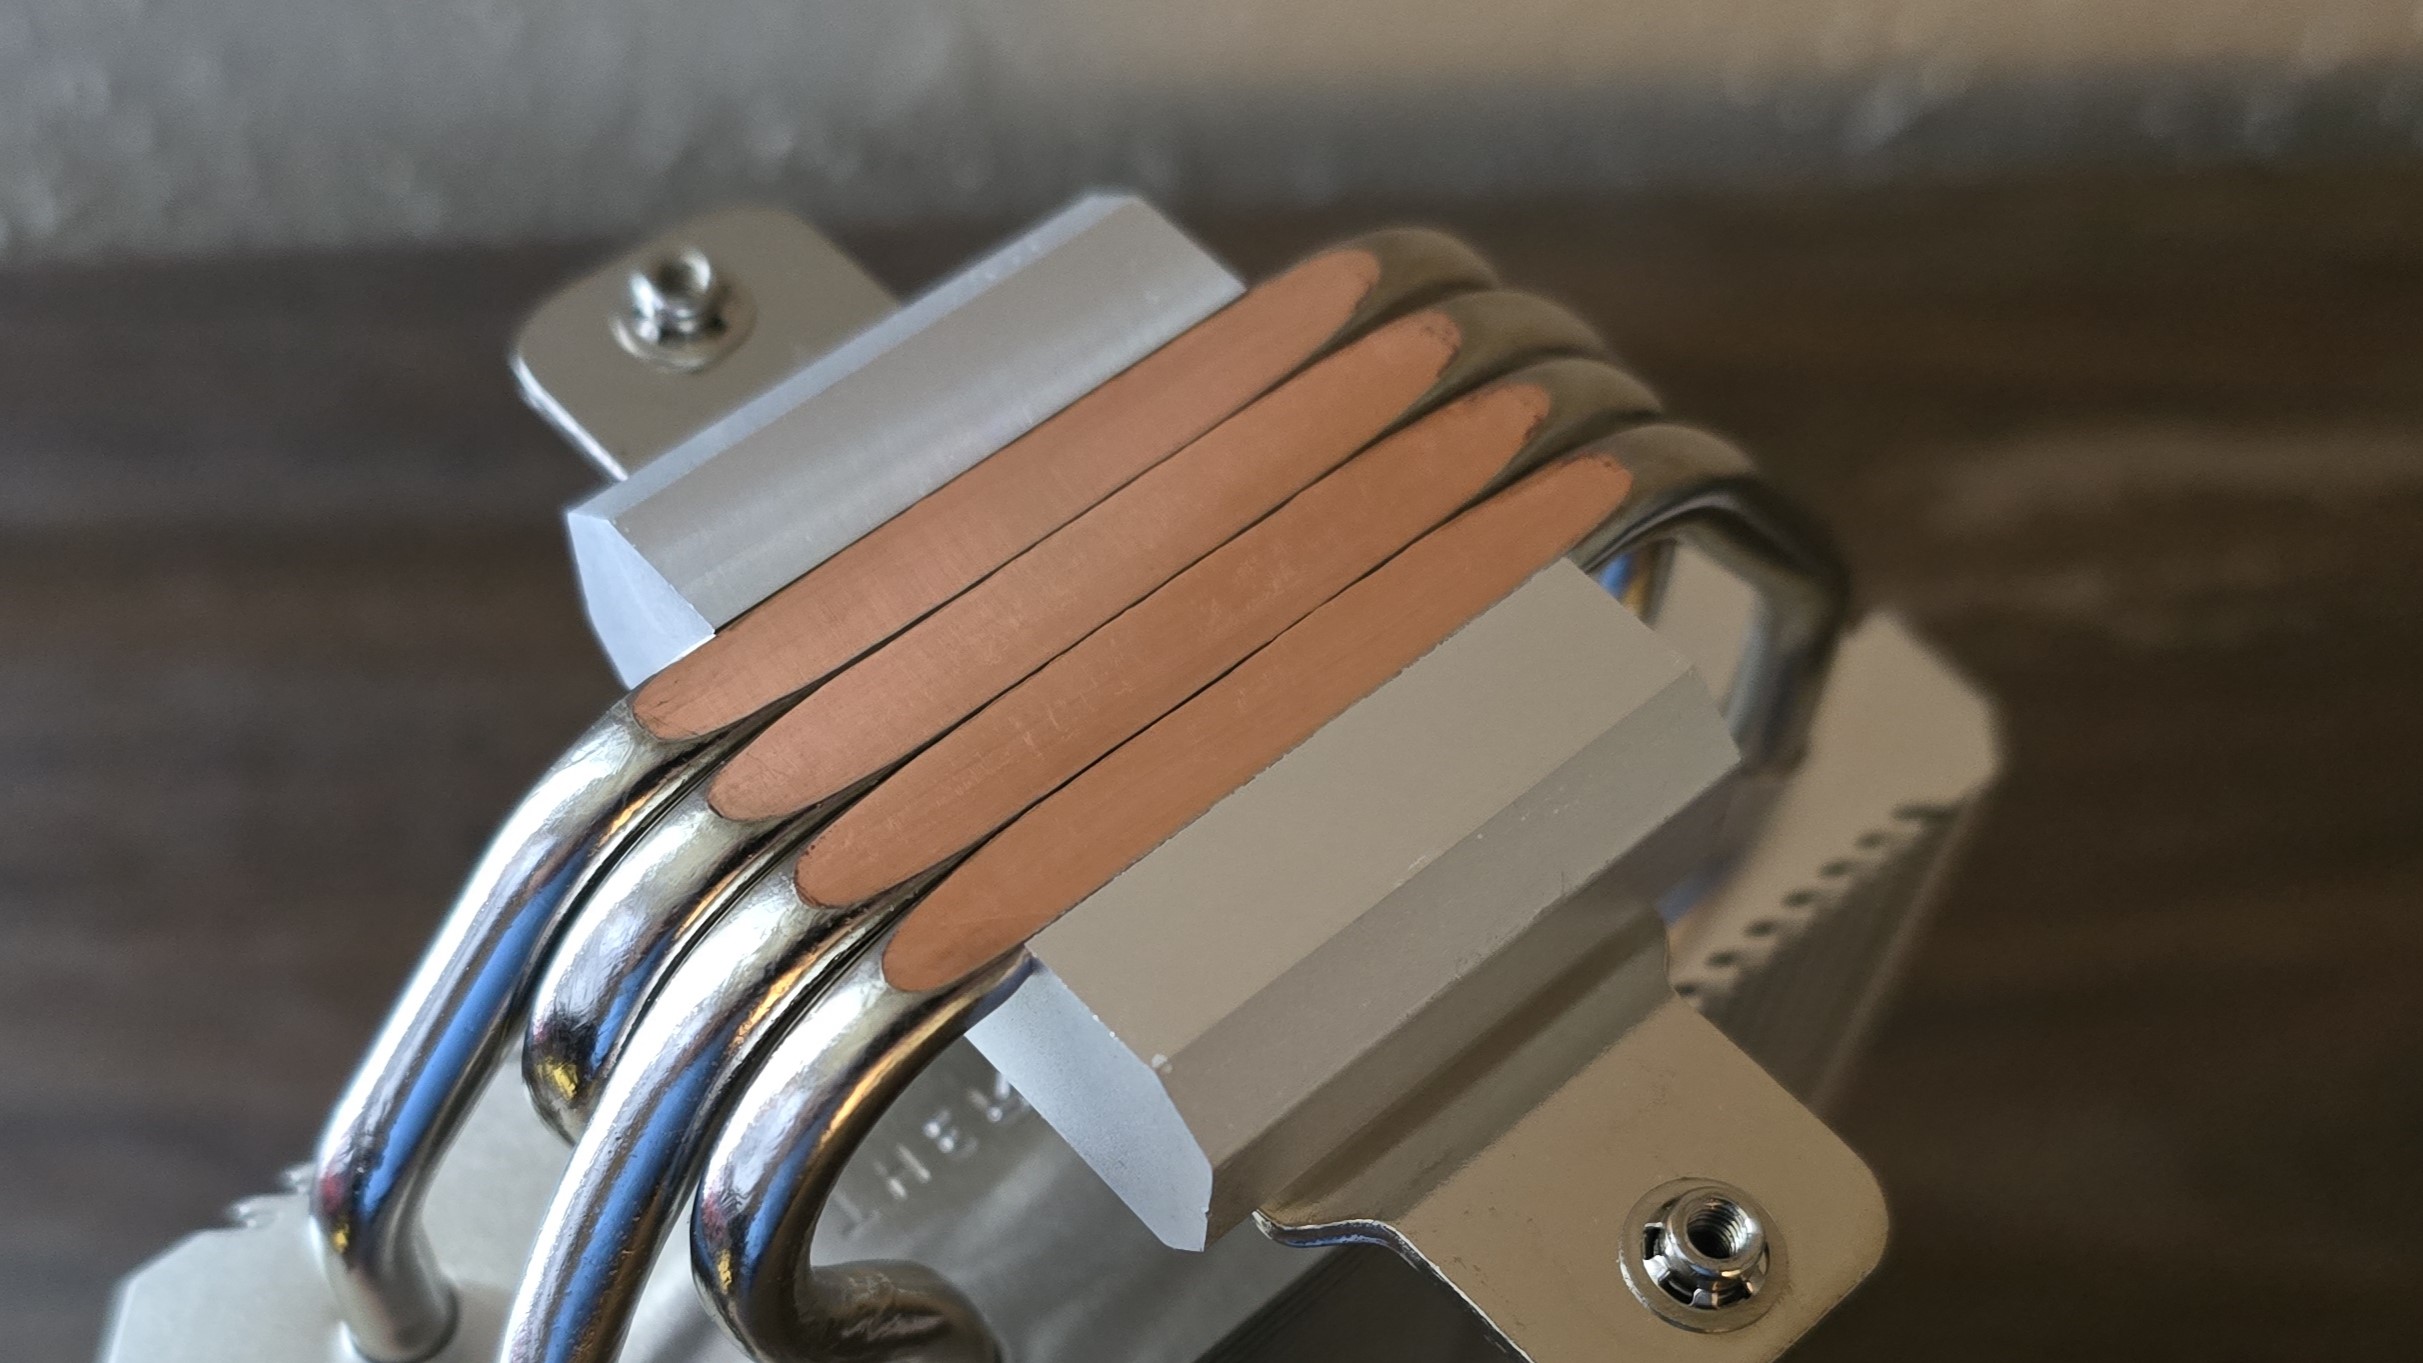
▶ Four 6mm direct-touch copper heatpipes
Direct-touch heatpipes are incorporated into this design to most-effectively transfer heat away from the CPU.
▶Low noise levels
This cooler runs quietly in all workloads, with a maximum noise level of 41.9 dBA.
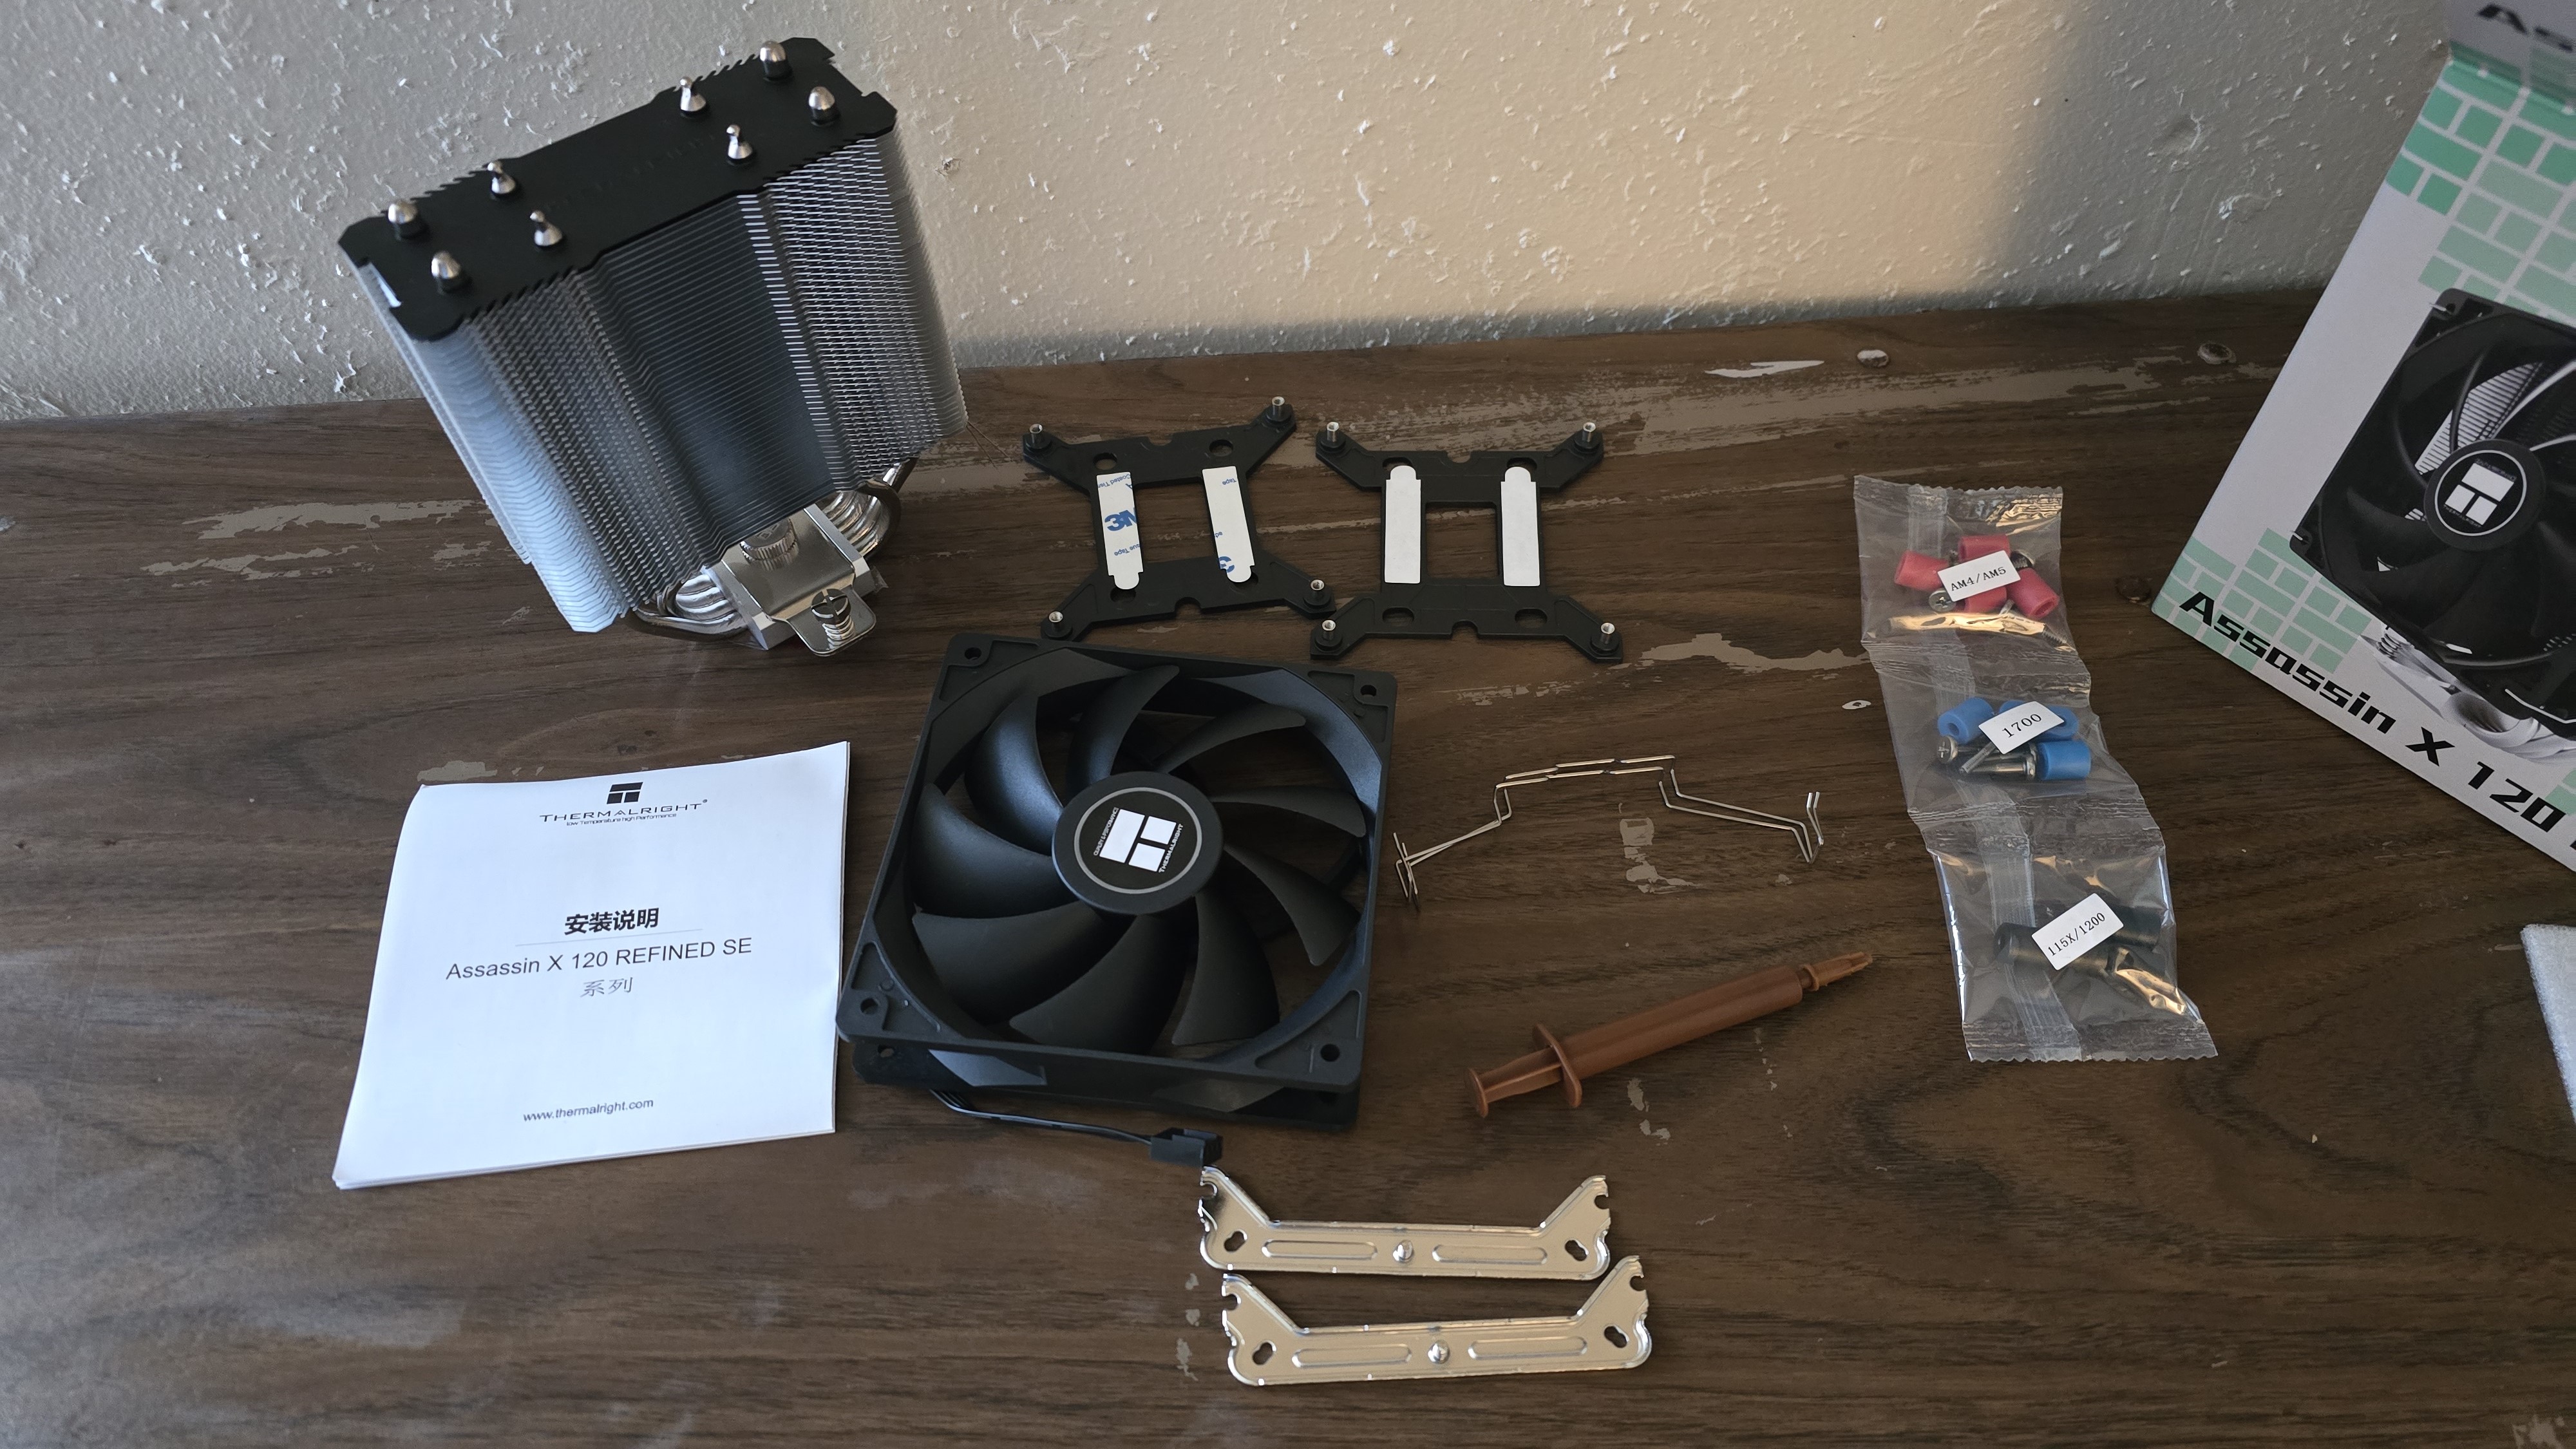
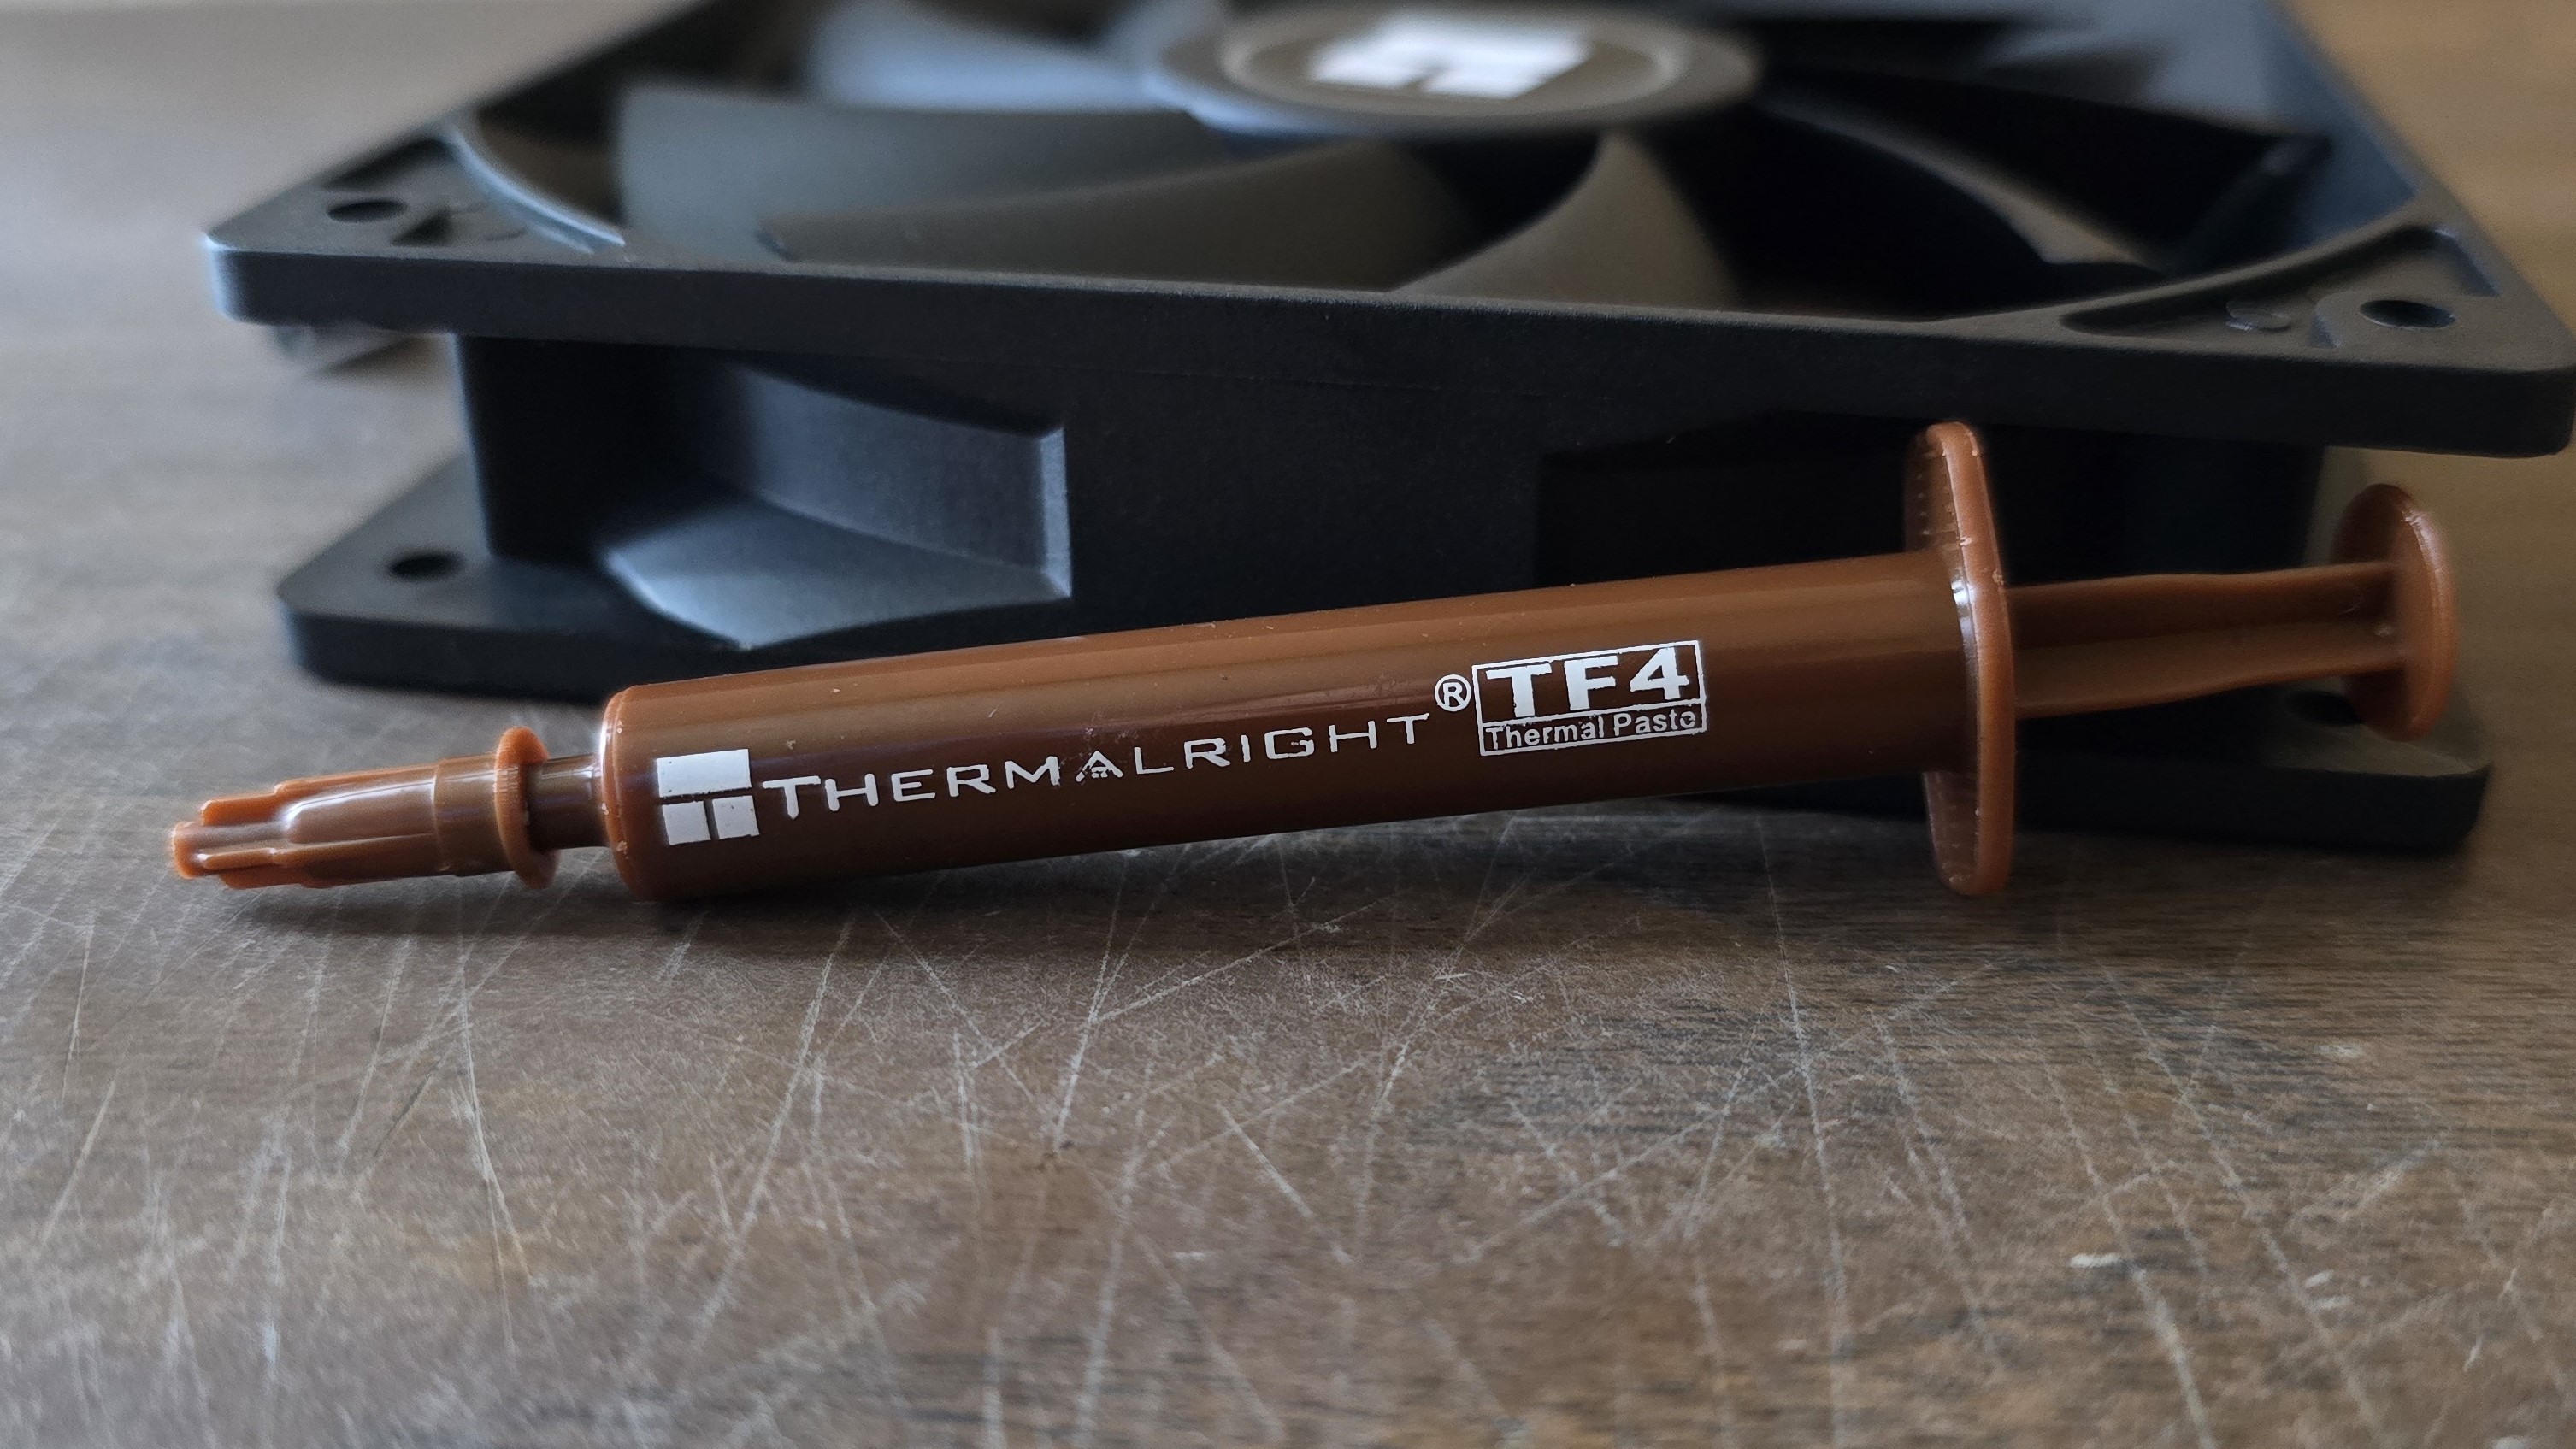
▶Thermalright TF4 thermal grease
Thermalright includes a tube of their TF4 thermal grease for use with the Assassin X 120 R SE. This is an entry-level paste from Thermalright, but it still performs rather well – only 3 degrees Celsius behind the best performing pastes we’ve benchmarked inour thermal paste tests.
▶Low price
You won’t find many coolers with a cheaper price than the Assassin X 120 R SE. It has an official MSRP of $19.90 USD, but can often be found for as cheap as $15 atAmazonand other retailers.
▶TL-C12C 120mm fan
There’s more to a cooler than just the heatsink or radiator. The bundled fans have a significant impact on cooling and noise levels, as well as how the cooler looks in your case. Thermalright includes one of their TL-C12C 120mm fans with the Assassin X 120 R SE. It is a very basic fan, but it provides essential cooling with low noise levels.
Testing Methodology, and how my testing differs vs the competition
I do a few things to ensure my results are useful. To begin, I strictly regulate the ambient temperature to 23 degrees C during testing. I do not accept results at 22 or 24C as valid, even though in theory there won’t be much of a difference.
Some reviewers test CPU Coolers on an open test bench, the idea being to remove any variables other than the cooler. The problem with this type of testing is that with typical usage – you know, with an enclosed case – the ambient temperature within will be higher than that of outside air, which adds difficulty to the cooler’s job.
Some test CPU coolers using a thermal plate instead of using a CPU. This suffers from all the drawbacks of open bench testing, but also doesn’t effectively emulate the heat from a CPU. A thermal plate generally evenly distributes heat, with a low overall thermal density. CPUs, on the other hand, have most of their heat generated in concentrated hotspots, making them much more difficult to cool.Older CPUs are also poor candidates for cooler testing for similar reasons – they were produced with larger manufacturing processes and may have lower thermal density in their hotspots as a result.
The problem with CPU-only testing
Testing with CPU only loads provides useful information, but it doesn’t paint a complete picture of how a cooler will perform. Many workloads, especially gaming, will stress both the CPU and GPU.
To test how well a CPU’s cooler will perform in these situations, I’ve added two tests: one with a light CPU and one with a moderate CPU load – both while running a full load on the GPU.
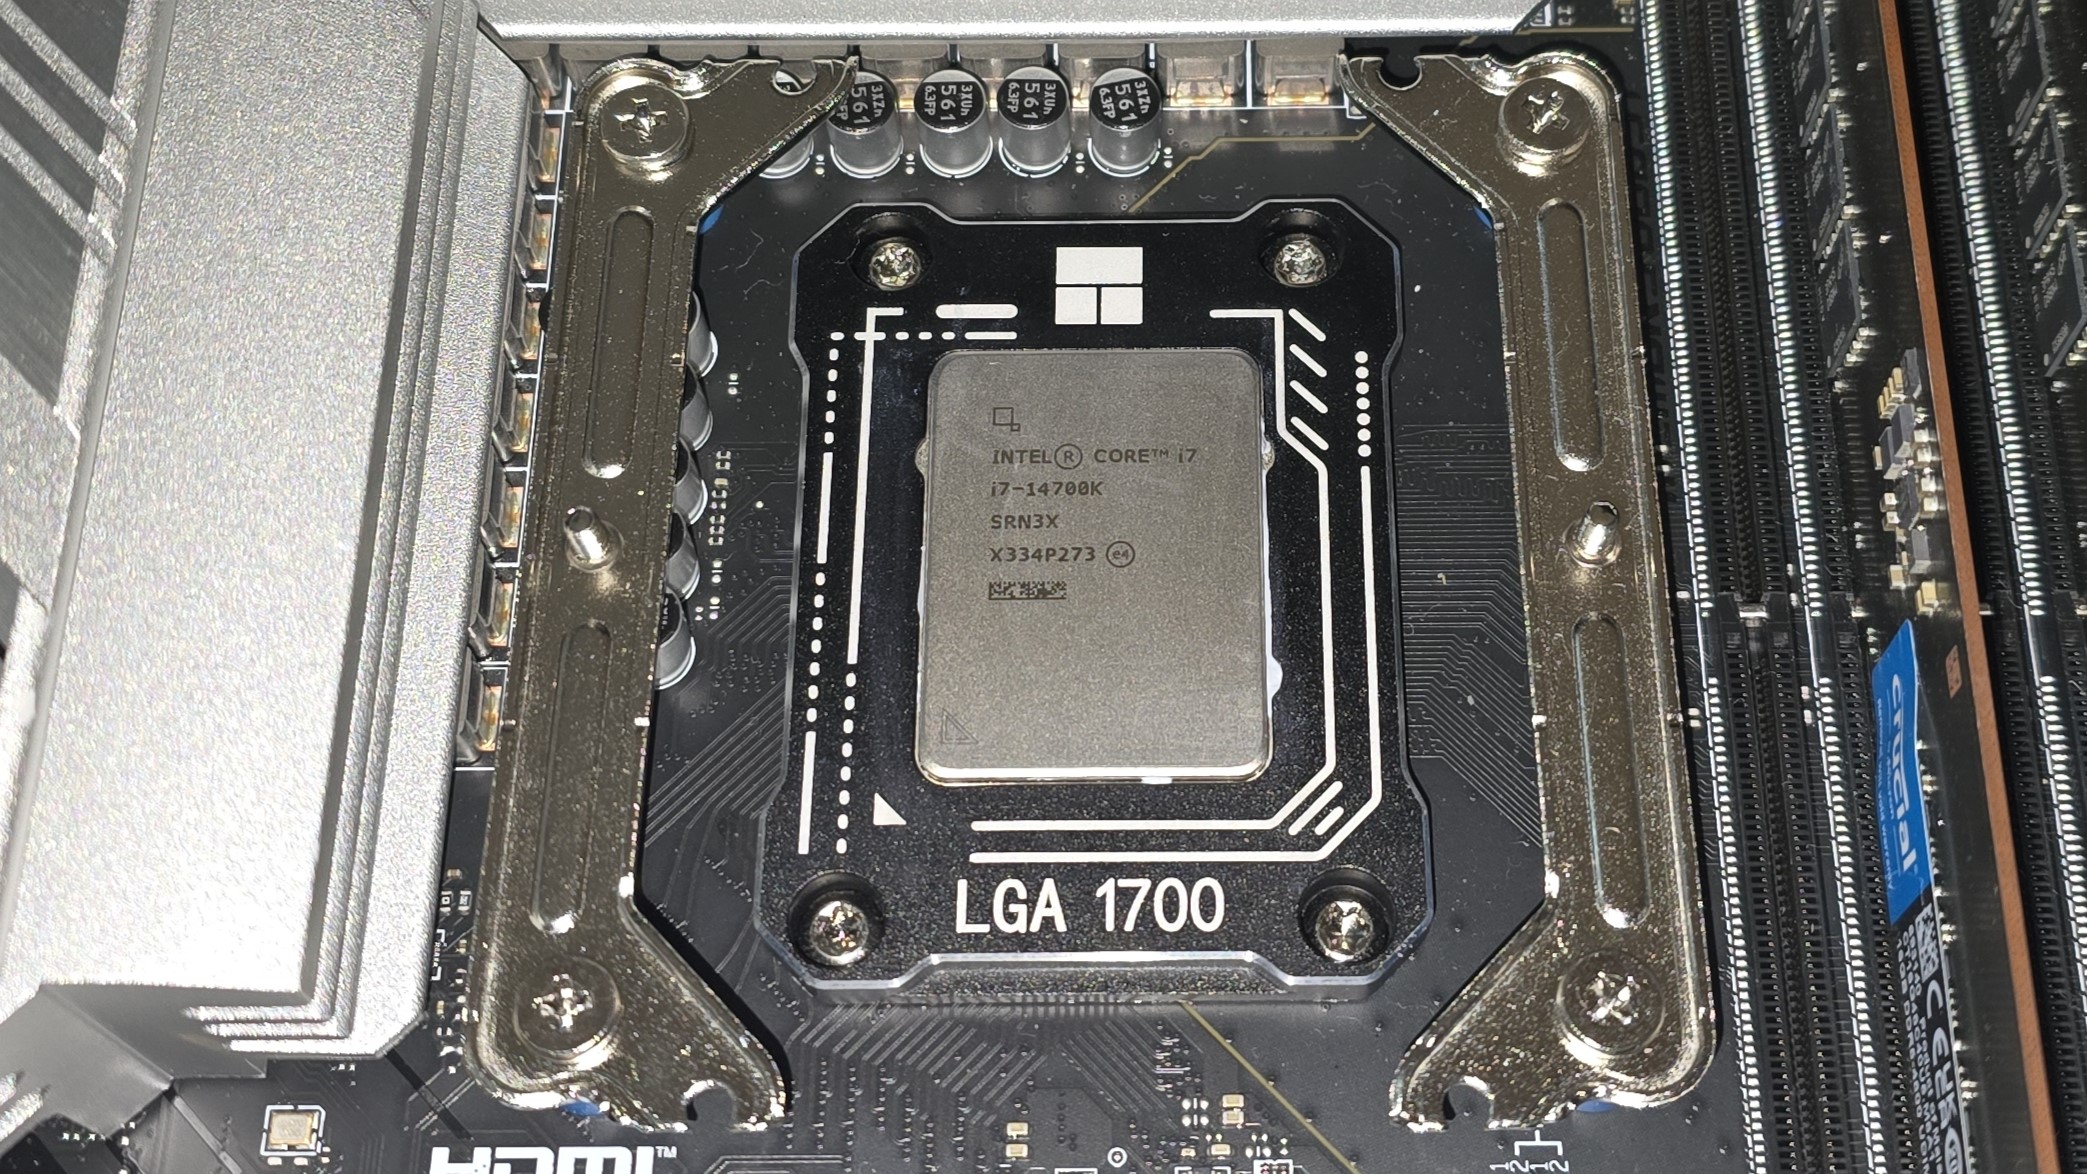
Testing configuration – Intel LGA1700 platform
There are many factors other than the CPU cooler that can influence your cooling performance, including the case you use and the fans installed in it. A system’s motherboard can also influence this, especially if itsuffers from bending, which results in poor cooler contact with the CPU.
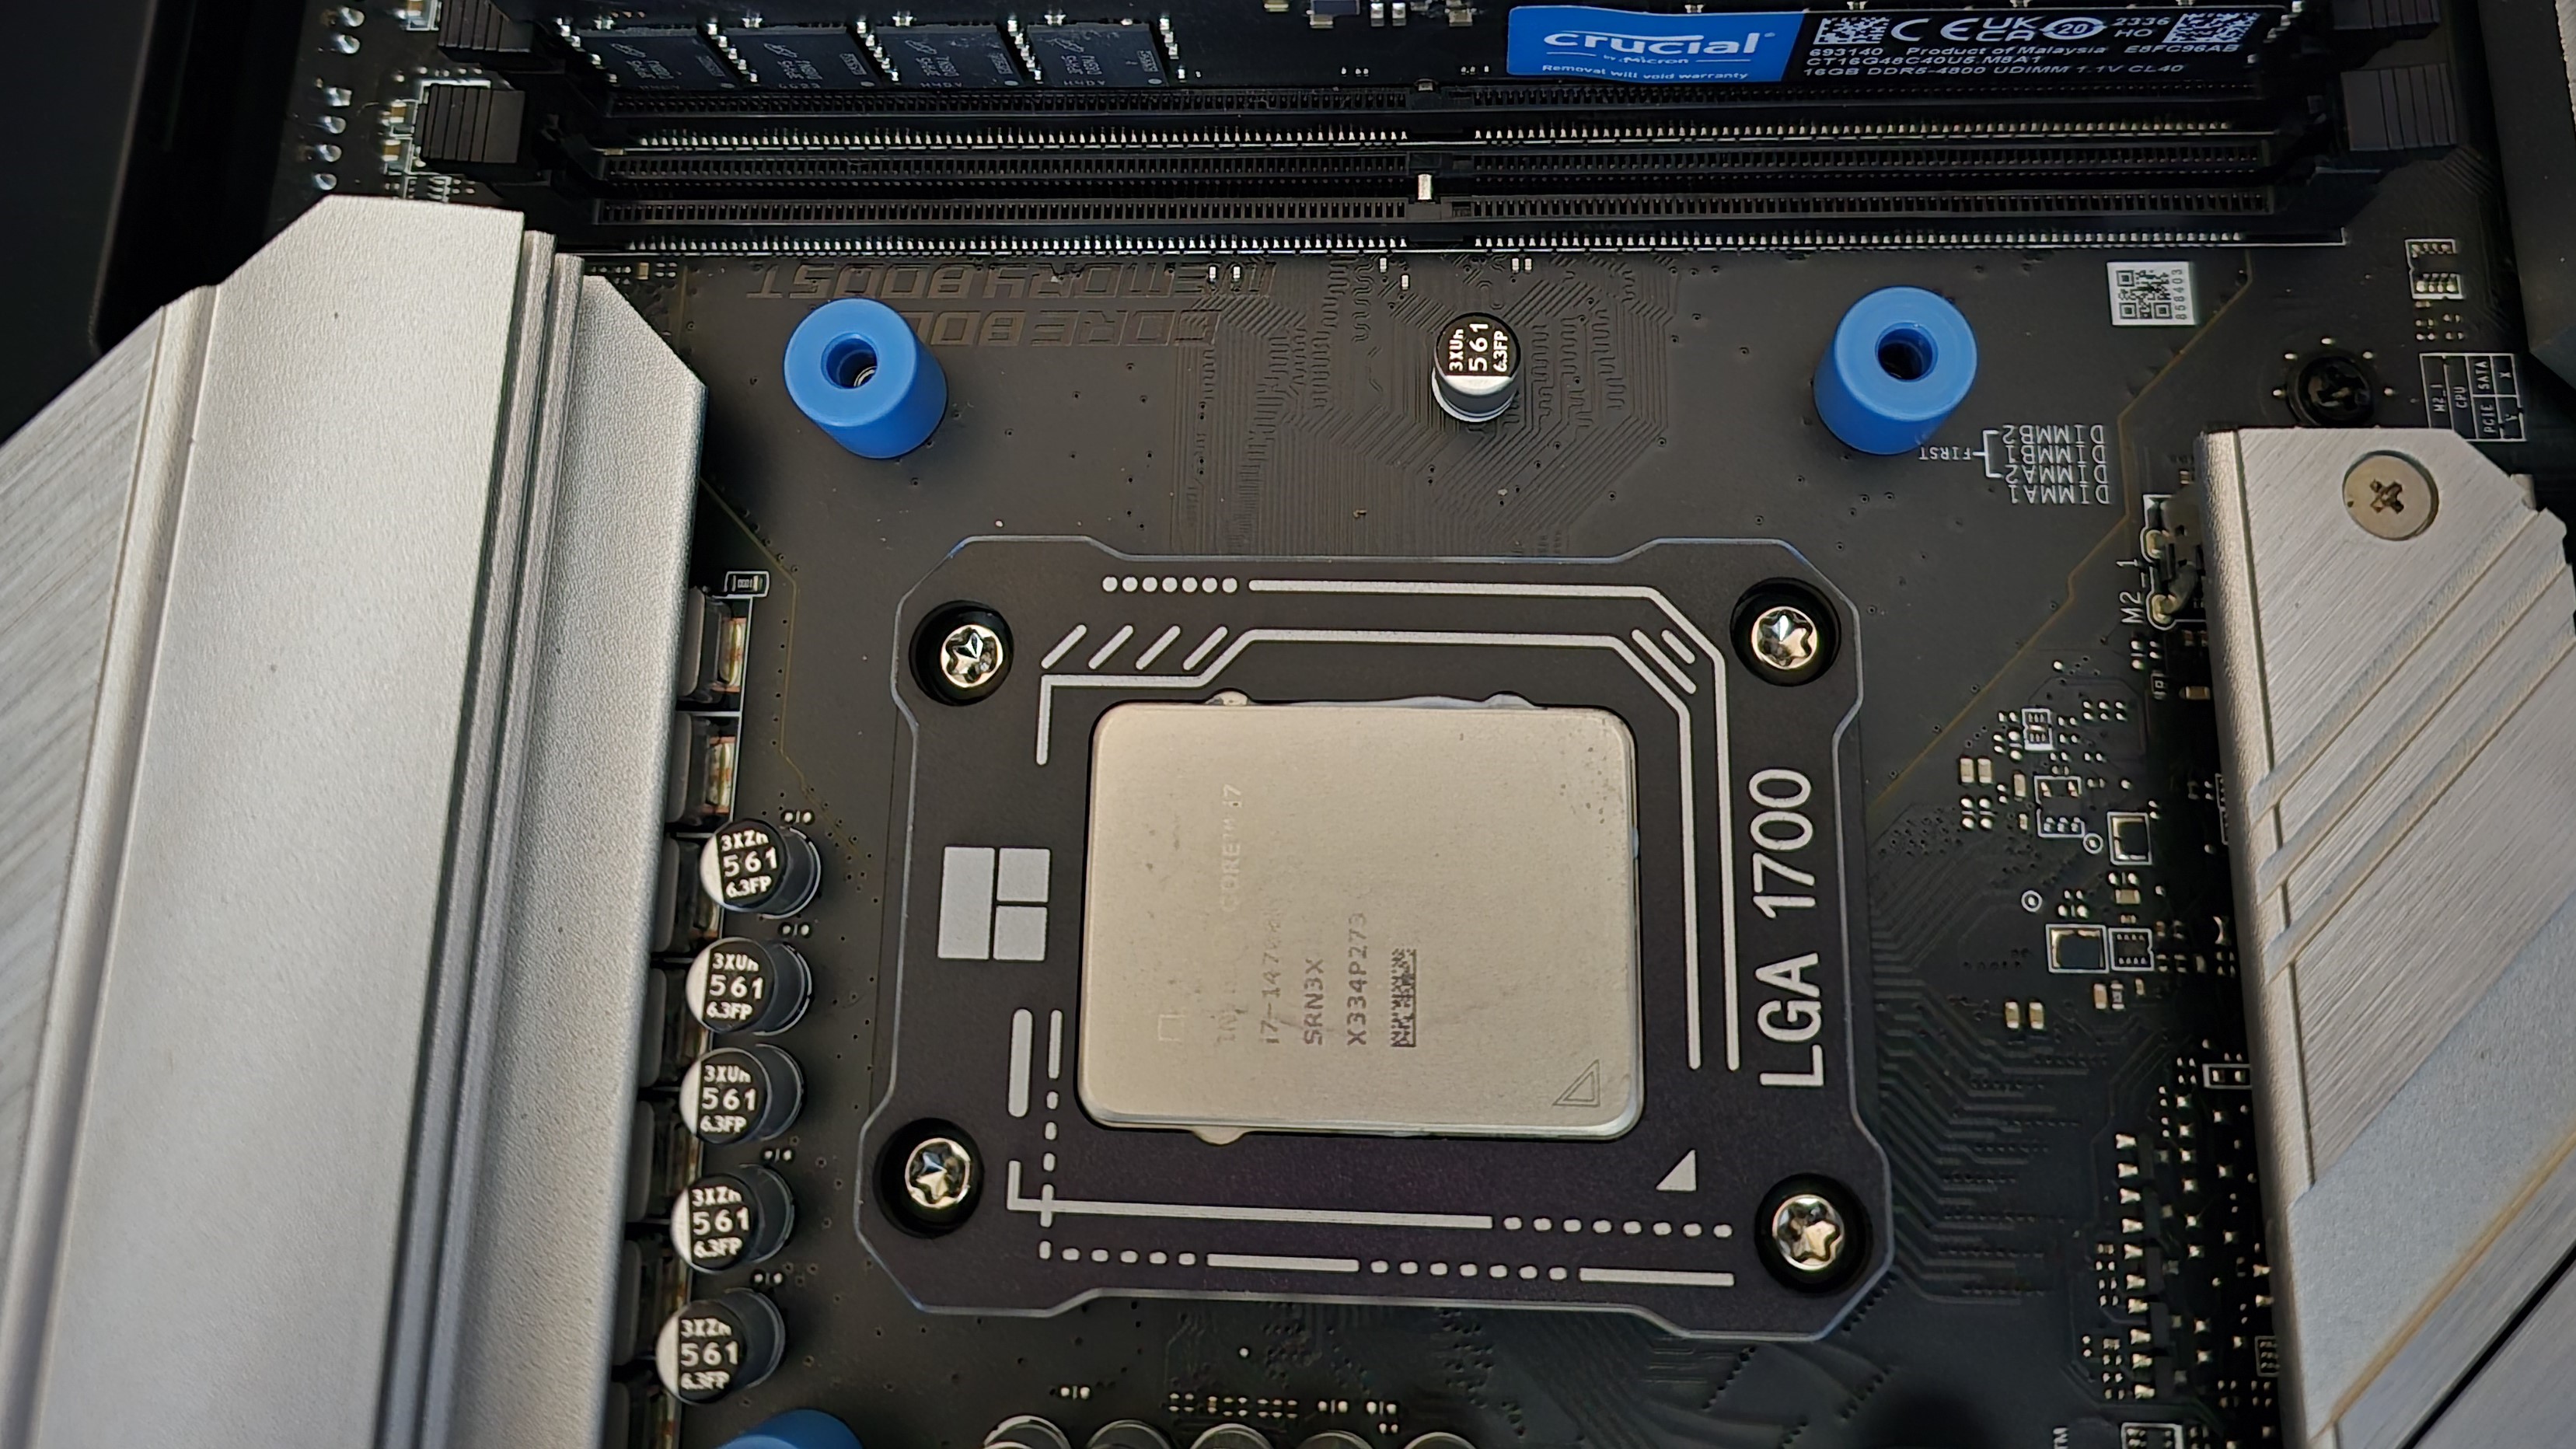
In order to prevent bending from impacting our cooling results, we’ve installed Thermalright’sLGA 1700 contact frameinto our testing rig. If your motherboard is affected by bending, your thermal results will be worse than those shown below. Not all motherboards are affected equally by this issue. I tested Raptor Lake CPUs in two motherboards. And while one of them showed significant thermal improvements after installing Thermalright’s LGA1700 contact frame, the other motherboard showed no difference in temperatures whatsoever! Check outour review of the contact framefor more information.
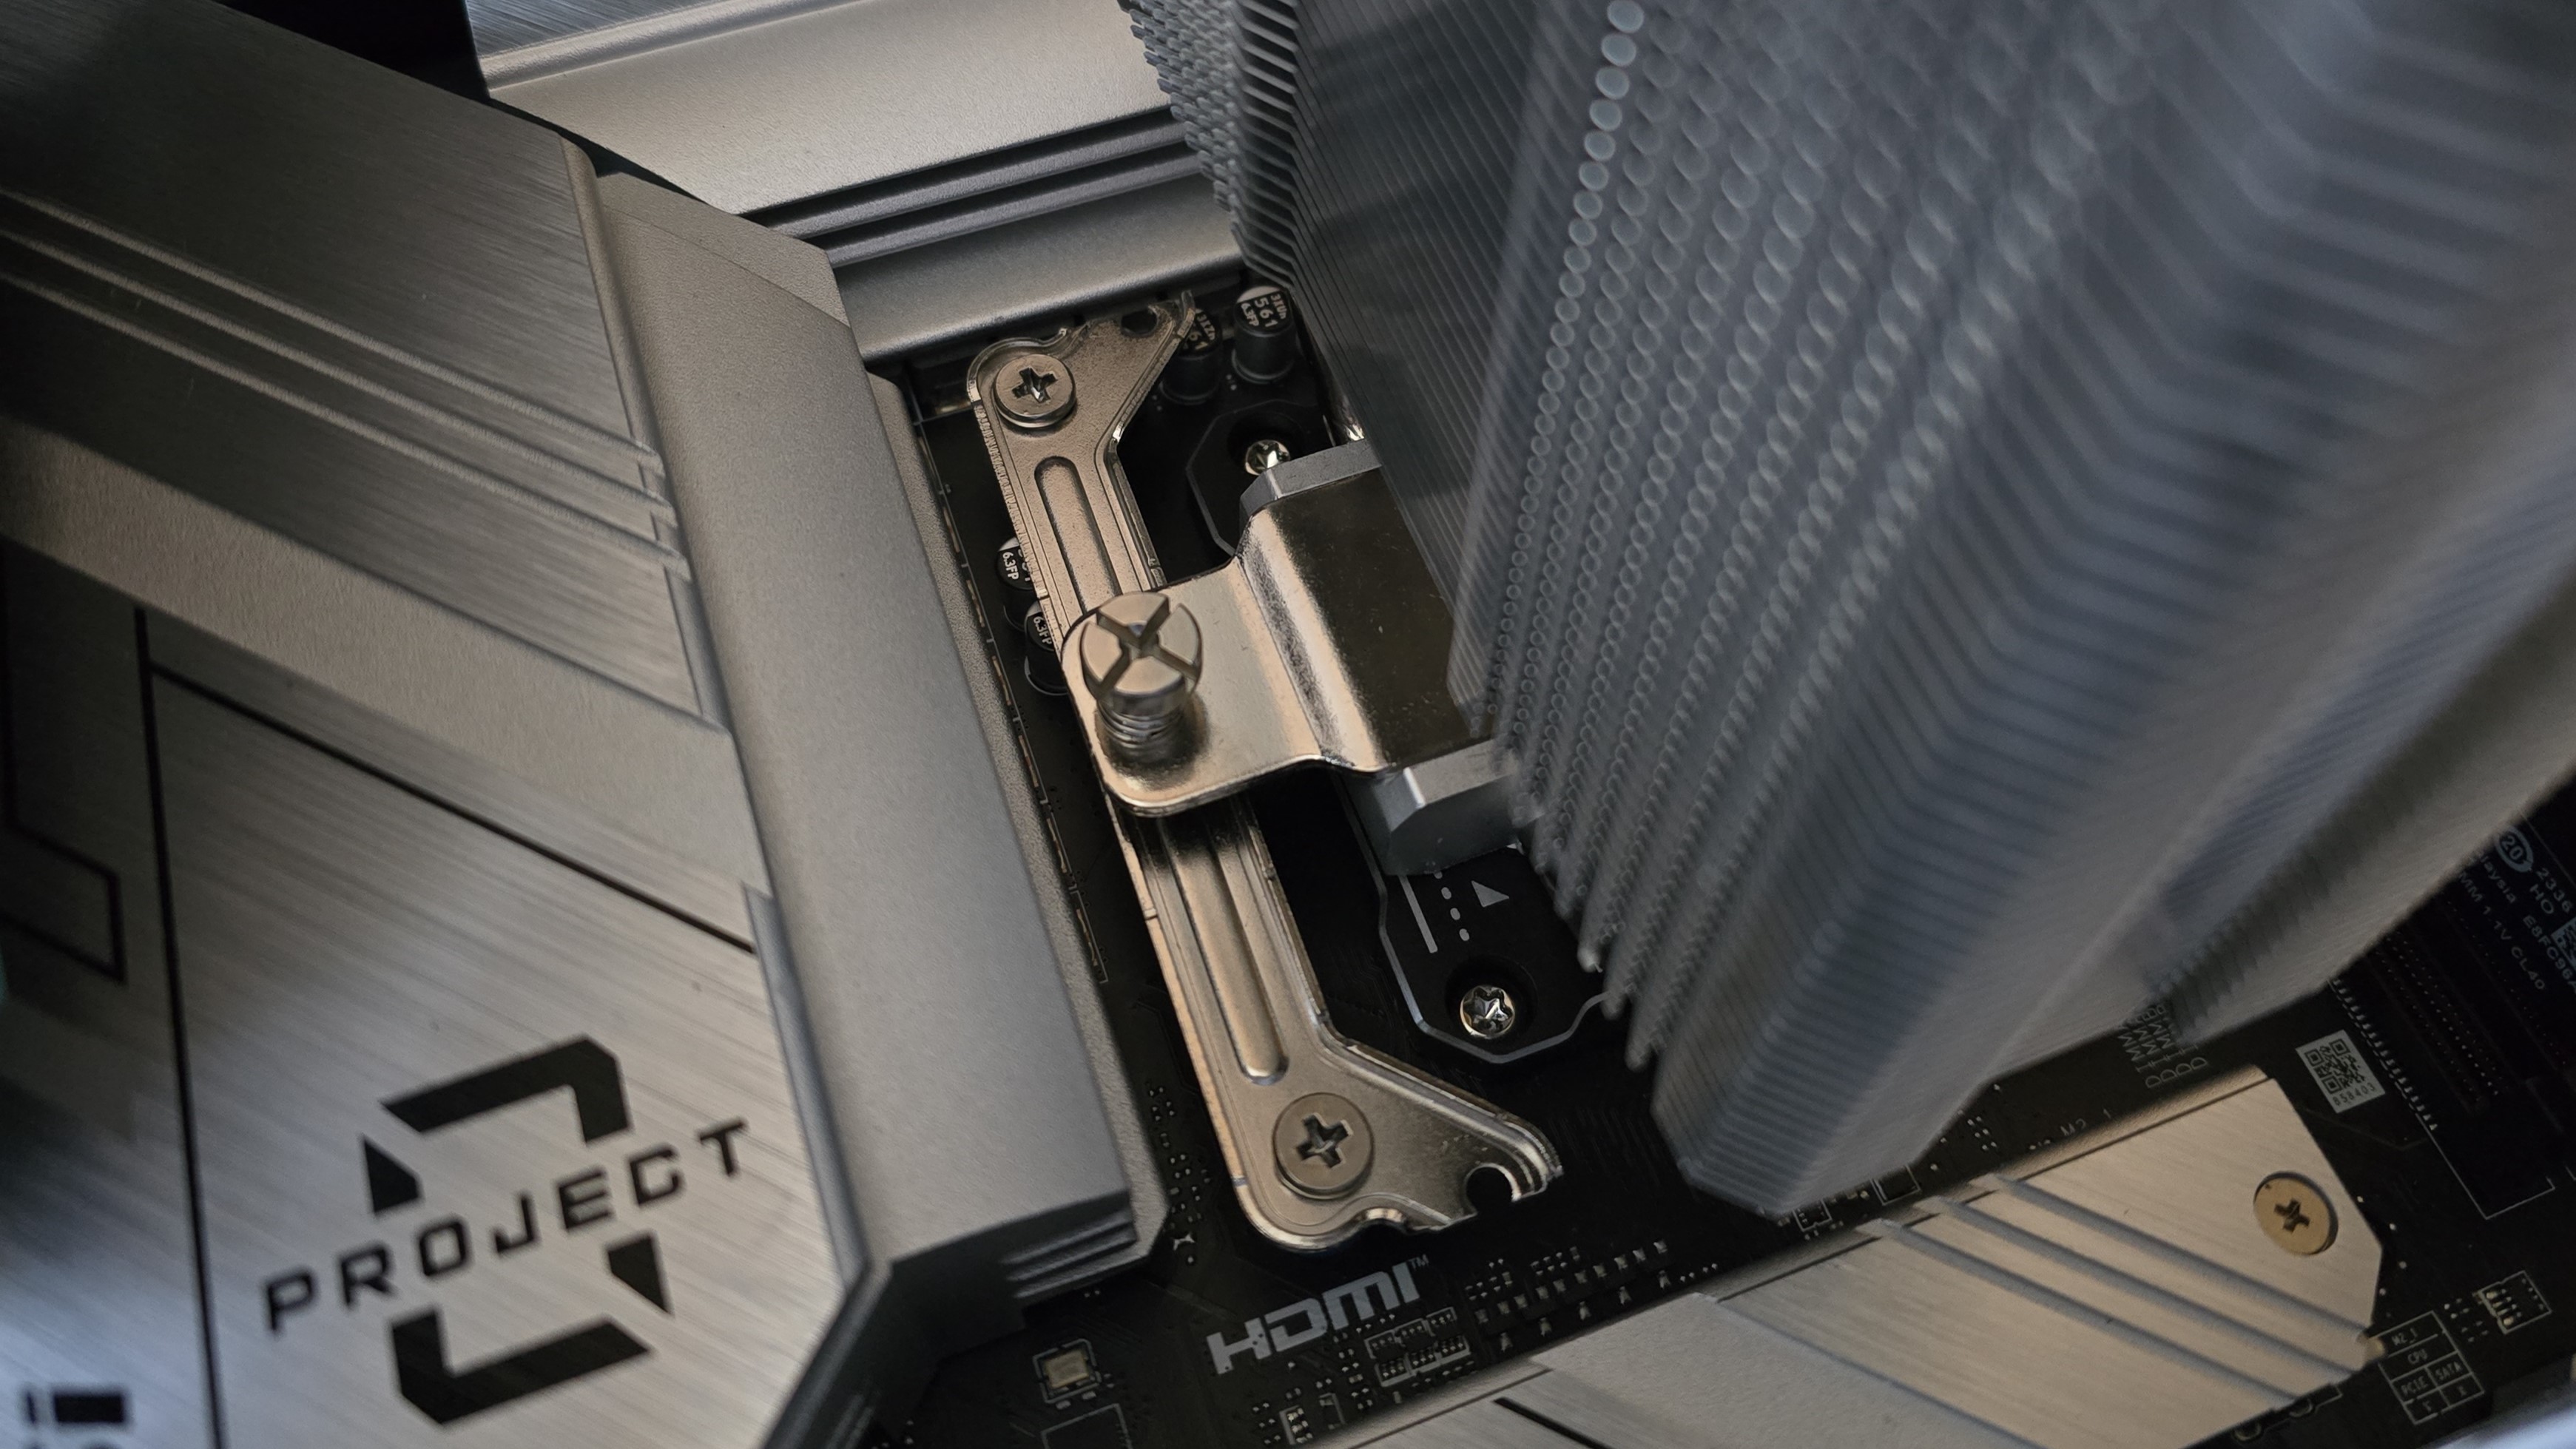
LGA 1700 Installation
Place the backplate against the rear of the motherboard, underneath the CPU.
Place the blue rubber standoffs on top of the CPU cooler mounting holes.
Place the mounting bars on top of the blue standoffs and secure them with the included screws.
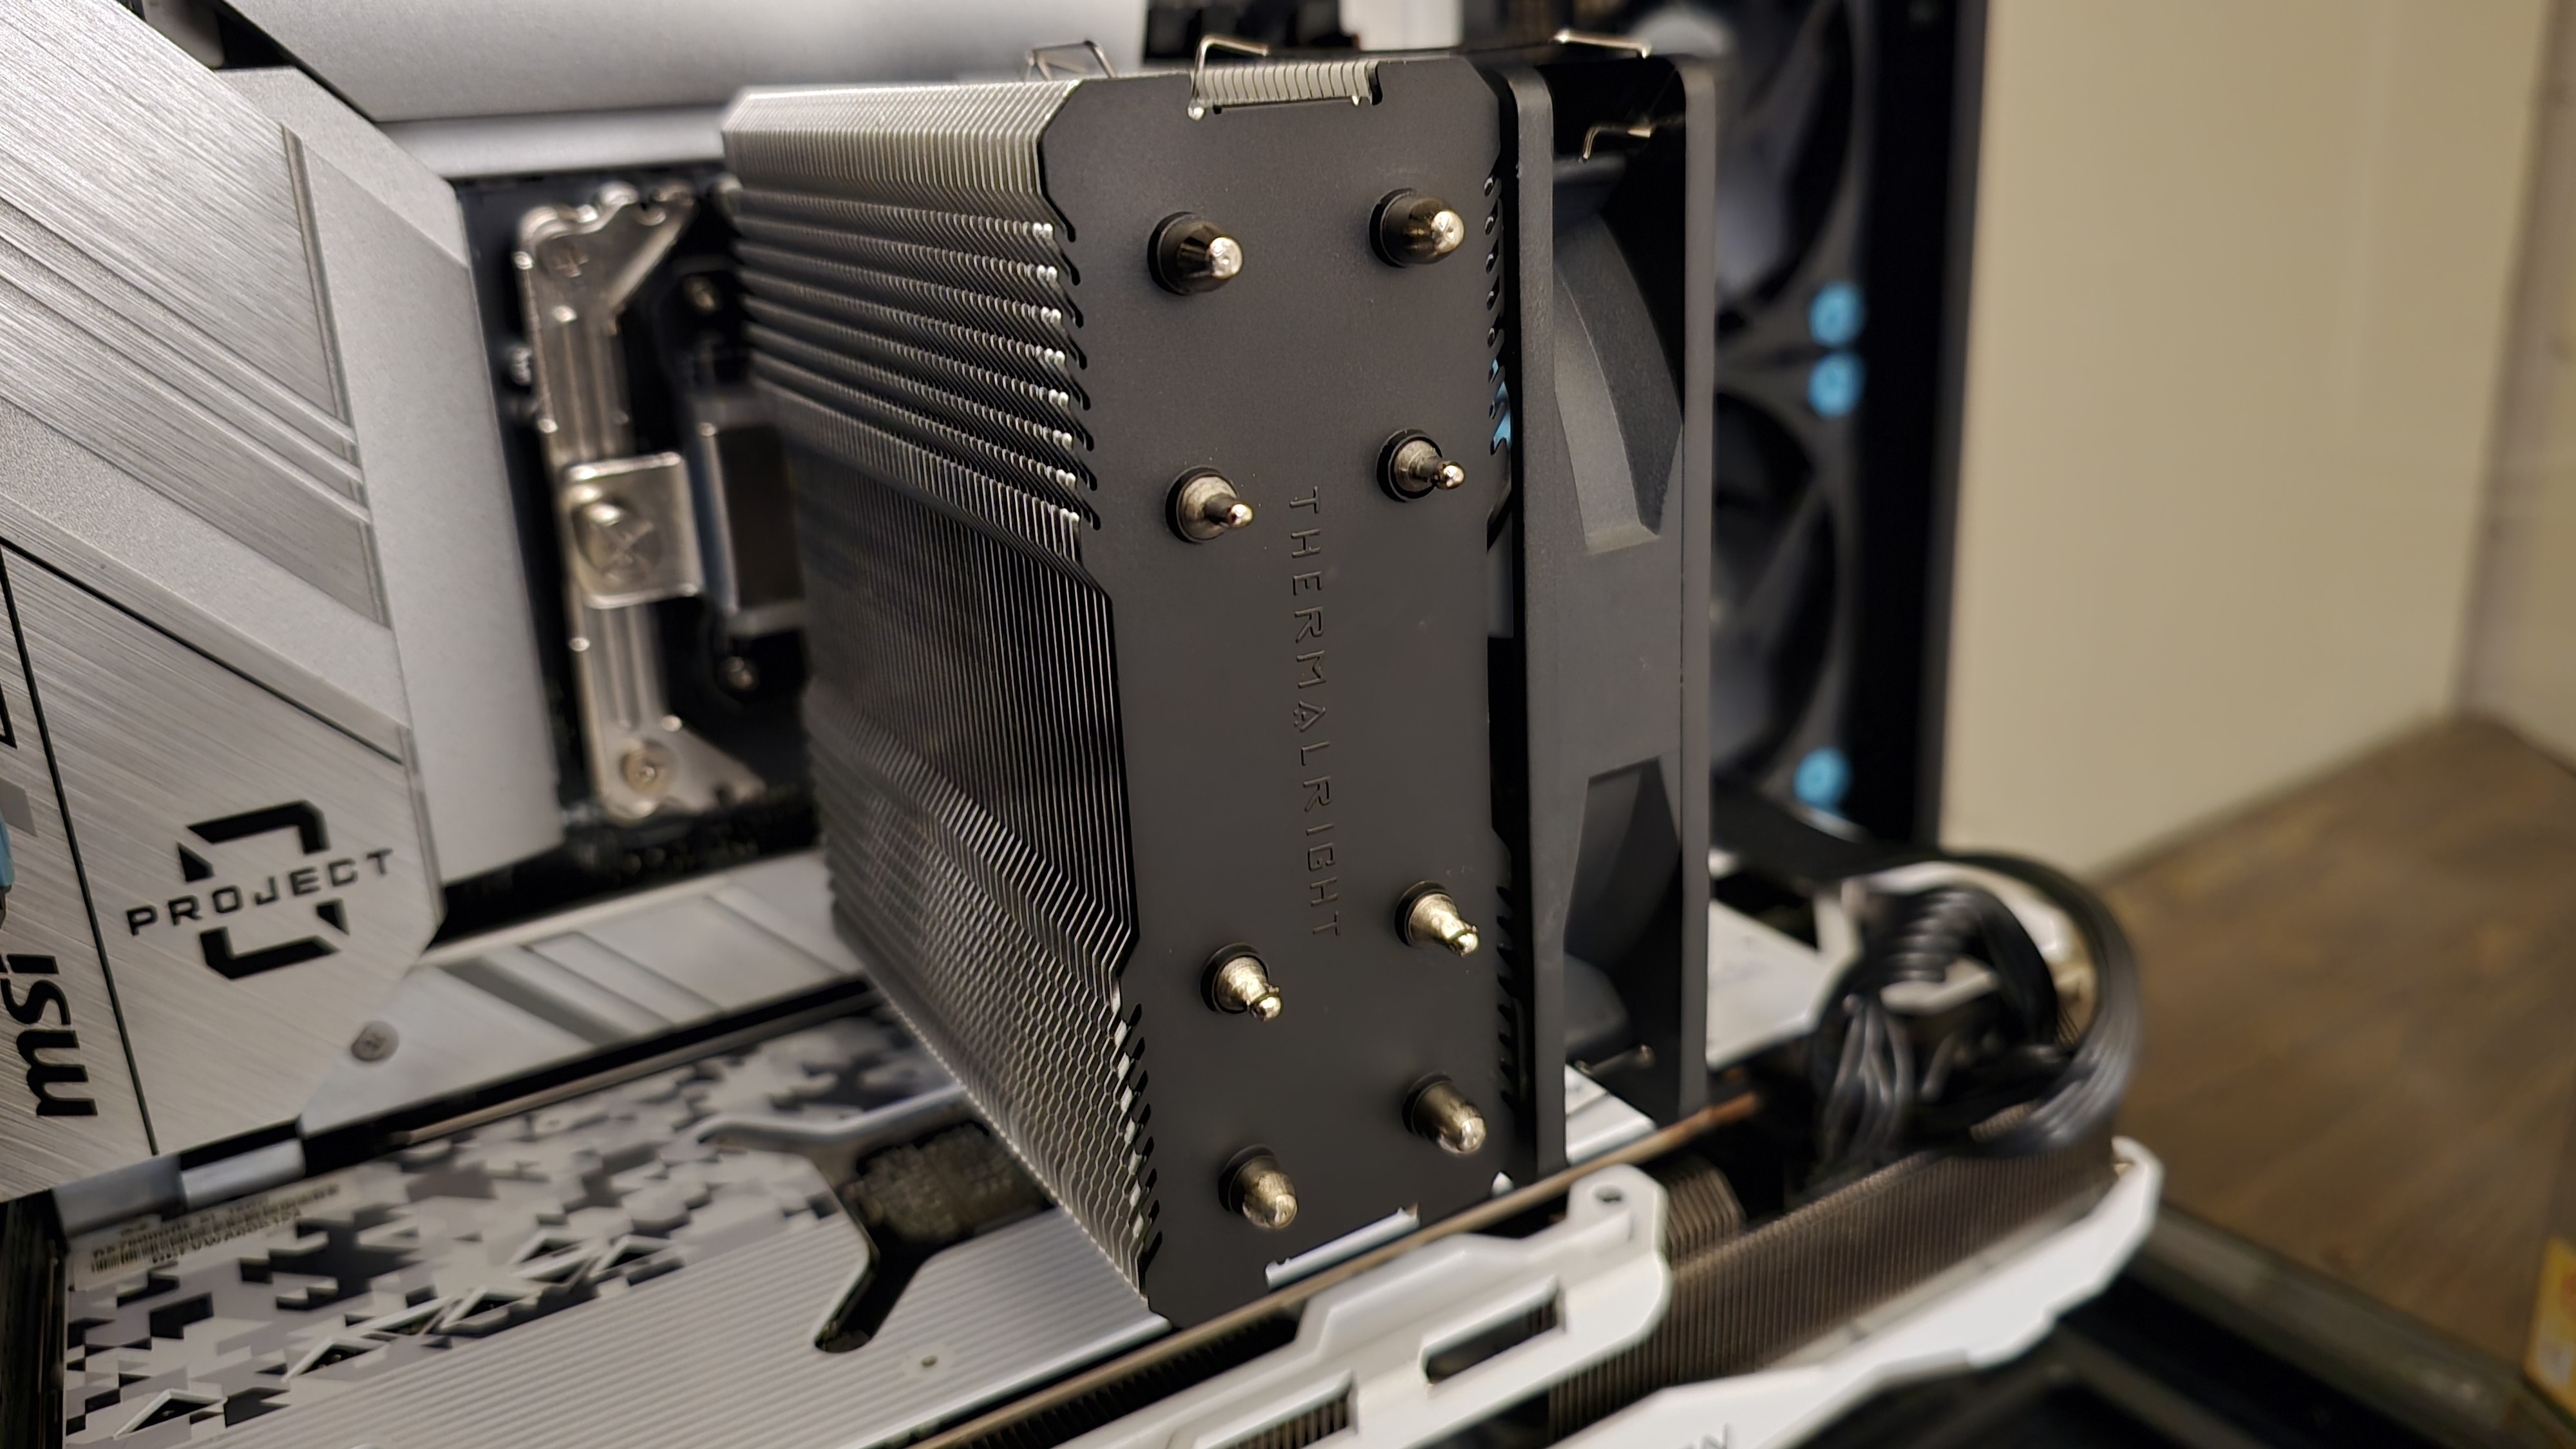
Apply the included Thermalright TF4 thermal paste to the top of the CPU. If you’re unsure of how to do this, check outour guide on how to apply thermal paste.5. Place the heatsink on top of the CPU and secure it with a screwdriver.
Attach the TL-C12C fan to the heatsink using the included fan clips. Then connect its PWM cord to your motherboard and installation is complete.
Current page:Features and Specifications
Albert Thomas is a contributor for Tom’s Hardware, primarily covering CPU cooling reviews.
