Tech channelSatisFactory Processhaspublisheda video revealing the careful and intricate business of manufacturing and preparing a mini PC for retail. Its 22-minute episode shows how a Beelink Mini PC begins with an almost amorphous blank of aluminum and ends with a compact yet tastefully formed device packing some of the newest chips and complementary technologies.
Beelink devices haven’t been reviewed onTom’s Hardwarepreviously, but we covered news of the release of some of their latest devices, like theSER9 mini-PC, powered by one of AMD’s Ryzen AI 300 (Strix Point) processors. The firm has been going since 2011, and, judging by recent releases, it looks like it has found its niche in making cute aluminum mini PCs for the mass market.
From an amorphous aluminum blank
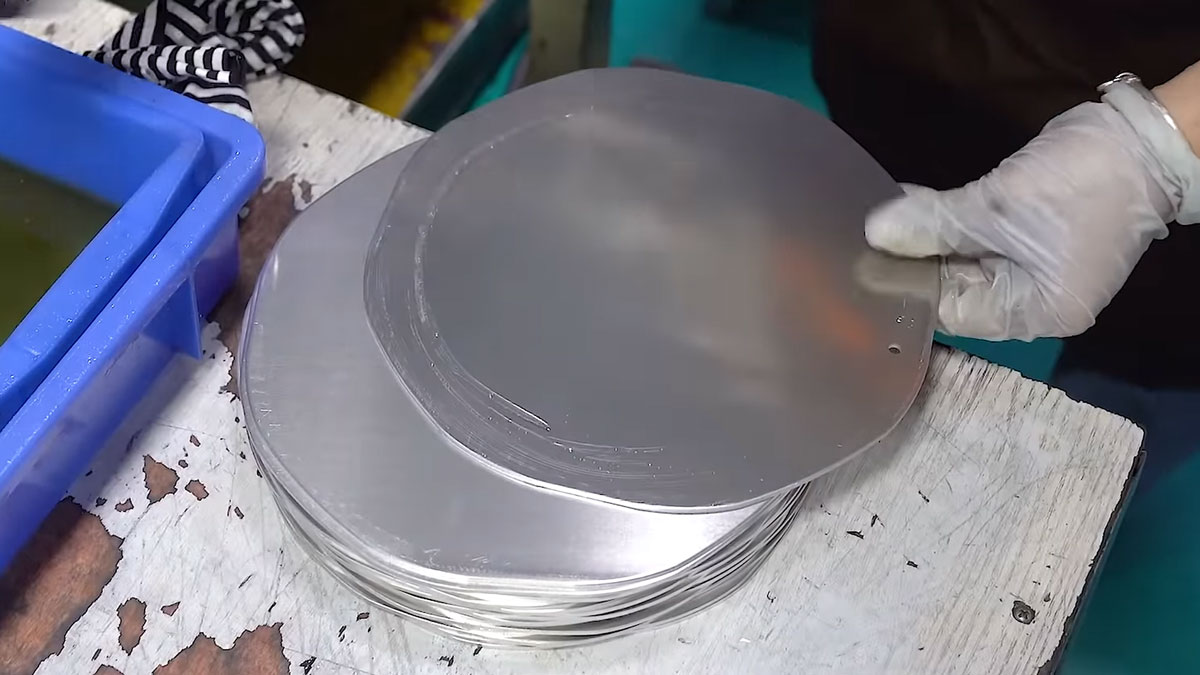
After a brief overview of Beelink operations and a glance at key stages of production, we are taken to the start of the production process – stamping the mini PC shell from an aluminum blank. They are roughly circular blanks, but when put in a press with a restraining jig, a ‘canteen’ shaped shell emerges. A secondary stamping machine refines this form to define cutouts and edges more precisely.
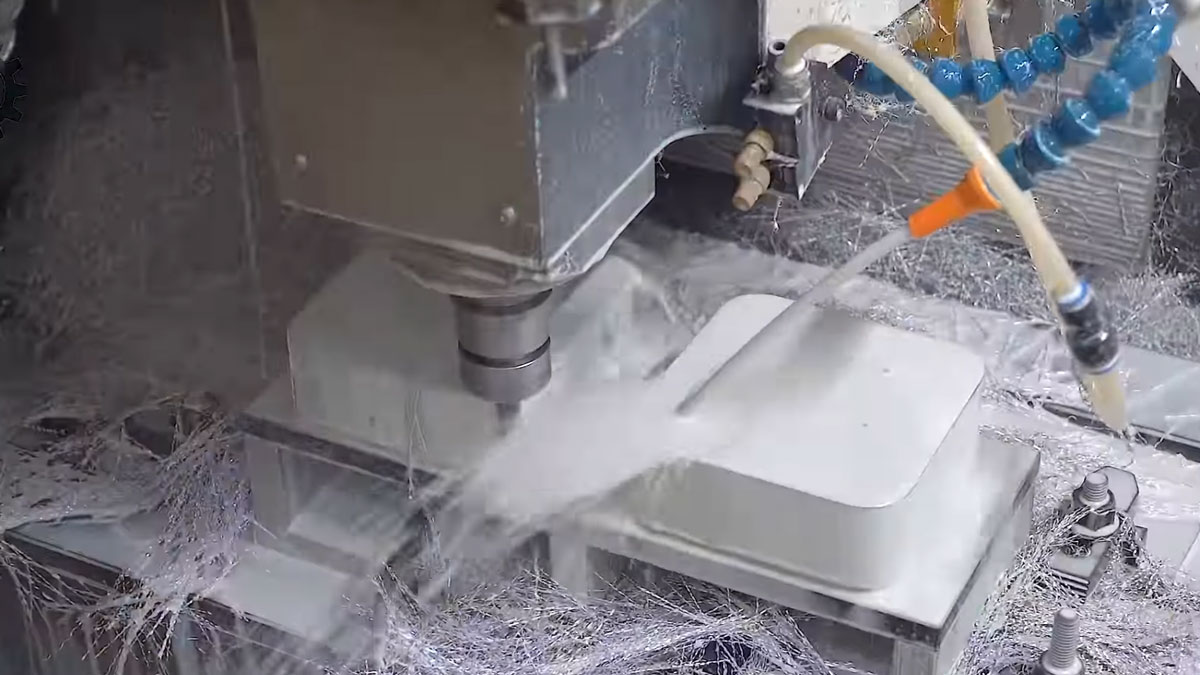
Next, we see the shell moved into a milling machine filled with gushing milky coolant. The spinning cutters in the machine add even more precise detailing to the shell. We don’t see it at the time, but we also believe cutouts for the front I/O ports are made at this time.

After further milling, we see one of the four sides of the shell removed for the rear I/O shield area. A factory worker now polishes all the surfaces of the shell. The milled form is then taken, in groups of 20 to 30 units, through an industrial dishwasher-style device – it looks hot.
Next up, the shell goes through a sandblaster for texture. Then we see it moved to a process for dipping, where it is anodized for color, with the quality of finish confirmed by a spectrophotometer reading. The Beelink logo is now laser-engraved on the top of the aluminum shell.
It is now time for the inner frame assembly, starting with a perfect-fit glued-in plastic sub-frame, which will accept screws and posts to fix components within.
Get Tom’s Hardware’s best news and in-depth reviews, straight to your inbox.
Electronics prepared
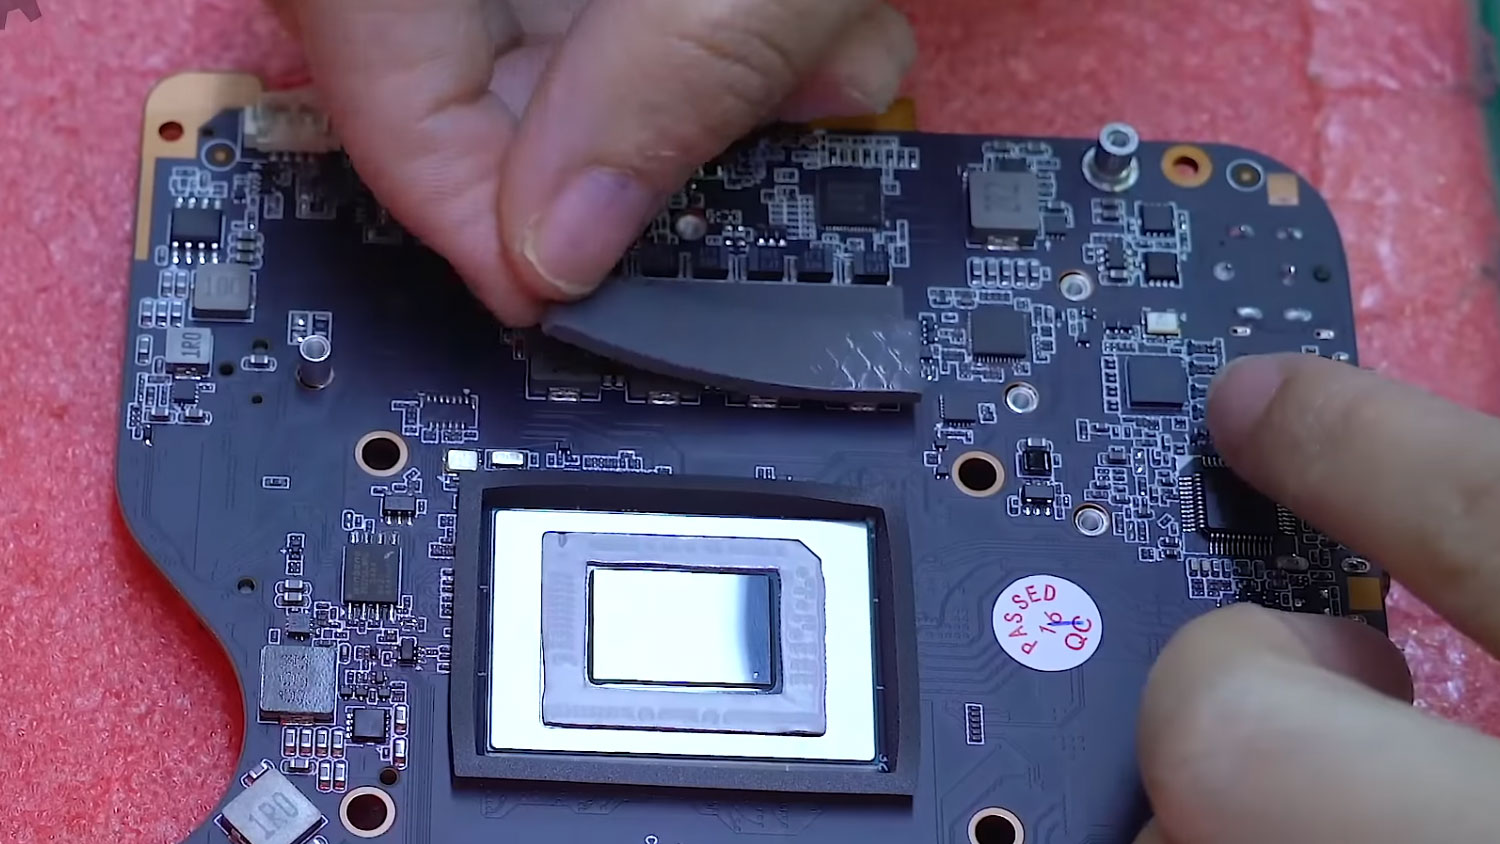
The video now takes us to the area where the ‘computer’ is put into the ‘computer.’ We get a first glimpse of the motherboard PCB, which promptly goes into a machine to solder on an initial array of components at high speed.
Stopping for a photo at this point, we see that things like the DIMM slots, HDMI and USB ports, capacitors, and other surface mount chips are mainly in place. Trays of these partially finished motherboards are next sent along for manual I/O port installation, placed in jigs on a conveyor, and ultimately go through a wave soldering machine to fix all the hand-placed components in place.
It is now time for Beelink technicians to do a quick manual cleanup, implement any easy quick repairs, and add the CMOS battery to the board. Following various labeling activities and inductor impedance tests, we observed a technician involved in the MAC address setting. There follows a full interface functionality test, with lots of manual plugging and unplugging here. This will have been the first time all these components, brought together, have worked in unison.
After some further inspection and cleaning, the populated boards are data logged and bagged up. Cartons of these finished boards are then sent to the mini PC production assembly lines.

Mini PC assembly
The nimble fingers of the factory workers are required again, this time for placing and applying thermal pads and pastes. Of course, the CPU and system board cooler assembly gets fixed down next. A fan that almost completely covers the board is fixed on top of this assembly, which we think is a vapor chamber-style cooler.
After inspection of the manufactured assembly so far, we see the mating of the electronics and the aluminum shell that we saw prepared earlier. Extra panel I/O modules, out of line with the motherboard PCB, are now connected via ribbon cables.
It is time for all the user-replaceable and serviceable parts to be added now, with the Wi-Fi, RAM, and SSD slots all being populated. Naturally, it is time for another full system test to make sure no gremlins have squeezed into these systems.
Next, the bottom cover is secured before a physical check, where these mini PCs are shaken, bounced on tables, and so on. After passing the ‘physical,’ Beelink puts the machines through a burn-in and stability test stage.

Ready for retail, and this model is on sale right now
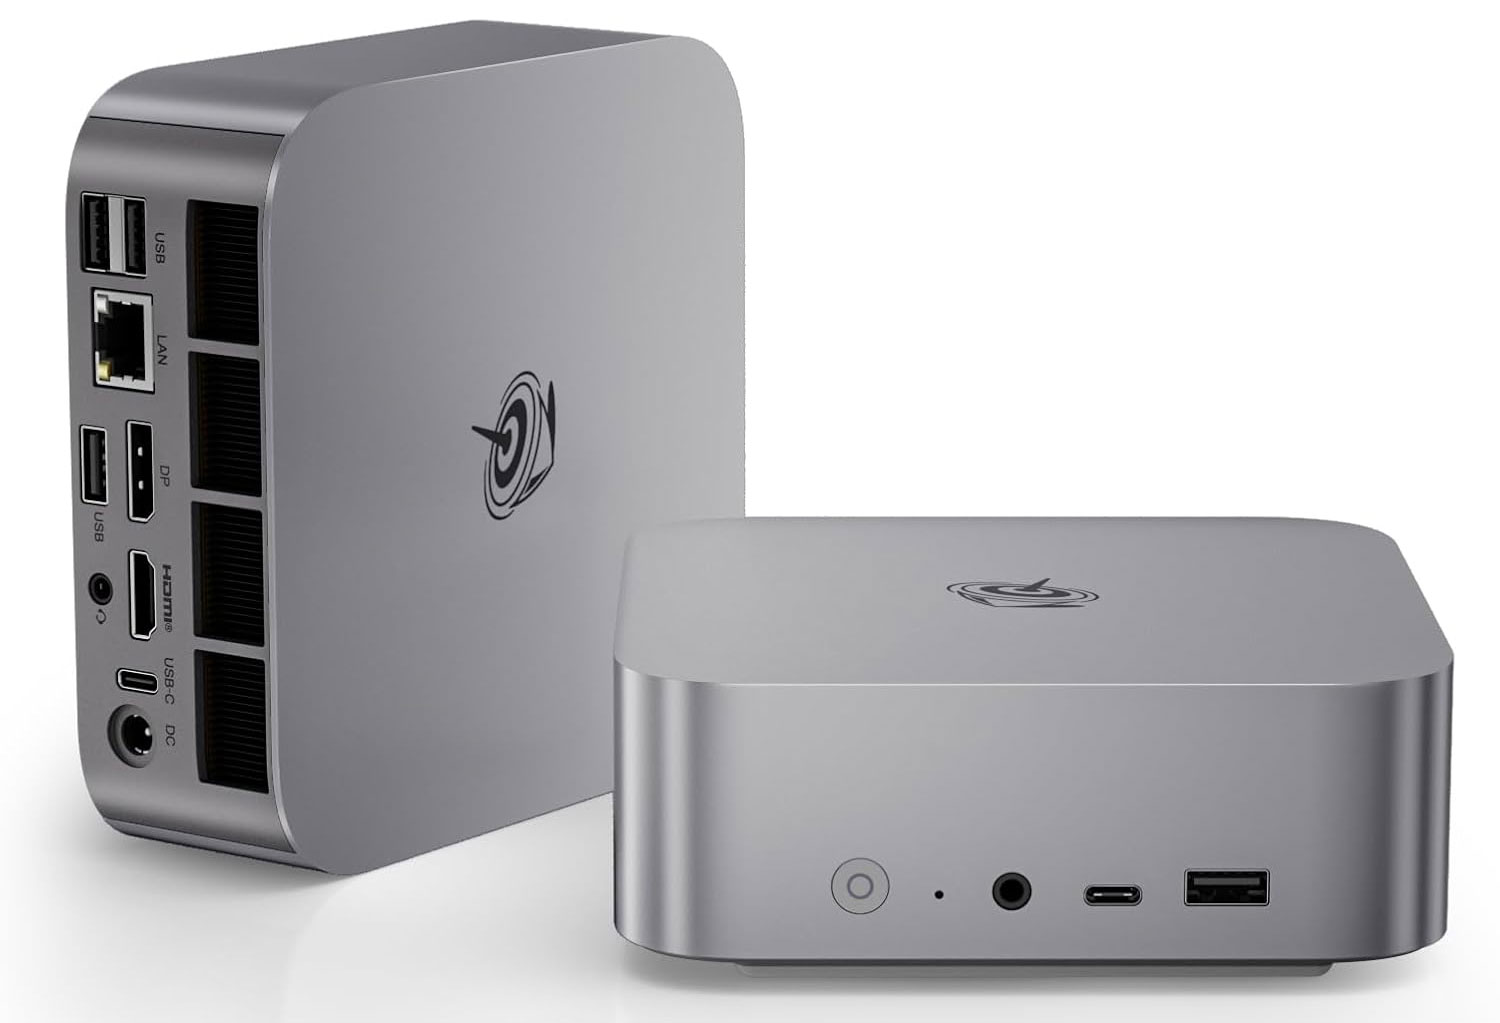
Lastly, there is a ‘pre-shipment re-test’ where the machines are powered up and required to pass a suite of hardware tests before packaging. Packaging is primarily done by hand, sometimes with the aid of a jig, and the mini PCs are at last in their final retail-ready boxes, cartoned off – ready to be sent to a warehouse or store near you.
We saw that at least one of the finished products was a Beelink SER8 – a machine which is powered by an AMD Ryzen 7 8845HS and is available onAmazon. We noticed thatthe Beelink SER8 is currently on sale at Amazon at $499, a touted 21% discount on its regular price. That’s for a configuration with the aforementioned Ryzen 7 chip, plus 32GB of DDR5 RAM and a decent 1TB of SSD storage provided.
FollowTom’s Hardware on Google Newsto get our up-to-date news, analysis, and reviews in your feeds. Make sure to click the Follow button.
Mark Tyson is a news editor at Tom’s Hardware. He enjoys covering the full breadth of PC tech; from business and semiconductor design to products approaching the edge of reason.
