M.2 SSDs offer incredible transfer speeds and also come with a smaller form factor. However, there are situations where it does not show up for some users—especially on the systems where it is newly installed. It primarily happens when the SSD is not initiated and allocated.
If you are trying to use the latest M.2 interface on an older and incompatible motherboard, you will see the same problem in that case as well. Sometimes the issues with the SSD itself can also make the SSD not show up.
Reconfigure the BIOS Settings
The SSD usually shows up in the boot priority settings of your BIOS. However, if there are some misconfigurations in the BIOS settings, the M.2 SSD might not show up. If you are sure that the SSD has no problem, readjust these settings to make the SSD show up in the BIOS and function as intended.
Enable SATA Controller
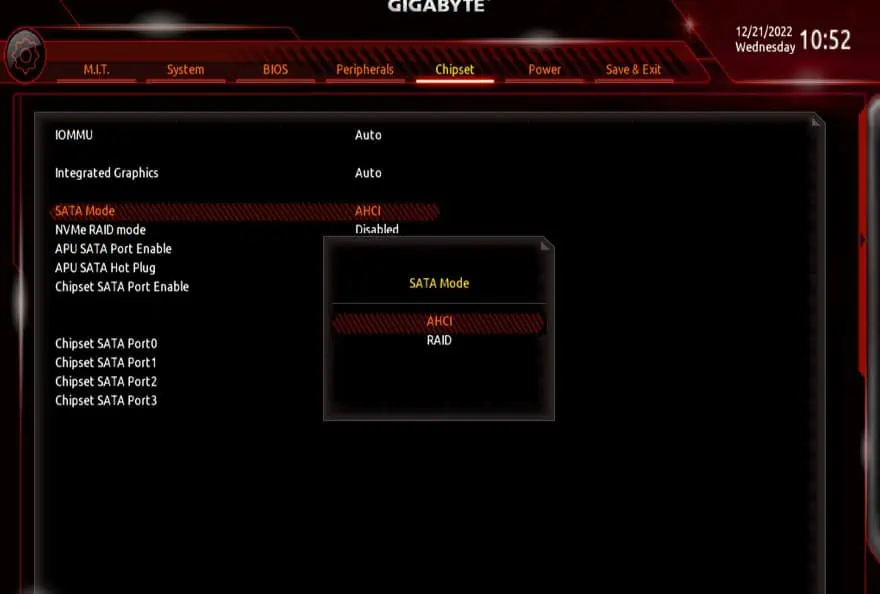
If you have a SATA M.2 SSD installed on your computer, but the SATA controller has been disabled in the BIOS,you may not see the SSDeven in the Disk Management utility.
SATA controller manages the communication and data flow between the drive and the system. If this gets disabled for some reason, you won’t be able to access a SATA SSD or other SATA-based devices connected to the computer.
Note: BIOS interface differs with every motherboard. It is advised to refer to your motherboard’s user manual to find the exact details.
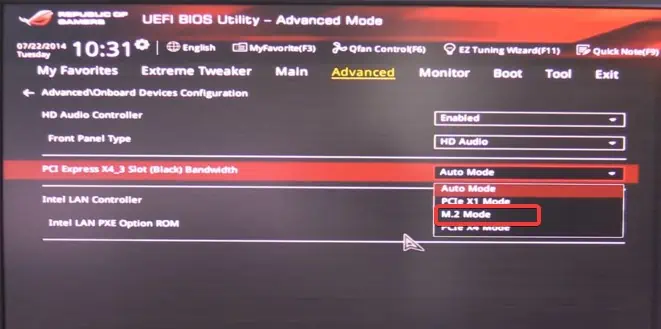
Enable the M.2 Mode
Most systems automatically recognize the M.2 drive after it is installed. However, if the systems fail to do so, you must manually configure thePCI ExpressSlot Bandwidth to M.2 mode. Here’s how to do it.
Allocate the Drive
You simply cannot read or write anything over the drive that isn’t allocated. An unallocated disk will be shown on theDisk Management utility, but you will not see it in File explorer. Allocating the drive will configure the size, label, file system, and other parameters for the drive that will make it usable.
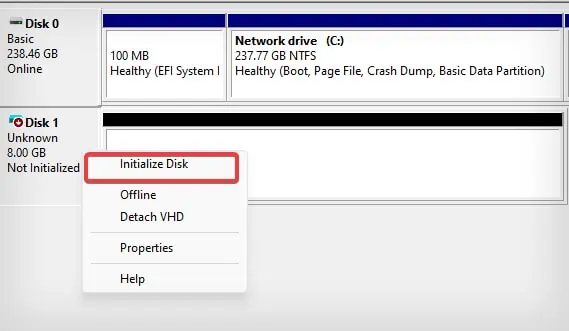
If you have freshly installed a secondary M.2 SSD on your computer, the first thing you must do is initialize and then allocate it to be able to access the drive.

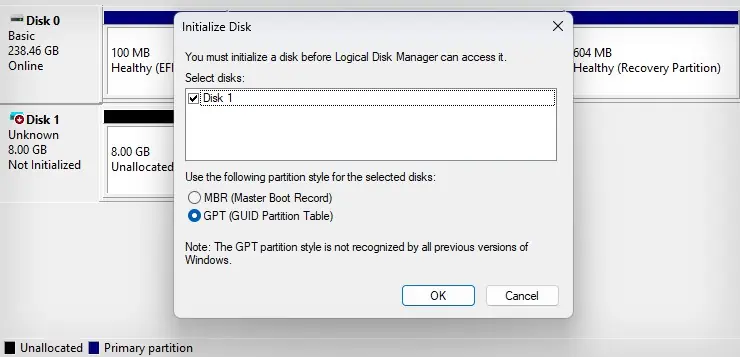
Step 1: Initialize the Drive
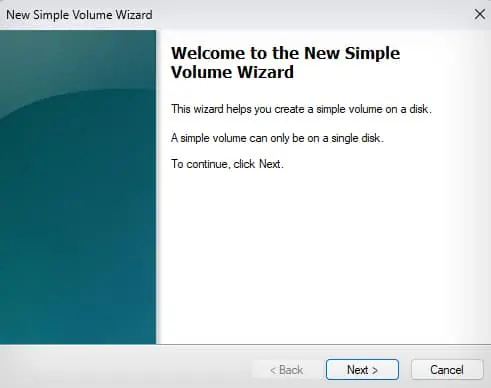
Step 2: Allocate the Drive
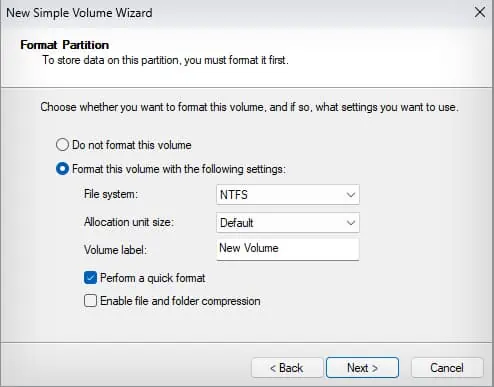
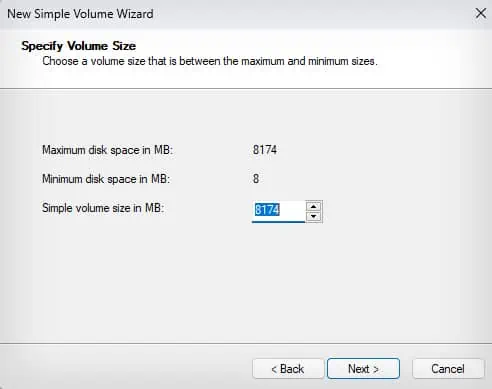
Once the drive is initialized, the SSD becomes available for allocation and will be labeled unallocated. Here’re the steps to add a volume to your drive.
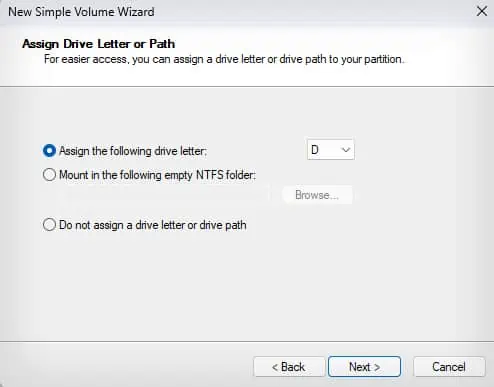
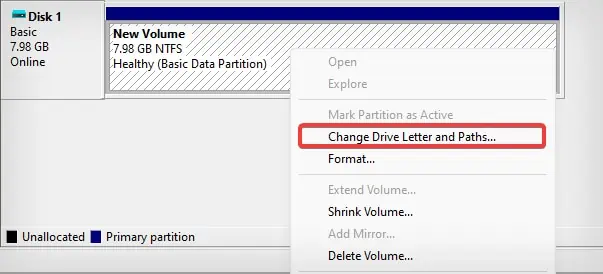
If the Drive is already initialized, but a drive letter hasn’t been assigned—you might not be able to access the M.2 drive. To bring the SSD into use, you must assign it a drive letter. Here’s how to do it.
Update Storage Controller Driver
The storage controller drivers are essential when it comes to making the NVMe and SATA interfaces function. If these drivers are outdated, the newer M.2 SSDs may fail to work properly—although they may be compatible with your hardware. Therefore,updating these driverscan help you resolve the SSD issues.
Additionally, if there are some pending Windows updates, install them too—including the optional ones.
Check for Motherboard Compatibility
The M.2 SSDs are available with two different storage interfaces — NVMe and SATA. Not all motherboards support both of these interfaces. Some come with dedicated NVMe or SATA M.2 slots, while some feature slots that support both.
You may have connected the M.2 SATA SSD into the slot that only supports NVMe storage. The drive may fit well in this situation but will not work unless the slot supports both interfaces. However, it will not be possible to really fit the NVMe SSD into a SATA-supported M.2 slot.

You may have to refer to your motherboard’s user manual to get the specifications for the M.2 to know if the slot supports the SSD you have. If the drive isn’t compatible with your motherboard, it is obvious that you won’t be able to access it.
For instance, on an MSI PRO Z790-A series motherboard, you may find 4 M.2 slots. However, not all of these slots offer SATA SSD support. The first and second M.2 slots only support PCIe NVMe drives, while the third and fourth M.2 slots are compatible with SATA mode and PCIe NVMe.
If you happen to use a SATA M.2 SSD in the first and second slots, it won’t show up.
Reseat the SSD
If none of the above-suggested methods work, there are some chances that the M.2 SSD isn’t correctly installed. Follow these steps carefully to reseat the SSD in its slot.
Note: Make sure that the SSD is compatible with the slot it is placed in. If the M.2 slot only offers support to SATA SSD, placing NVMe won’t work. For the exact specifications of the M.2 slot, refer to your Motherboard’s user guide or contact the service center.
If reseating does not fix the issue, this indicates some problem with the SSD or the motherboard. The M.2 SSDs are fragile pieces of storage devices that can get easily damaged if handled properly.
However, it is possible that the device was dead on arrival (DOA) to start with. You must seek technical help to get your device repaired or replaced in that situation.