The ink cartridge on your printer comes embedded with a microchip that helps communicate with the printer and transmit the print signals.
However, if the cartridges are not installed correctly, the printer fails to recognize them and you may encounter error messages like “Ink Cartridge Not Recognized,” “No Cartridge Installed,” or “Ink Cartridge Failure.”
Such things often happen when the microchip of the cartridge is not properly aligned with the contact chips of the printer. In some cases, it might also happen if the printer’s memory is not reset to read the new cartridges.
Correctly Install the Cartridge
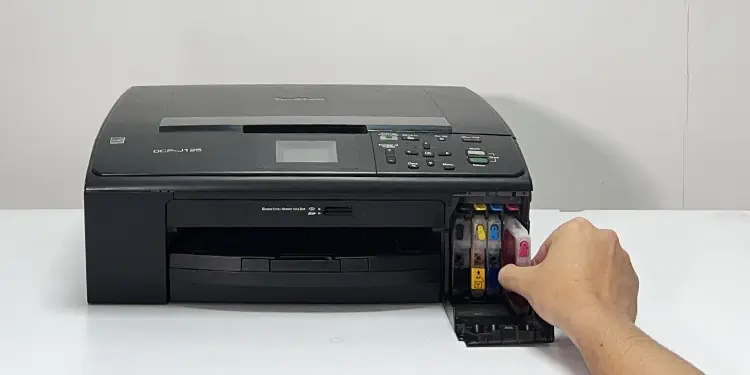
It is mostly an installation error when your printer fails to recognize the ink cartridges. So, you should first know how toinstall the ink cartridgesproperly.
To begin with, ensure that you have genuine and compatible cartridges from your printer manufacturer. If you have bought a counterfeit, refilled, expired or used cartridge, the printer will fail to detect them.
Moving further, verify you have inserted the cartridges securely in their correct place. The cartridge should properly fit in the slot, with a snap sound once it gets fit correctly.
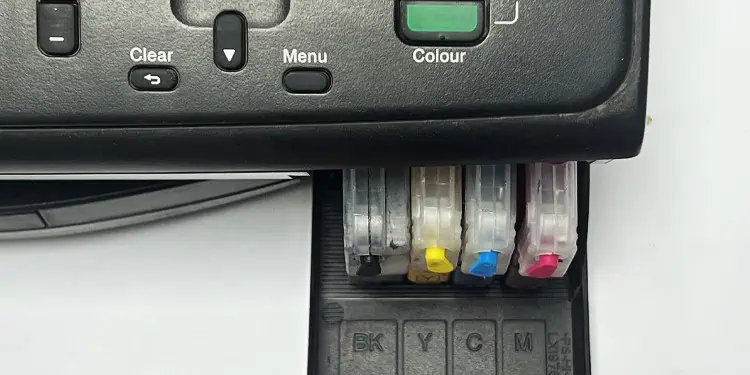
You should install theBlack color cartridgein the Black slot, the Yellow color cartridge in the Yellow slot, and so on.
If your printer comes with a dual cartridge setup, ensure you have inserted a tricolor cartridge in the tricolor slot and a black color cartridge in the black slot. You may refer to the label on the cartridge casing to know about it.
If you are changing multiple cartridges, do not insert all of them at once. Insert one cartridge at a time and do not act too fast when you are inserting them. For instance, Brother printers often remind you to act slowly while inserting the cartridges.
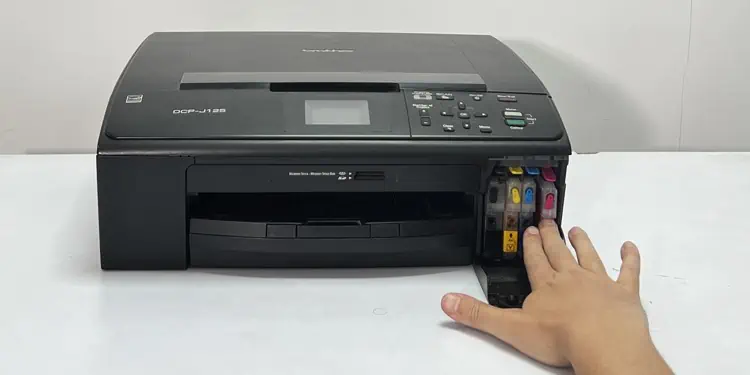
Be slow and gentle while pushing the cartridges inside.
Further, most people miss out on removing the cap and plastic protective film from the cartridge. Installing cartridges without removing the protection cover leads to an ink cartridge not recognized error.
Reset the Printer’s Memory
You should always power on your printer when you are changing the cartridges. If you change the cartridges with the printer powered off, the printer can not enter the cartridge change mode. So, when you turn on the printer later, it will still read the data from the old cartridge.
As such, the printer will fail to detect the new cartridge and you encounter the ink cartridge not recognized messages.
Besides, the printer can also sometimes refuse to recognize the cartridges despite changing them with the printer turned on.
In such cases, you should reset the printer’s memory so that it can read the new cartridges again.
If the printer still fails to recognize the cartridges, try a different reset process.
Clean the Contact Chips
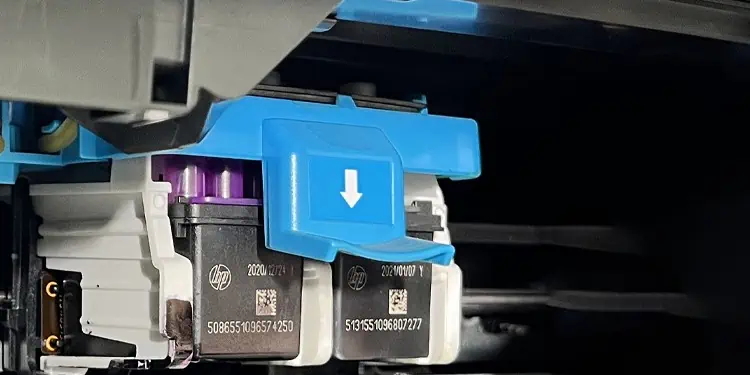
As discussed already, ink cartridges have yellow colored contact chips for communicating with the printer.
However, if those contact chips are stained by your fingerprints, ink residues, or dust and smudges during the installation process, the printer fails to recognize the cartridges.
I recommend you clean those chips and install the cartridge back again to fix the issue.
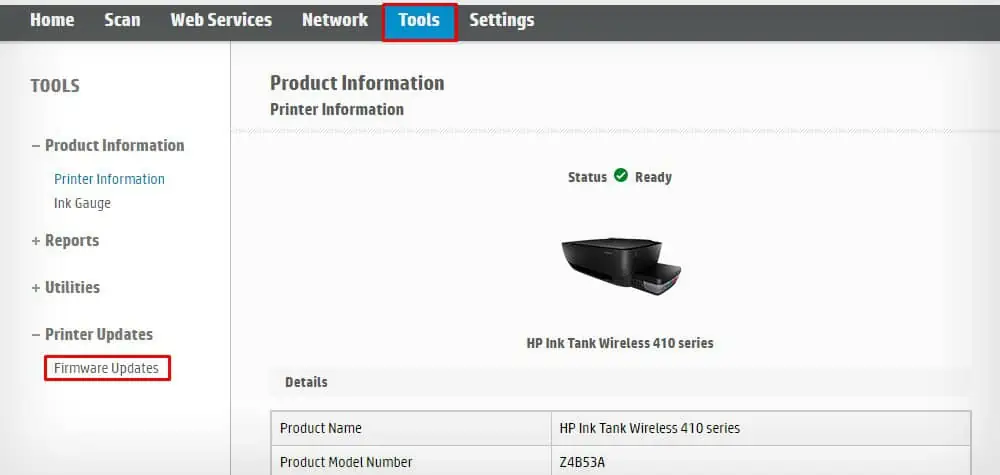
Update the Printer’s Firmware
In some cases, outdated printer firmware might also result in compatibility issues and the printer fails to detect the cartridges. you may update your printer’s firmware and see if the problem is fixed.
you’re able to consult the manufacturer’s website or the user manual of your printer to know more about how to update your printer’s firmware.
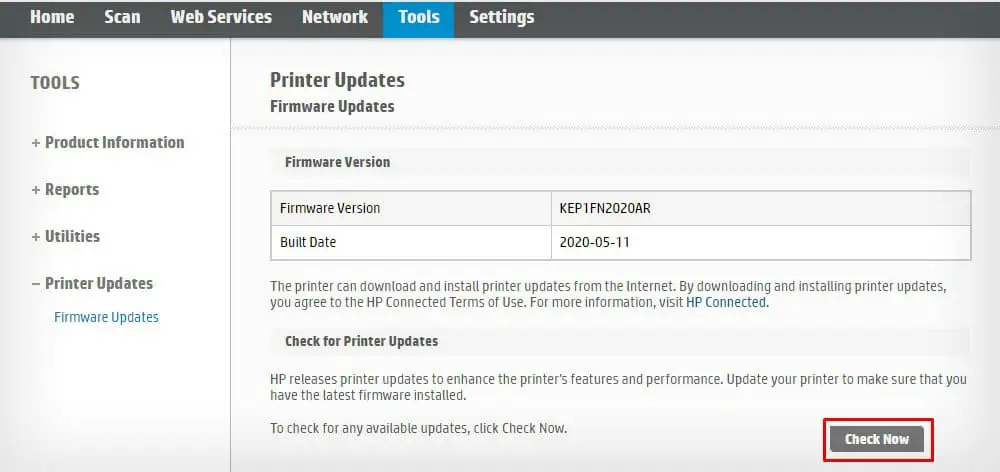
If you have an HP printer, below is a step-by-step guide on how to update the firmware on HP printers.
If anything does not seem to work, consult a professional and ask them to look into the issue.
