Microsoft introduced the screenshot tool, Snip & Sketch an improvement to Snipping Tool in Windows 10. you’re able to use it to capture and edit screenshots with various options. In this article, we provide how you can perform all possible actions with this app.
Opening Snip & Sketch
The usual method of opening Snip & Sketch is from the Start Menu. you’re able to also search for it on the search bar.
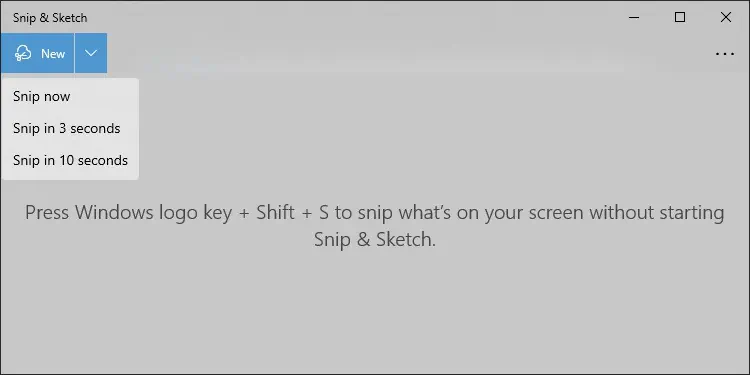
Clicking New on the app takes you to the snipping screen, where you’re able to take your screenshots. The downwards arrow icon also shows the options to take a snip now or after 3 or 10 seconds.
When you get to the snipping screen, the screen dims, and you may see the snipping toolbar on the top of your screen.
There are also a few shortcuts you’re able to use to access the snipping screen directly without having to open the app, such as:
Taking Screenshots
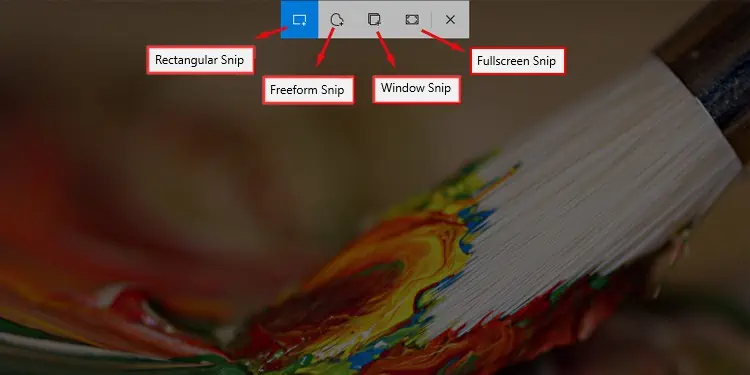
Snip & Sketch offers four screenshot modes. you’re able to select the mode from the toolbar on the snipping screen and take your screenshots accordingly.
Edit Screenshots with Snip & Sketch
After taking a screenshot or clicking on the notification, Snip & Sketch takes you to the editing window. Here are the editing options that this program offers:
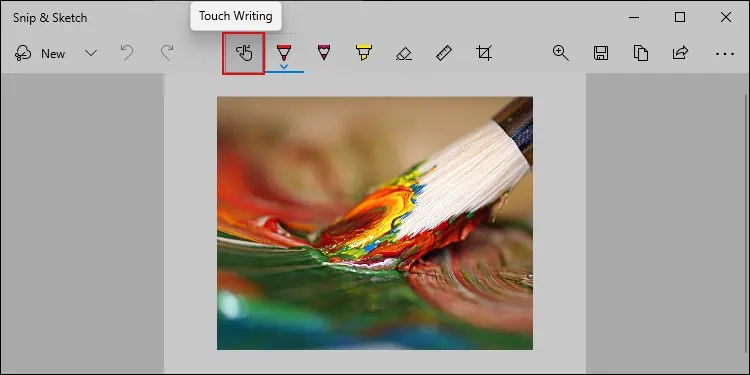
Touch Write
Touch Writing allows you to edit by using the touchscreen. you’re able to pressAlt + Tor thehand iconto toggle Touch Writing.
Annotate
It is the option to write or mark on your screenshot. There are three tools you can use to annotate the image.
You can choose the color and size of the tools by right-clicking on the annotate icons.
Erase
The Eraser deletes the annotations you have made. you’re able to use the corresponding icon orAlt + Eshortcut to pick this tool. Right-clicking on the icon gives the optionErase all ink, which removes all annotations on the image.
Ruler or Protractor
Clicking the Ruler or the protractor icon shows the corresponding tool on the window. you’re able to select which tool to use by right-clicking on the icon.
You can use these tools to draw straight or circular lines using the annotation tools. Also, clicking on Ruler or Protractor again removes the tool.

To move the objects around the screenshot, you need to click and drag them. you’re able to also change the Protractor’s size and Ruler’s orientation by using the mouse scroll wheel.
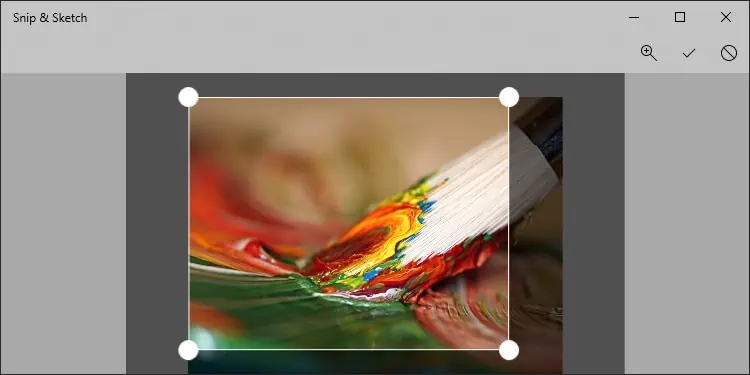
Crop
You can open the crop screen on the screenshot by pressingAlt + Ror clicking on the Crop icon. You need to drag the corner circles to set the crop size. You can also click inside the crop area and drag it around to move it. Then press Enter to crop the image.
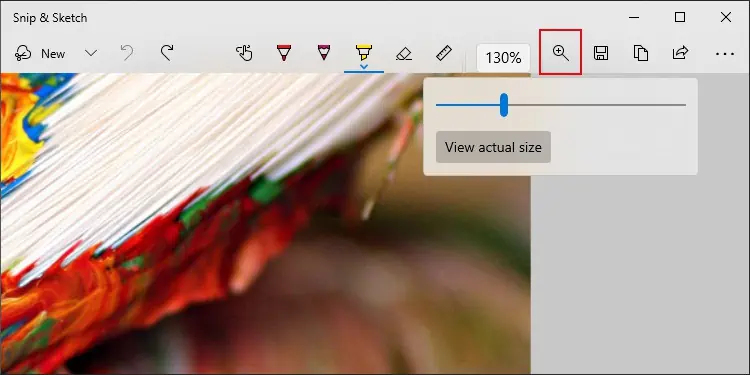
Magnify
To magnify the screenshot, click on theZoomicon or press theAlt + Zhotkey, and drag the slider. you’re able to use either the scroll on the mouse or the vertical slider to navigate through the zoomed image vertically. However, to move it horizontally, you can only drag the horizontal slider.
Other Options
There are also some other things you can do on the Snip and Sketch edit window, such as:
you’re able to also access itsSettingsfrom the triple-dot icon. You can set the relevant settings to make using Snip & Sketch more convenient for you.