When one gets a Bambu 3D printer, the first destination for slicing software is usually Bambu Studio, a 3D slicer developed specifically for use in the Bambu 3D printers. It has a user-friendly interface; however, if one wants advanced features and customization options, Orca Slicer is the best choice. Orca Slicer is a free and open-source slicer made by a GitHub user called SoftFever, who forked it from Bambu Studio, and it is gaining popularity in the 3D printing community.
It has almost the same interface as Bambu Studio, but Orca comes with advanced features in addition to those offered by Bambu Studio and other popular slicers. It comes with pre-made profiles for most of thebest 3D printers, and it has auto calibration features. Once you connect your 3D printer to the slicer, you can wirelessly send your G-code to them via Wi-Fi. You can also access the interface to monitor your 3D prints directly in the software.
Downloading and Setting up Orca Slicer
Go toGitHub, scroll down to the assets section and download the latest release compatible with your operating system, and then install it. After launching, select your region, and an interface will open where you can see the list of 3D printers. Choose the one that you are using. If you don’t want to scroll to locate it, you can type the name in the search option.
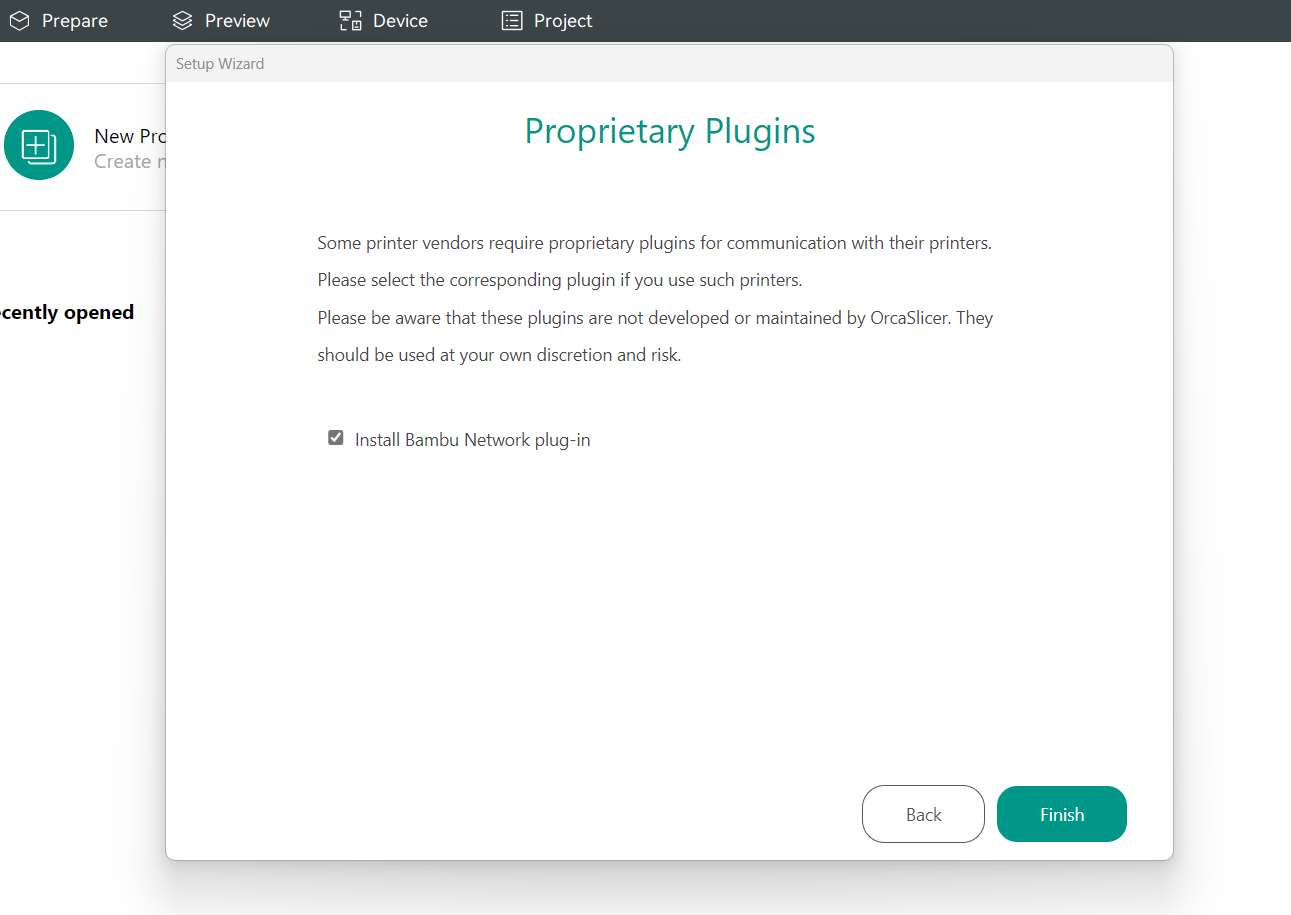
After selecting your 3D printer, click onNextand select the filament. When you proceed, you will see an option to install the Bambu network plugin. This is important as it lets you print via network and remotely control your 3D printer.

The slicer interface will then launch, and you can also register on the platform to securely store your slicing profiles, settings, and models in the cloud and ensure that you can access them from any device. It also helps synchronize your preferences and projects, especially from multiple devices, and you don’t need to transfer them manually.
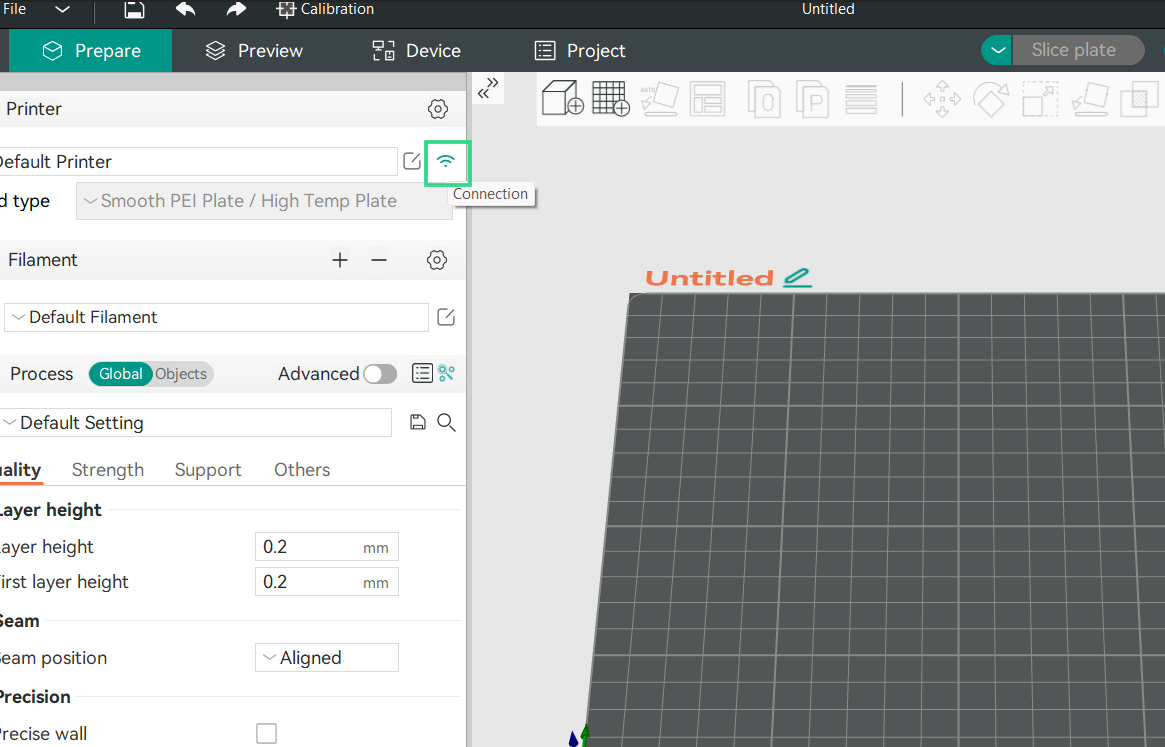
To connect your 3D printer to your network;
- Clickon theWi-Fi iconfound near the 3D printer section and a pop-up window will launch.
Get Tom’s Hardware’s best news and in-depth reviews, straight to your inbox.
2.In theHost Type section, choosethe connection type. The default option is throughOcto/Klipper.
3.The next option is toenter the hostnameorIP addressof your 3D printer. Then,enteryour Octoprint API Access Key in theAPI key/ Passwordsection.
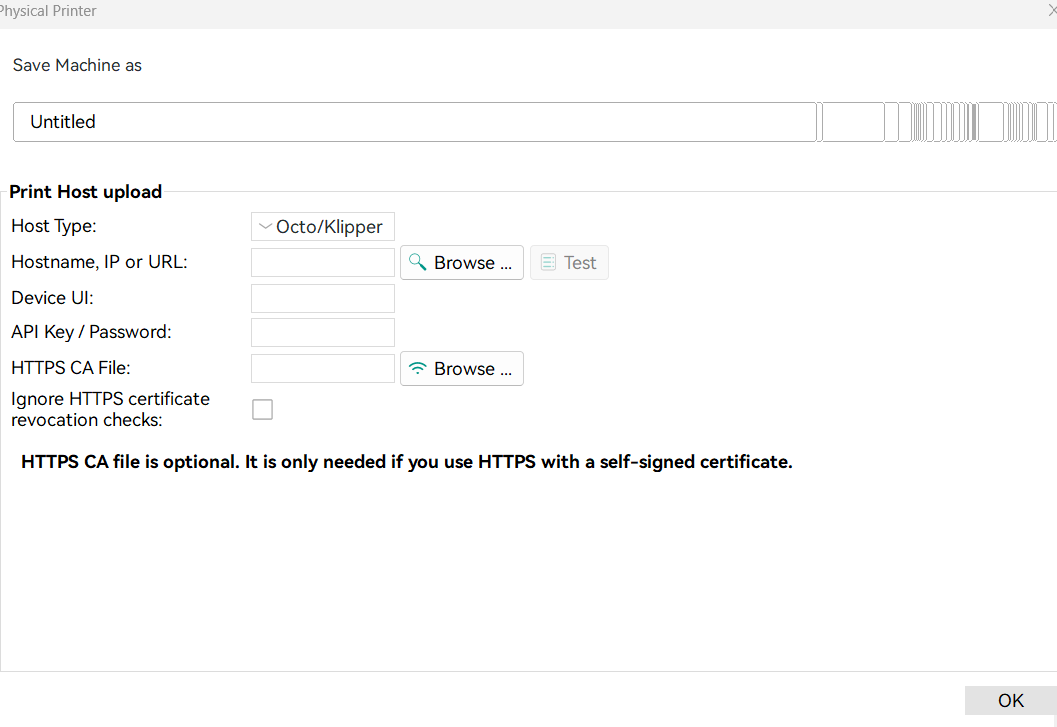
After you enter all the details, you will be ready to establish the connection
If you want to add or remove a 3D printer you have set up, click on the gears icon near the 3D printer name.
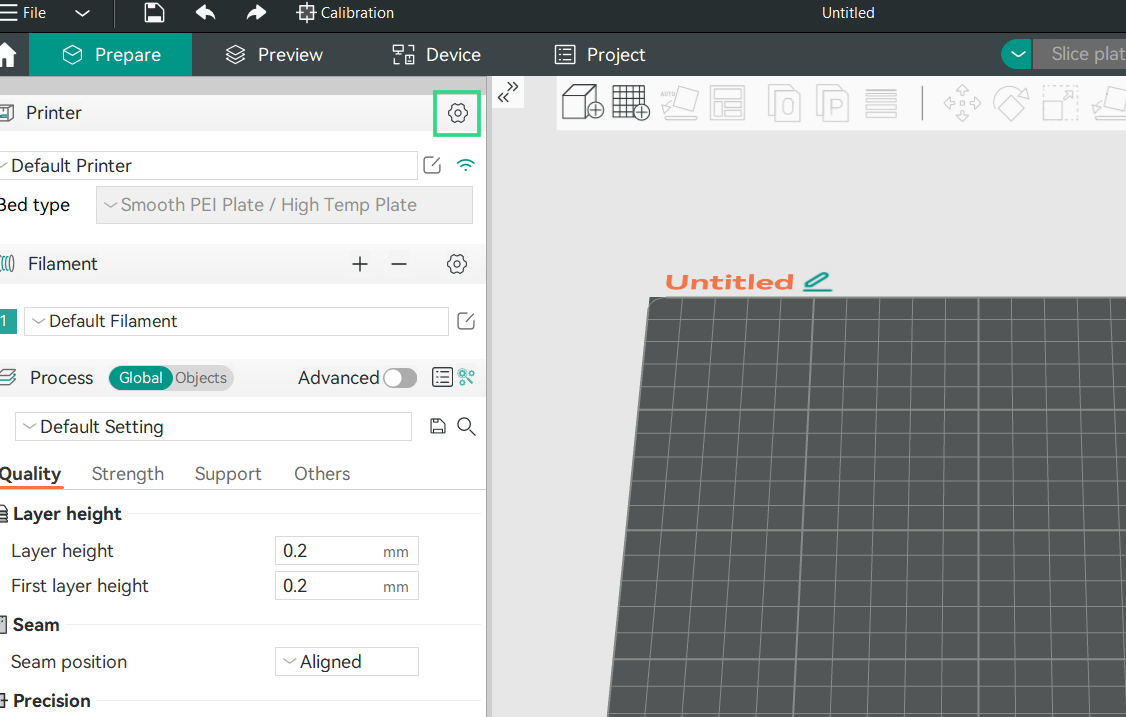
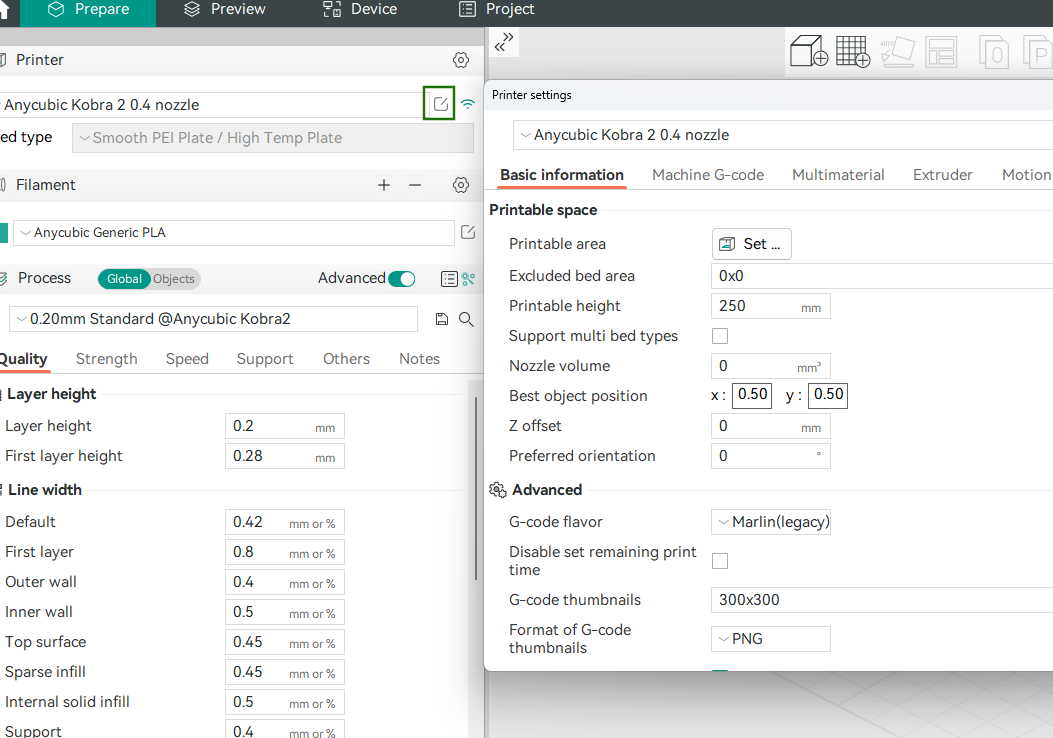
3D Printer and Filament Settings
On the left side of the interface, you have an option to access the 3D printer and filament settings. To adjust the settings, click on the icon near 3D printer, and a new window will launch containing various options.
you may also click onAdvancedoption to access other advanced settings. To access filament settings, click on the icon just below the gear icon.
Just below the 3D printer and filament settings, there isProcesssection that contains the following categories of settings for fine-tuning your 3D prints:
The default presets for your 3D printer provided by Orca are good. If you get familiar with the slicer, you can make adjustments and click on the save icon at the top right; then, you will see an option to name your preset.
Importing Files and Preparing Them for 3D Printing
To import your files to Orca Slice, you may drag and drop them to the interface. Alternatively, you can go toFile > Import. Once you import and click the model, you can see the various tools for manipulating your design, such as auto-orient, move, rotate, scale, cut, and many others.
All the settings for manipulating your design appear in thePreparesection of the menu, and options for customizing your plate are available in the right section of the interface.
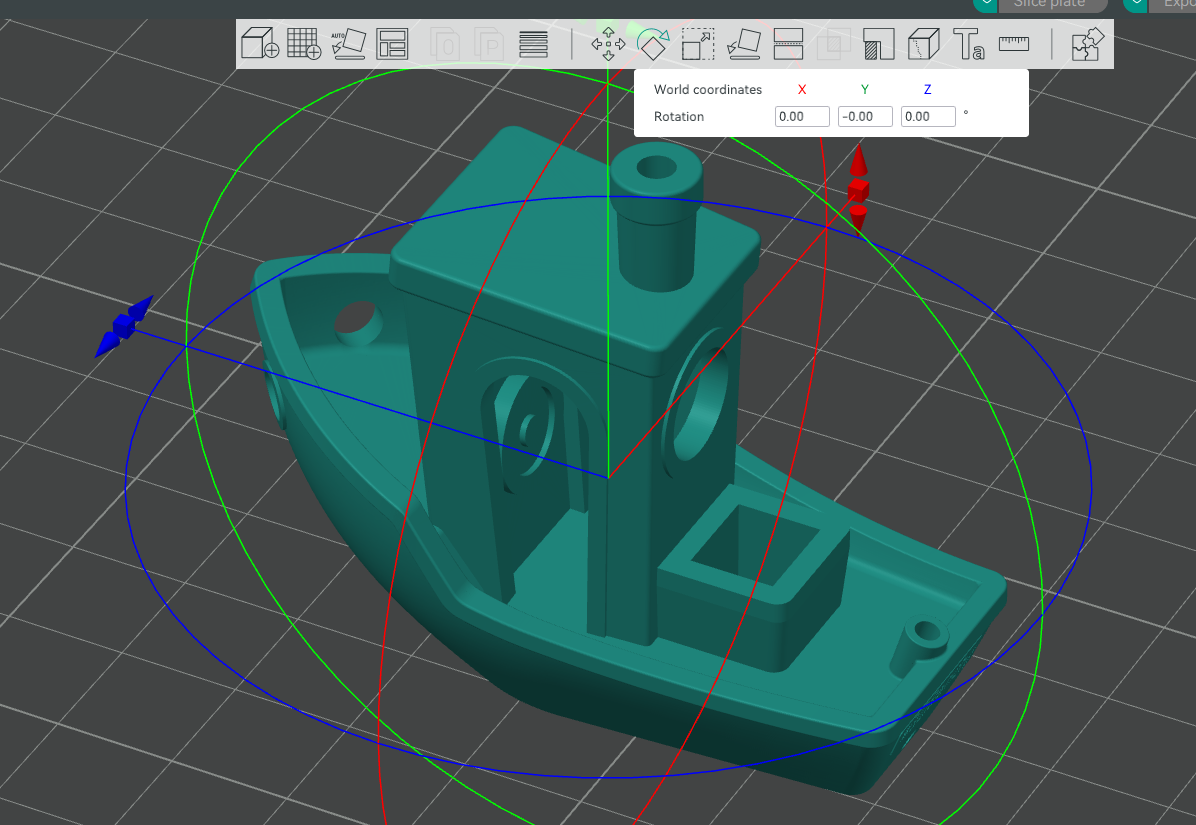
There is an option to remove the current plate, an option to automatically adjust the orientation of the objects on the build plate, and an option to customize the plate settings. You can also arrange multiple objects on the build plate simultaneously. This is very helpful, as you don’t have to move objects around manually. When satisfied with your plate settings, click the open lock icon to prevent accidental changes.
Slicing Files
Once you have configured your settings, slice the model by clicking on the drop-down menu on the Slice Plate. You will see two options:Slice AllandSlice Plate.SelectingSlice Allwill slice all the 3D models you have imported to the software.Slice platewill only slice the files in the current build plate, and it won’t affect other models not on that plate. After slicing, go to thePreviewoption in the menu bar to preview and tweak the settings to appear exactly how you want it. It also helps identify and fix any potential issues before 3D printing.
When you are satisfied with the preview, you’re able to export the G-code by clicking on the top-right section of the interface. You will see an option to export the G-code or print the file directly on the slicer if you have connected your 3D printer. If you choose to print directly on the slicer, you can see the interface of your 3D printer and be able to monitor how your file is printed by clicking on theDevicesection of the menu bar.

Advanced Features of Orca Slicer
Orca comes with various advanced features that you can explore. One of them is the calibration menu, located in the middle-top section of the slicer.
When you click on it, you will have the following options:
You can adjust the values until you identify the optimal printing temperature for your filament and ensure there is consistent extrusion, and prevent issues likeunder-extrusionand over-extrusion. The next calibration setting is theFlow rate. This allows you to manually fine-tune filament extrusion to ensure that the 3D printer deposits the correct amount of filament in each layer. You can follow the steps below to calibrate it.
1.Go toCalibration > Flow rate, then selectPass 1. You will see a project with several blocks appearing on the workspace. Each of them has a different flow rate modifier.
2.Sliceand3D printall the files and check which has the smoothest top surface. That will be the optimal flow rate.
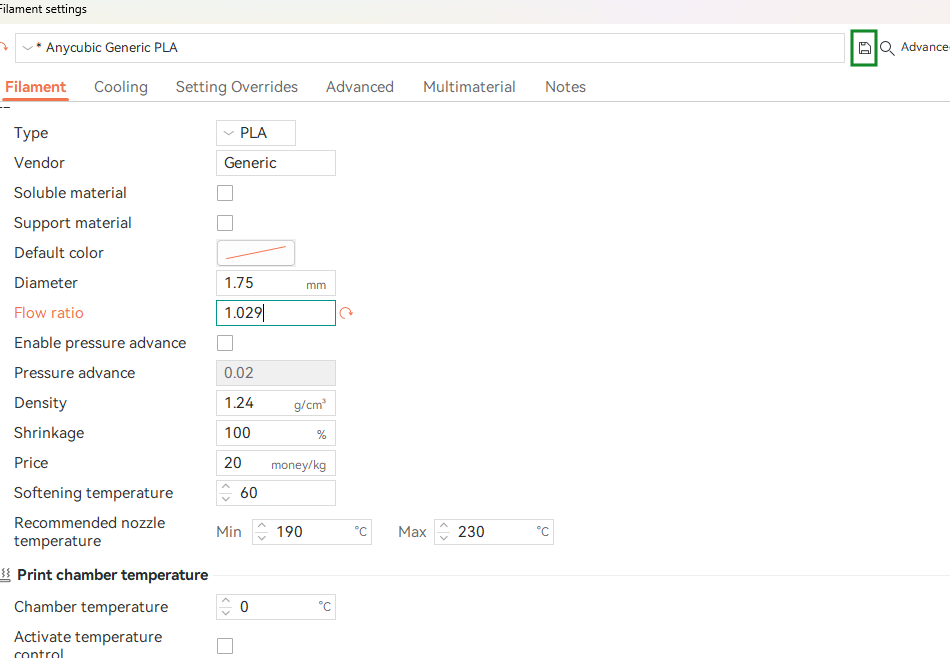
- Goto theFilament settingsto update the flow ratio using the formula FlowRatio_old*(100 + modifier)/100, then save the filament profile. In the image below, our initial flow ratio is 0.98.
If we choose a flow rate modifier of +5, the new value will be 0.98*(100 + 5)/100 =1.029.
4.Savethe new filament profile by clicking on the save icon on the top right section of that window.
5.Returnto thecalibrationFlow rateoption, selectPass 2,and repeat the steps above.
- Once you find the value in which the top surface is smooth,use the formula in Pass 1to get the new flow ratio, thengo backto thefilament settingsand update it, and then save the filament profile by clicking on the save icon.
You have now successfully calibrated the flow rate.
After the flow rate, the next calibration setting is thePressure Advance. It allows you to calibrate the pressure advance settings to compensate for the pressure within the extruder, which helps minimize issues like oozing, stringing, and uneven extrusion. Follow the steps below to adjust and calibrate it.
1.GotoCalibration > Pressure advance.
2.Selectthetype of extruderyour 3D printer uses, either a direct drive or Bowden extruder.
3.Choosethe calibration method. There are three options: PA Tower, which is the most accurate, or PA Line and PA Pattern, which are faster.
In all three methods, you print the designs and then observe and see the optimal values that produce the best results.
- Once you find the best value,returnto thefilament settings, clickon theEnable Pressure Advancebox and then update thePressure Advancevalue.
5.Savethefilament profile settings.
The next calibration option that follows is theRetraction test,which provides a retraction tower model that you can print and then observe each section of the model to find the optimal value. When you click on it, you will see a dialog box that allows you to set the start and end of the retraction length. You can start with the default values, which are 0 and 2 mm.
Similar to the retraction test is theOrca tolerance testuseful in evaluating the tolerance or the dimensional accuracy of your 3D printer. The design has six hexagonal holes, each with a different tolerance value.
After 3D printing, you can check which holes the hexagon test passes through. The tolerance is the lowest value.
There are two other advanced calibration tests in Orca:Max flowrateandVFA. Max flow rate helps you determine the point at which your 3D printer reaches its maximum extrusion capacity without compromising print quality. You do this by adjusting the volumetric speed of the filament, printing the file, then inspecting the layers and seeing where the layers start to fail.
VFA, or Vertical Fine Artifacts test helps you find the optimal speed that minimizes or eliminates defects that appear on a 3D print.
You can adjust the start, end, and step speeds until you find the optimal value.
Another unique and advanced feature of Orca Slicer is the precise wall.
Precise Wall in Orca Slicer
This feature adjusts the outer wall spacing, ensuring that your parts are 3D printed with precision and accuracy, hence minimizing inconsistencies and imperfections. You can find this option in theQualitysection. Activate it by clicking on thePrecise wallbox.
When activated, it improves shell precision and enhances the strength of your 3D-printed part. If you would like to get a smooth outer wall, this feature can help you achieve it. ABambu 3D printer userhas also reported that the precise wall feature can help fixZ banding issues.
Seam Feature
The seam feature in Orca slicer makes it easier to control the location and appearance of the seam based on your preferences. You can find the setting in theQualitytab.
TheSeam positionprovides four placement options: Nearest, Aligned, Back, or Random. ChoosingNearestmeans the seam will be positioned at the nearest point to the end of the previous layer. This helps minimize the visibility of the seam by placing it close to the existing features. In theAlignedoption, the seam aligns with a specific edge of the model to provide a consistent path on the print.
TheBackseam position places the seam at the back of the model. This is useful for hiding the seam from the view, especially for designs meant for display or presentation. The last option isRandom, which randomly selects the starting point for each layer, hence distributing the seam across the model’s surface. If you want to add the seam manually, you can go to theSeam paintingtool found in the top right section of the menu.
You will see an option to customize theBrush sizeandSection viewand when you are comfortable, you can go ahead and start drawing on your design. To control the appearance of the seam, you adjust theSeam gapoption. You can specify the amount in millimeters or percentage of the extruder diameter. The default value is 10%.
