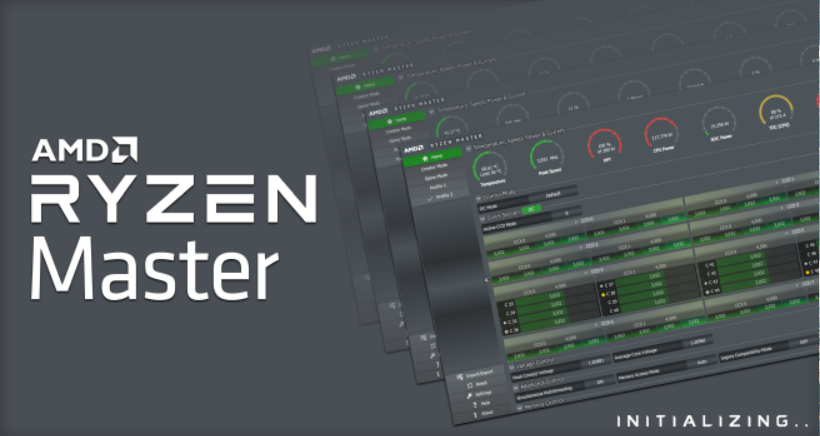
AMD Ryzen Master is a powerful utility designed for overclocking AMD Ryzen processors. This software allows users to tweak CPU settings, monitor performance, and optimize their systems for better performance. Unlike traditional BIOS overclocking, Ryzen Master provides a user-friendly interface that enables real-time adjustments and monitoring. This guide will walk you through the steps to download, install, and effectively use AMD Ryzen Master for overclocking your AMD Ryzen processor.
Prerequisites
Before starting, make sure that you have:
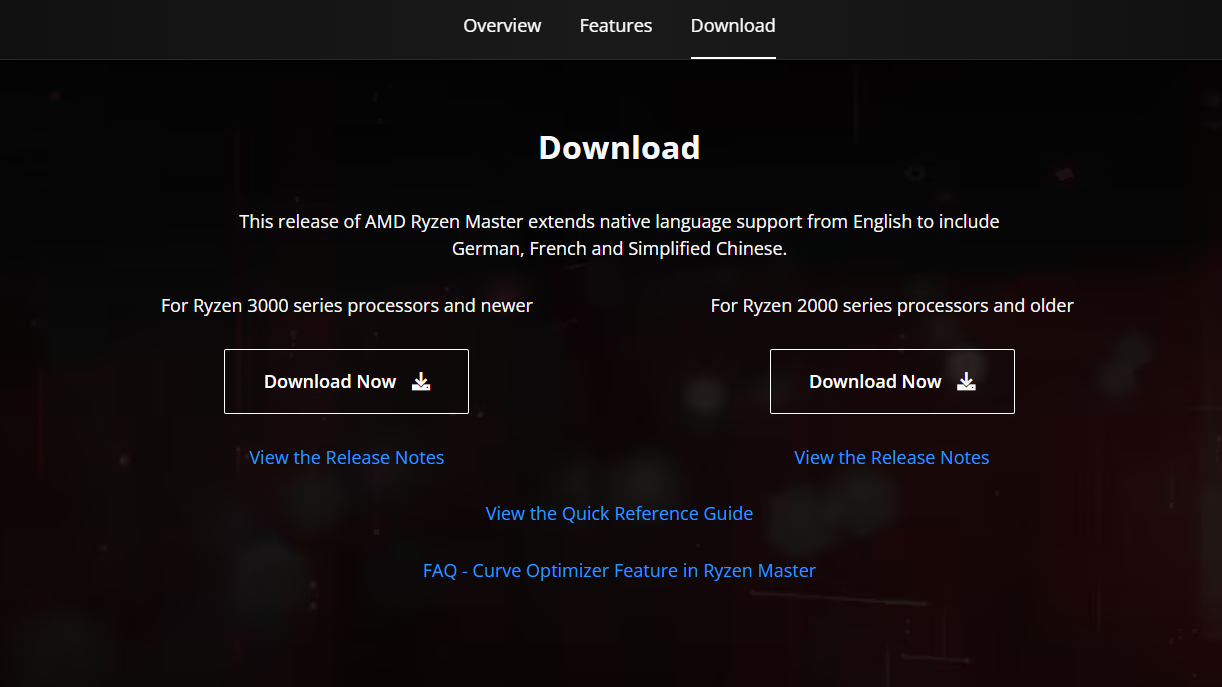
1.Visit the Official AMD Website: Go to theAMD Ryzen Master download page.
2.Select the Download Option: Click on the download button for Ryzen Master. Ensure you are downloading the latest version compatible with your operating system and CPU generation.
3.Save the Installation File: Choose a location on your computer where you can easily find the file after downloading.
4.Locate the Downloaded File: Navigate to the folder where you saved the installation file.
5.Run the Installer: Double-click on the downloaded file to start the installation process.
Get Tom’s Hardware’s best news and in-depth reviews, straight to your inbox.
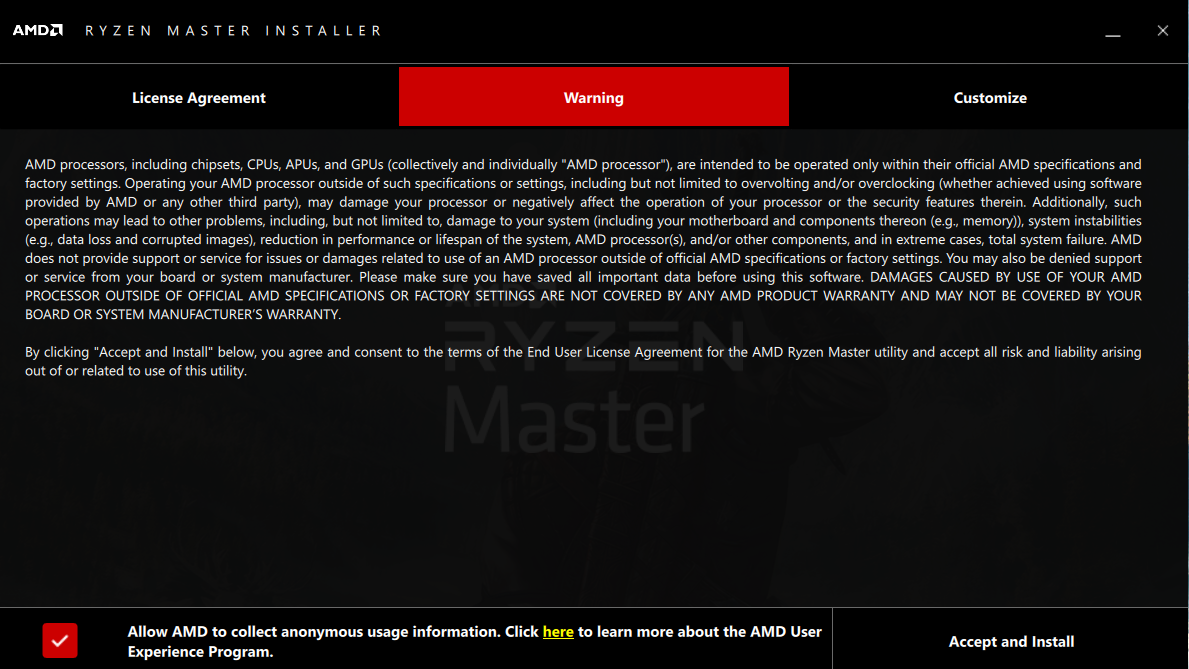
- Follow Installation Prompts: Accept the license agreement and follow any prompts to complete the installation.
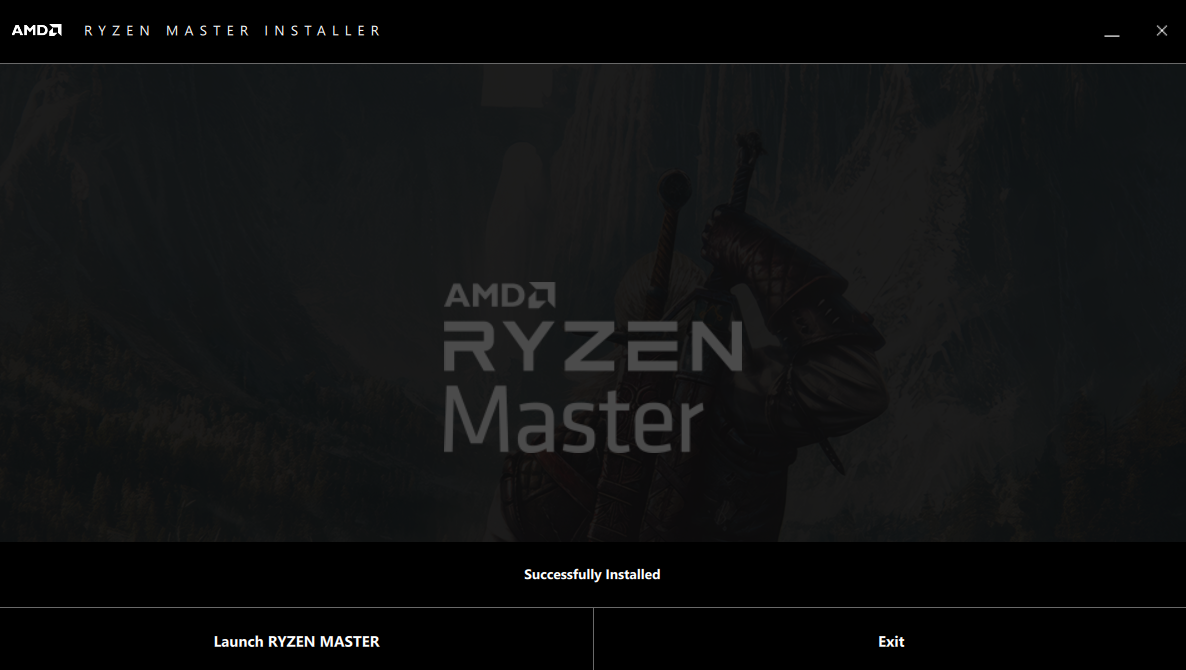
7.Launch Ryzen Master: Once installed, open the application from your desktop or start menu.
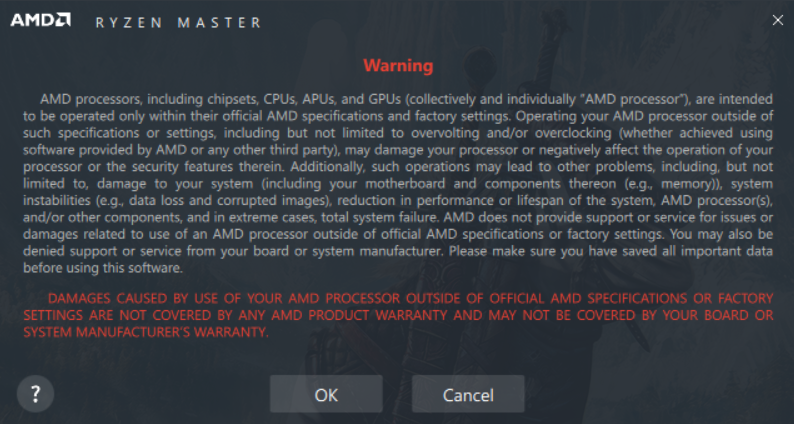
Accept the warning message about system modifications
Wait for the initial hardware detection process
4. Familiarize yourself with the interface layout:
🔹 Basic View: Displays essential information such as current clock speeds, temperatures, and power usage.
🔹Advanced View: Provides access to more detailed settings for overclocking, including core speed adjustments and voltage control.
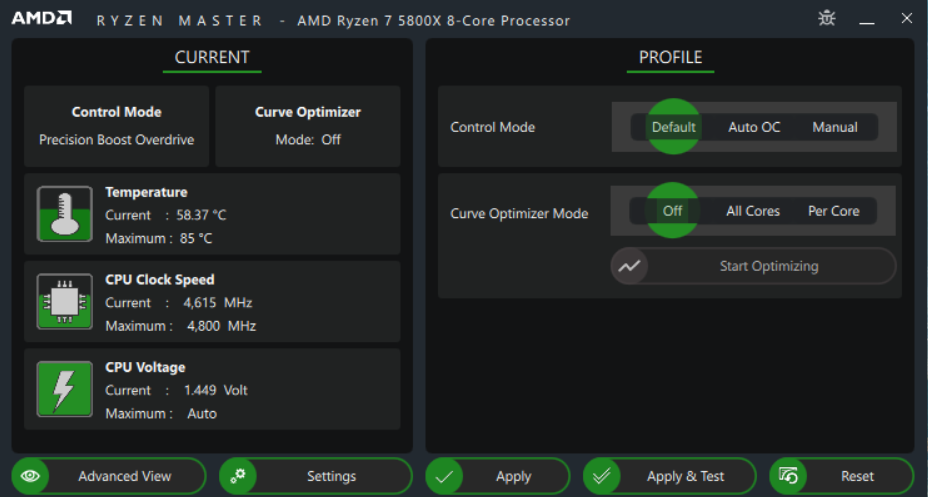
- For overclocking purposes, switch to Advanced View by clicking on the corresponding option.
Part 3: Prepare for Overclocking
🔸 Prepare Your System
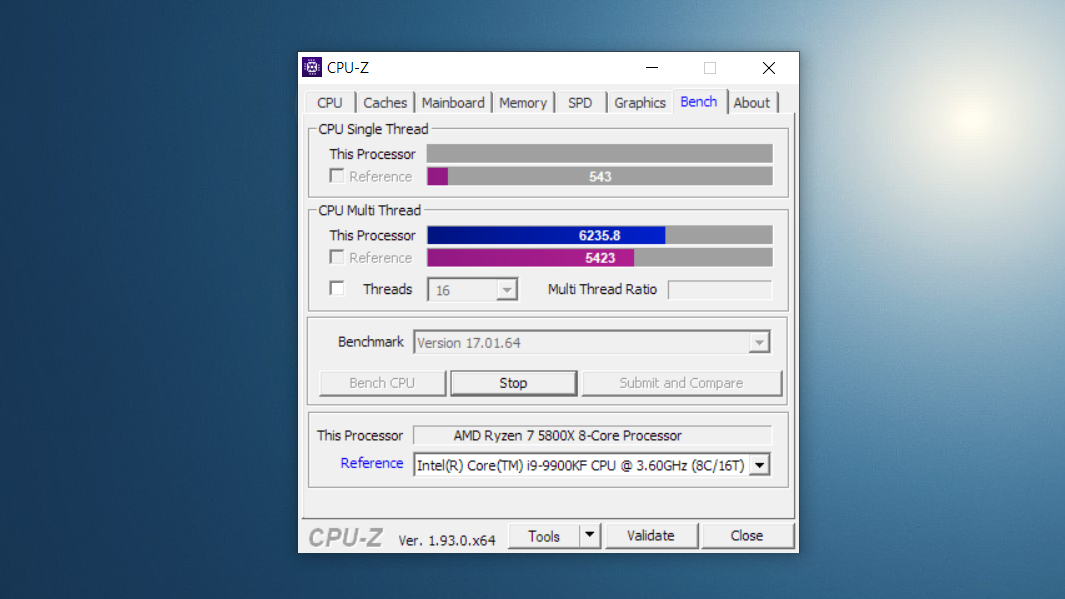
1.BenchmarkingSoftware: Download additionalbenchmarkingtools like Cinebench, CPU-Z, and Core Temp to monitor performance during testing.
2.Close Background Applications: Ensure that unnecessary applications are closed to avoid interference during benchmarking.

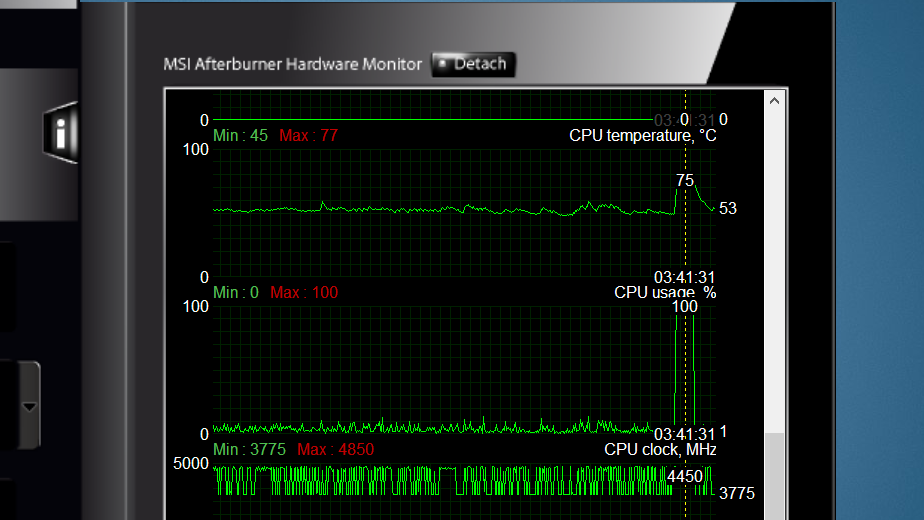
3.Monitor Temperatures: Keep an eye on CPU temperatures using Core Temp, MSI Afterburner, or similar software to prevent overheating during overclocking.
Part 4: Overclocking Your AMD Ryzen CPU
🔸Setting Up Profiles
1.Access Profiles: In Advanced View, locate Profile 1 or Profile 2 at the bottom of the window.
2.Select Profile: Click on Profile 1 to set up your overclock settings.
🔸Control Mode Selection
1.Choose Control Mode: Select “Manual” from the Control Mode options at the top of the window. This allows you to adjust core speeds and voltages manually.
2.Disable Additional Controls: Uncheck any boxes next to “Additional Control” and “Memory Control” to prevent accidental changes in these areas.
🔸 Adjusting Core Speeds
Select All Cores: In the “Cores Section”, expand your desired “CCD” or core cluster, which is a subdivision of your Ryzen CPU that has a set amount of cores.
The number of cores in each CCD will vary depending on your Ryzen CPU model. For our test CPU, the AMD Ryzen 7 5800X, all 8 Cores are in CCD 0.
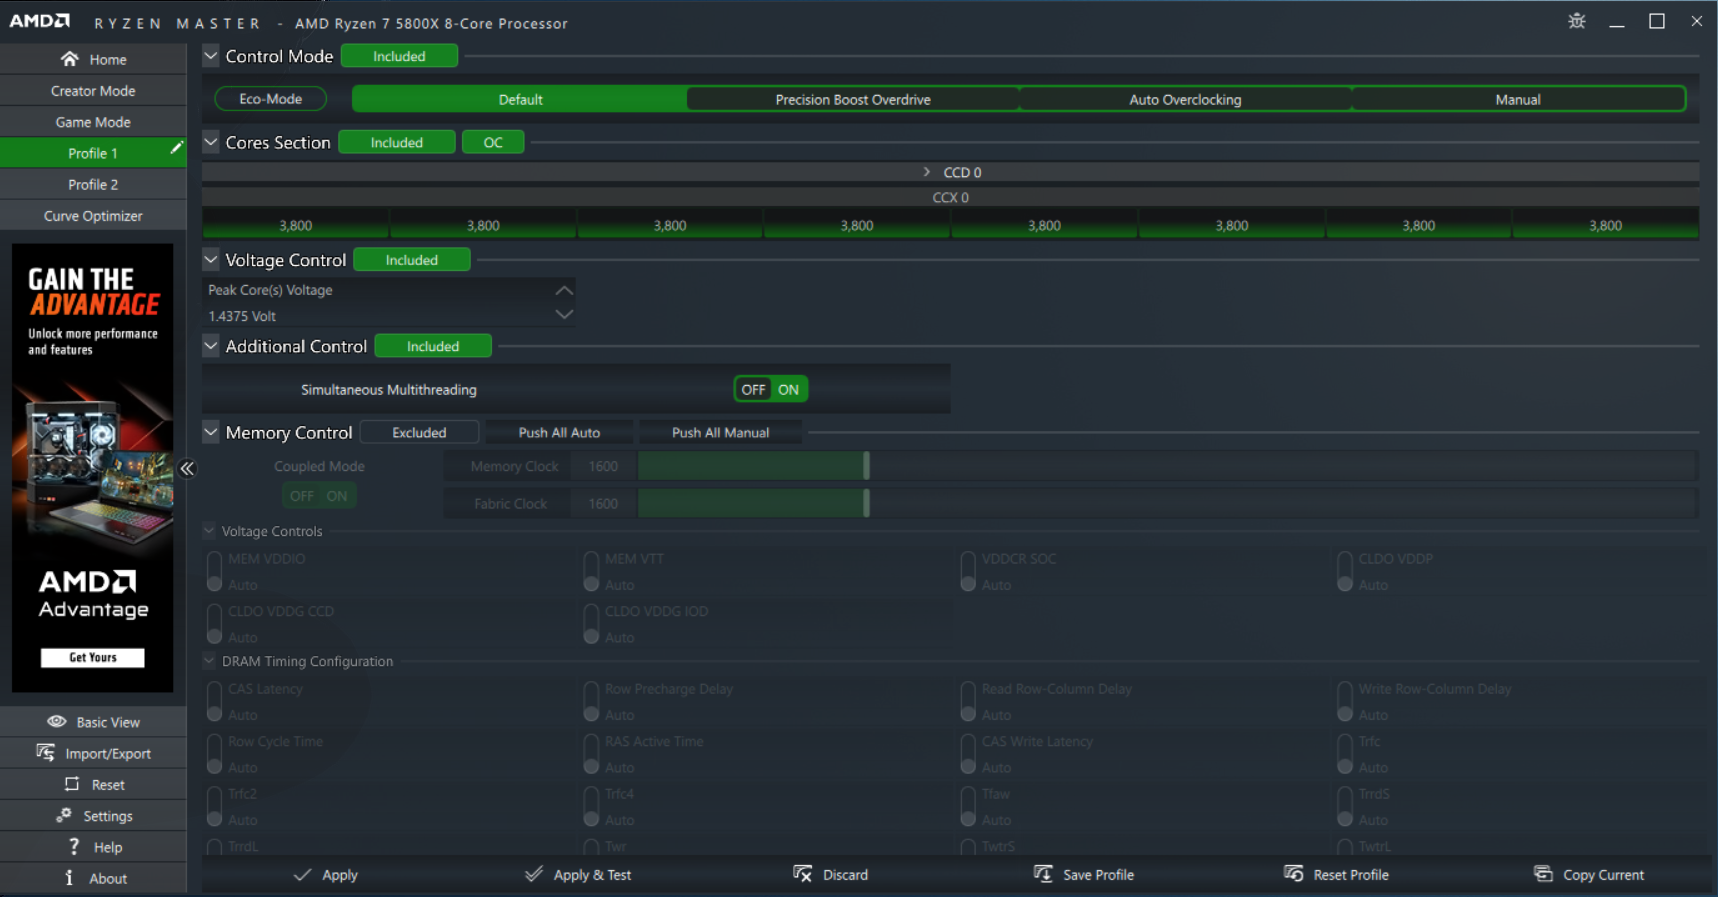
- You will see each individual core with its respective number on the left-hand side. Make sure you select all of them so that all changes apply evenly to all cores.
4.Increase Clock Speed: Click on the number next to one of the cores (e.g., Core 1).
- Increase this number from its base value (3.8GHz for our test CPU, but it can vary depending on your particular model) to a higher value (start with increments of about 100 MHz).
6. Press “Enter” after each adjustment.
🔸 Voltage Adjustment
You may also need to increase the voltage of your CPU in order to support your new overclock.
Access Voltage Control: Find the Voltage Control section in Ryzen Master.
Increase Voltage Gradually: Click the “Up” button once in this section to increase voltage slightly (start with increments of 0.025V).
Keep in mind that keeping CPU voltage around 1.35V is advisable; do not exceed 1.45V.
🔸 Applying Settings
1. Click “Apply & Test” after making adjustments.
This will run a brief test to check if your settings are stable.
If it passes, proceed; if it fails, revert changes and try lower settings.
Part 5: Benchmarking Your Overclock
After successfully applying your overclock settings.
- Open Cinebench and initiate a multi-core test while monitoring temperatures with Core Temp or MSI Afterburner.
🔸Evaluate Performance Gains
Compare this score with benchmarks taken before overclocking to assess performance improvements.
verify to run other stress tests and benchmarks besides Cinebench as well.
Some CPU overclocks can appear stable in one benchmark but can crash in another.
CPU-Z stress test, Unigine suite, and 3DMark suite are some of the better benchmarks to run at least a few times.
Nothing beats real-world testing. Make sure you run your favorite games and play them for at least a couple of hours to see if the overclock holds up.
If initial tests are successful
🔸Incremental Adjustments
Gradually increase clock speeds or voltages further while continuously testing stability using Cinebench or other benchmarks.
Monitor temperatures closely; if they exceed safe limits (typically above 85°C), reduce settings immediately.
🔸Creating Additional Profiles
Once satisfied with one profile, consider creating additional profiles for different use cases (e.g., gaming vs productivity).
You can also export and import individual profiles.
🔸Temperature Monitoring
Keep an eye on the CPU temperature at all times.
Adjust fan curves if necessary.
Set Curve Optimizer to “All Cores” or “Per Core”.
Test stability and adjust accordingly.
Modify TDC and EDC values proportionally.
Enable DOCP/XMP if available.
Once you have achieved a stable overclock:
🔸Save Your Profile
- In Ryzen Master, click on “Save” next to your profile name to keep your settings for future use.
🔸Reapplying After Reboots
Remember that settings will reset after a reboot; you’ll need to reapply them by selecting your profile each time you start your PC.
you’re able to choose to write PBO and CO settings to BIOS in Ryzen Master settings, which means that those parameters will stay the same even after a system restart.
Reapply thermal paste if necessary.
4. Update chipset drivers.
Finishing Up…
AMD Ryzen Master provides powerful tools for optimizing your Ryzen CPU, but overclocking is still a matter of trial and error. Start conservatively and gradually push the limits while monitoring temperatures and stability. Remember that every CPU is different, and results will vary. Document your successful settings and always maintain a safe, stable profile for daily use.
Focus on finding the sweet spot between performance, temperature, and stability rather than pushing for maximum frequencies. Always remember that while overclocking can yield impressive performance gains, it also carries risks such as overheating or instability if not managed properly. Regularly monitor system temperatures and performance metrics during use, and be prepared to revert settings if necessary for system stability and longevity.
Hassam Nasir is a die-hard hardware enthusiast with years of experience as a tech editor and writer, focusing on detailed CPU comparisons and general hardware news. When he’s not working, you’ll find him bending tubes for his ever-evolving custom water-loop gaming rig or benchmarking the latest CPUs and GPUs just for fun.
