If you no longer need VMware, you might as well uninstall it to free up the space it takes. Additionally, you may need to uninstall it if you encounter any issues while using the app.
This process is very quick to perform. However, due to issues like power failure or conflicts from other applications, such as antivirus, you may not be able to uninstall the VMware.
Uninstalling VMware on Windows
The installation folder of older VMware versions included anuninstall.exefile that you could run to uninstall it. However, for the latest versions, you need to use the app settings or programs and features. You can also use a PowerShell cmdlet to uninstall this application.
If you can’t completely uninstall the program using these methods, you need to manually remove all its files and registry entries.
Using Control Panel
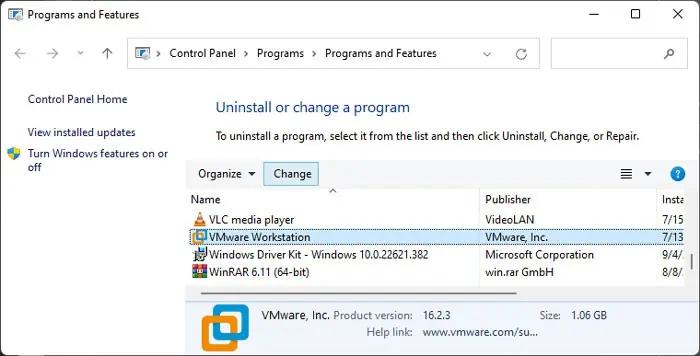
The traditional way of uninstalling an application is through the Programs and Features tool included in the Control Panel. Here’s how you’re able to use it to uninstall VMware:
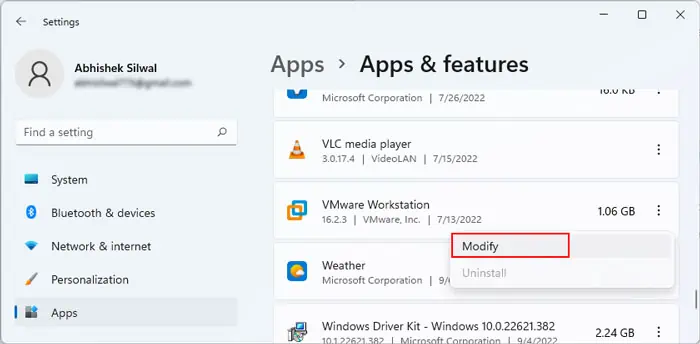
Through App Settings
Windows 8 introduced theSettings appas an alternative for the Control Panel. You can use its App Settings to uninstall VMware on Windows 10 and later versions. To do so,
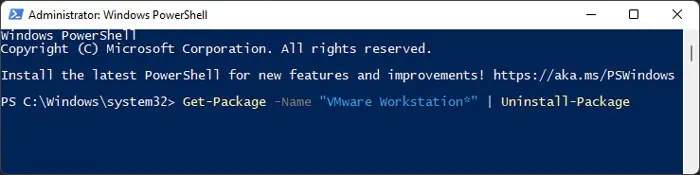
With Windows PowerShell
You can also use theUninstall-PackagePowerShell cmdletto uninstall your apps. Here’s how you can use it to remove VMware:
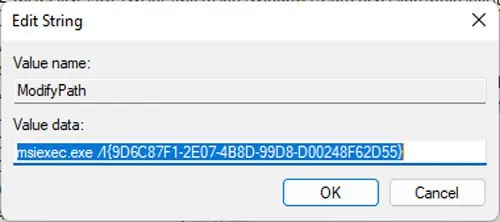
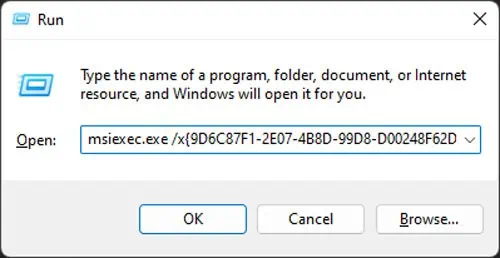
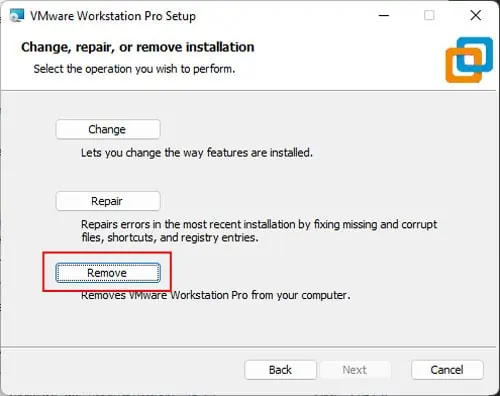
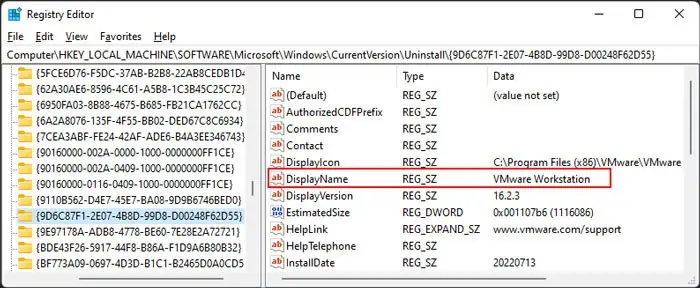
Directly Using the Uninstaller/Modify Script
It is also possible to directly run a shortcut for the uninstaller wizard for VMware. First, you need to figure out what the script is through the Registry Editor and then run it. Here are the necessary steps for the complete process:
Manually Remove VMware Files
If the above uninstallation processes fail, you won’t be able to uninstall the application properly. Then, you also can’t install VMware again on your system due to the persisting files.
In such cases, you need to manually remove the VMware files to clean up the incomplete uninstallation and properly remove the app from your PC.
First,log in with an administrator accountand temporarily disable your antivirus and firewall. Then, follow the steps below one by one to manually remove VMware from your system:
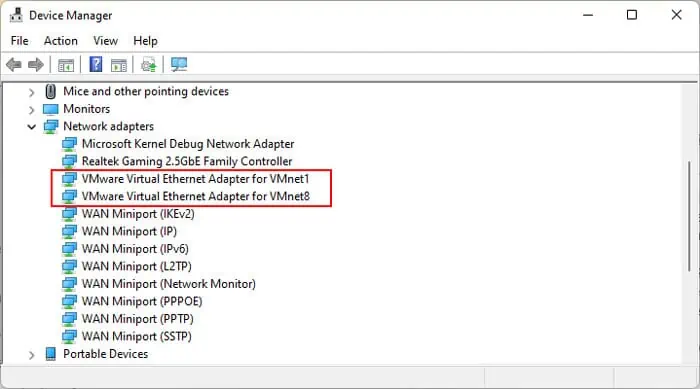
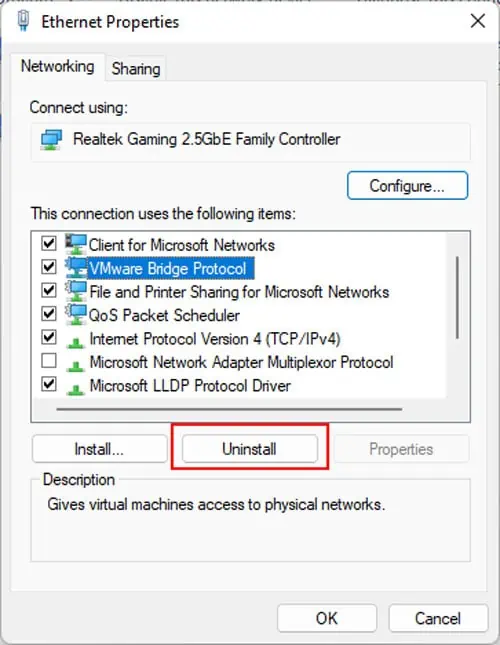
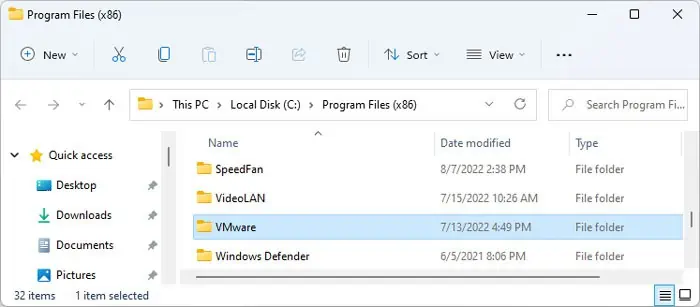
Delete VMware Folders and Files
Delete VMware Users and Groups
Delete VMware Registries
Uninstalling VMware on Linux
On a Command line-based system like Linux, you’re able to easily use some commands to uninstall VMware on your computer.
Here, we use the commands for the Ubuntu Linux system. Other distros use different commands, so you need to search for and use those accordingly.
Using the Uninstaller
The default way of uninstalling VMware on Linux is by using the uninstaller script. Here’s how you can do so:
Manually Uninstalling VMware
If uninstalling VMware using the uninstaller fails, you need to manually remove all of its files. To do so,