When your laptop’s keyboard is damaged or has limited keys, you may need to connect an external keyboard. However, in such situations, both keyboards will work in tandem which would increase the power consumption of your laptop. Besides, a malfunctioning inbuilt keyboard can also cause unwanted keystrokes.
To prevent this, you can disable the laptop’s keyboard. On Windows laptops, you can turn off the laptop keyboard by uninstalling its drivers. However, this isn’t a straightforward process. Further, there’s another option that lets you disable the keyboard ports with command line tools.
Uninstall Keyboard Drivers
Keyboard drivers basically handle the communication between the keyboard hardware and your operating system. When the keyboard driver is uninstalled this process is interrupted that ultimately ceases the keyboard’s functionality.
Step 1: Prevent Installation of Driver
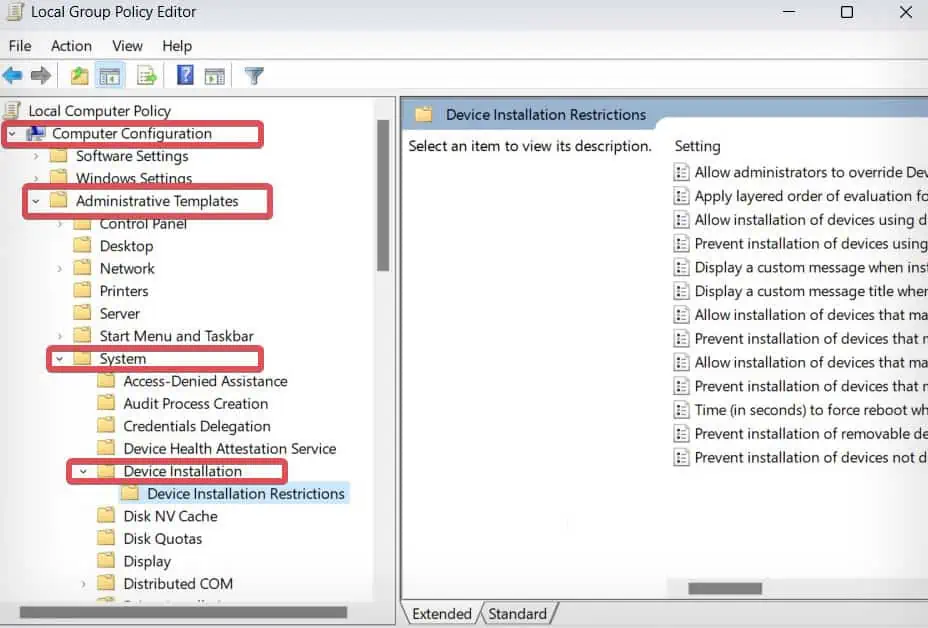
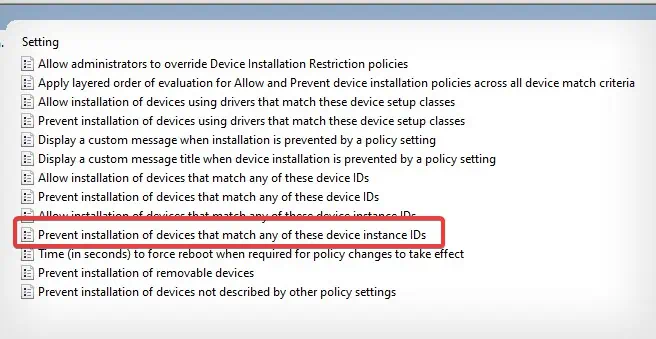
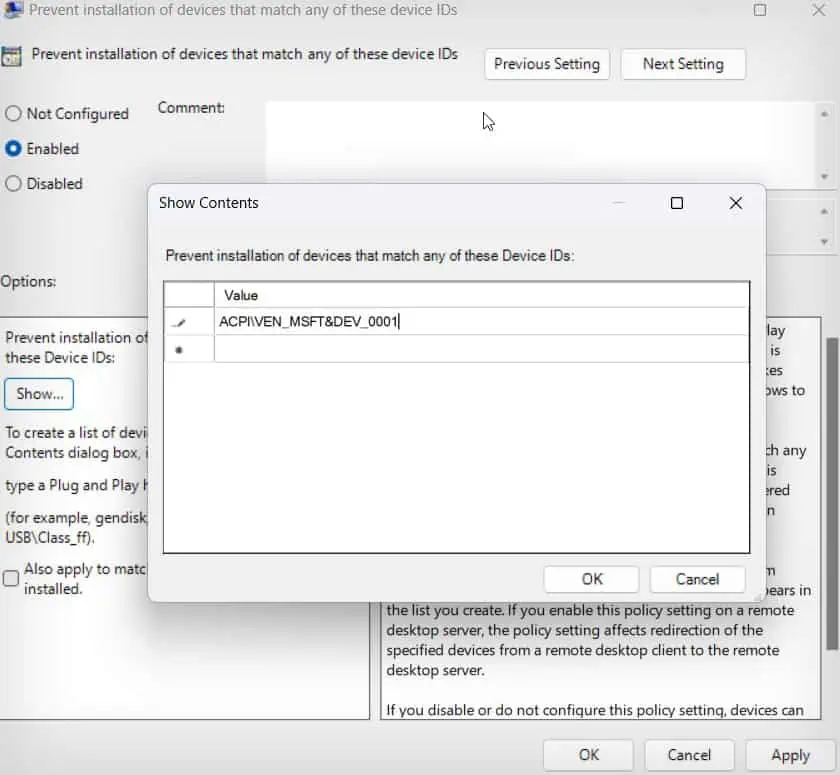
Generally, when you uninstall a device driver and restart a computer, windows automatically reinstall those drivers. Therefore, just deleting the keyboard driver won’t disable the Laptop’s keyboard—you are required to disable the ‘driver reinstall’ feature from the local group policy editor.
Note:If you want to disable this option later, go to the Device Installation section following the above steps and change the earlier setting to not-configured.
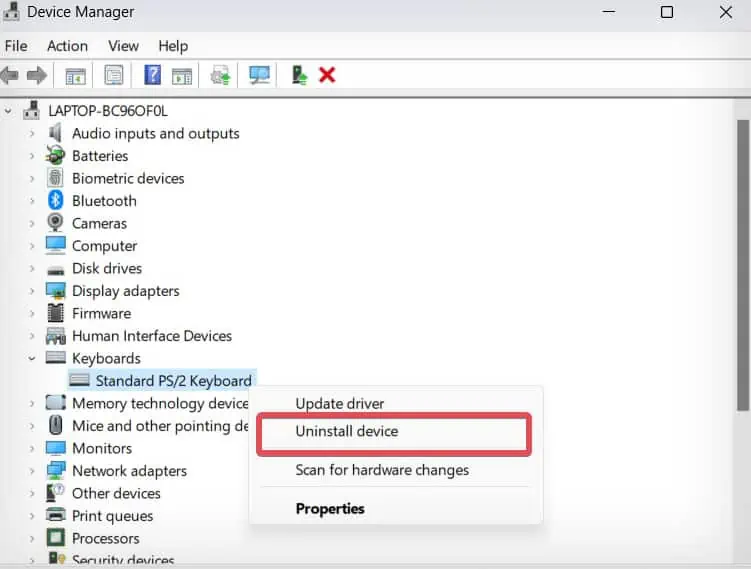
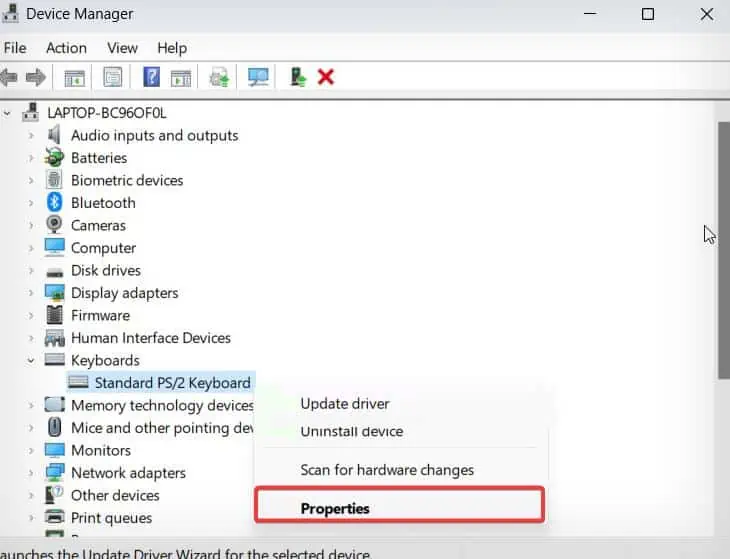
Step 2: Uninstall the Driver
Once the ‘driver reinstall’ feature is disabled, you can proceed to uninstall the driver. Here’re the steps.
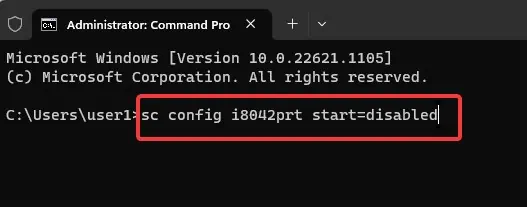
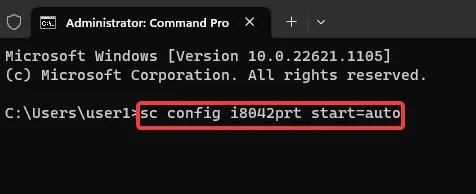
Disable Keyboard Port
There is a command-line-based method that disables the port on your Laptop’s keyboard turning it off. Here’re the steps you need to follow.
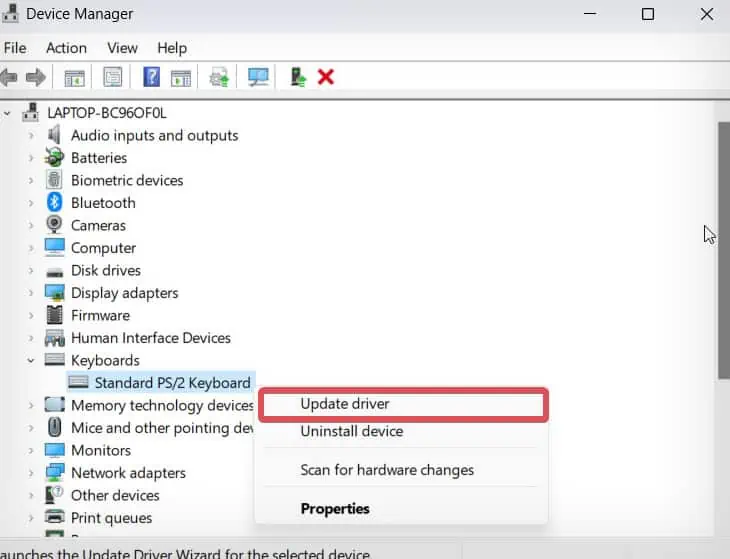
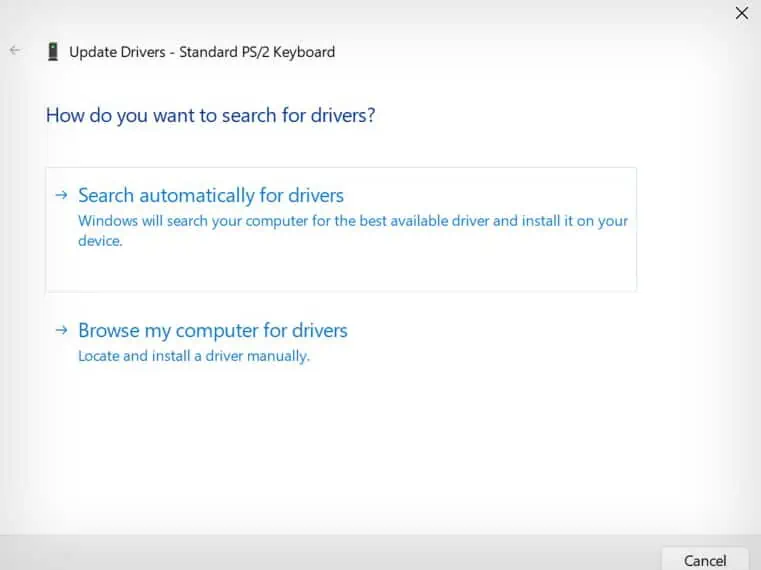
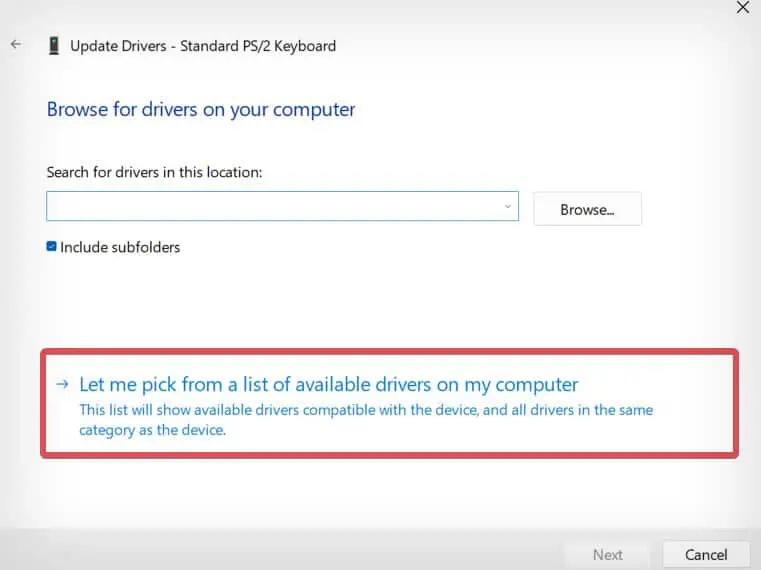
Update to Incompatible Driver
Another way to disable the laptop keyboard is to install the incompatible keyboard driver. This way the keyboard controllers will not recognize the drivers and fail to function.