Windows computers automatically choose the most recently used printer as a default printer. However, if you have multiple printers connected to your computer, setting a default printer ensures that the print commands are sent to the correct printer.
Once you’ve set the default printer, you won’t need to select the printer each time you print the documents as Windows will automatically send the print job to the default printer.
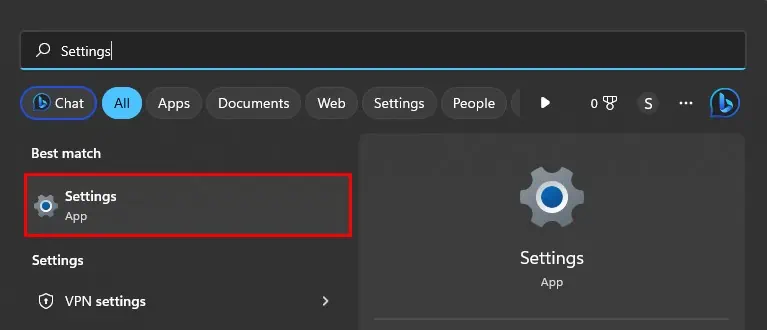
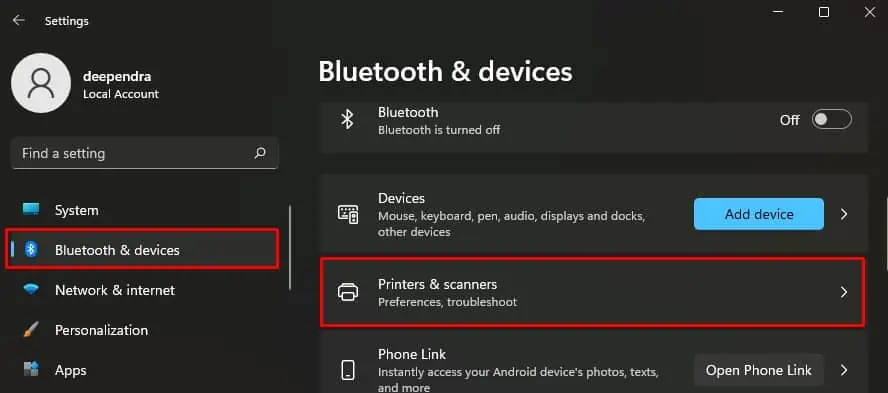
Using Windows Settings
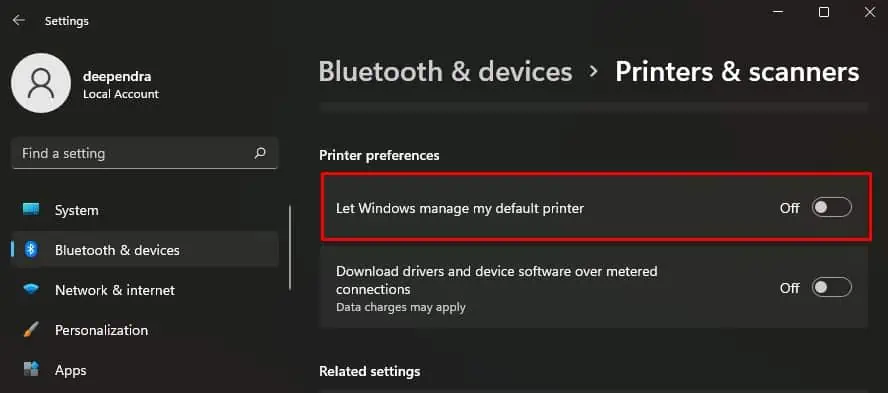
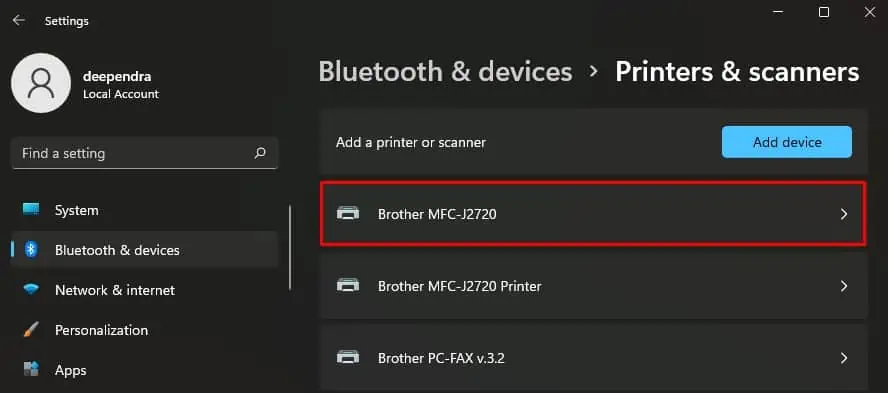
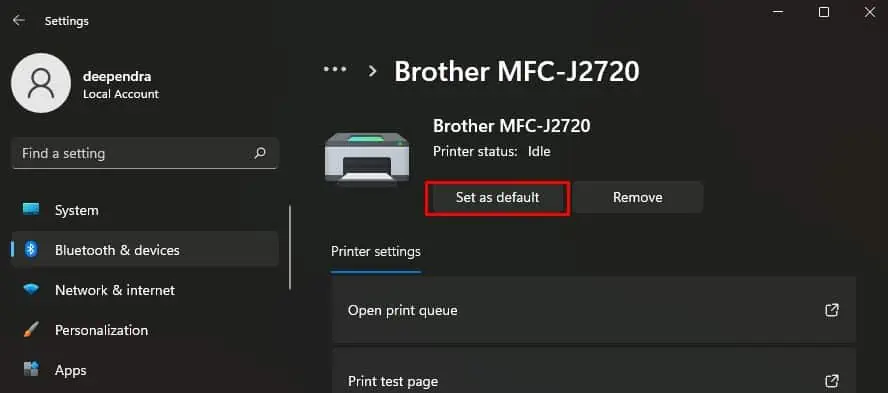
Windows Settings is the easiest way to access different printer settings like managing the printing preferences,checking the print queue, printing a test page, and many more. You can also set your printer to default using Windows settings.
Using Control Panel
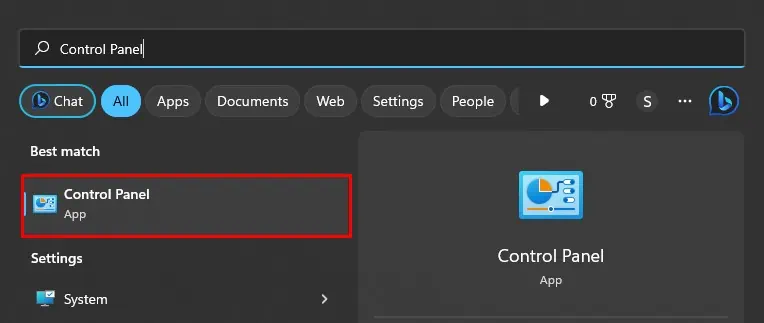
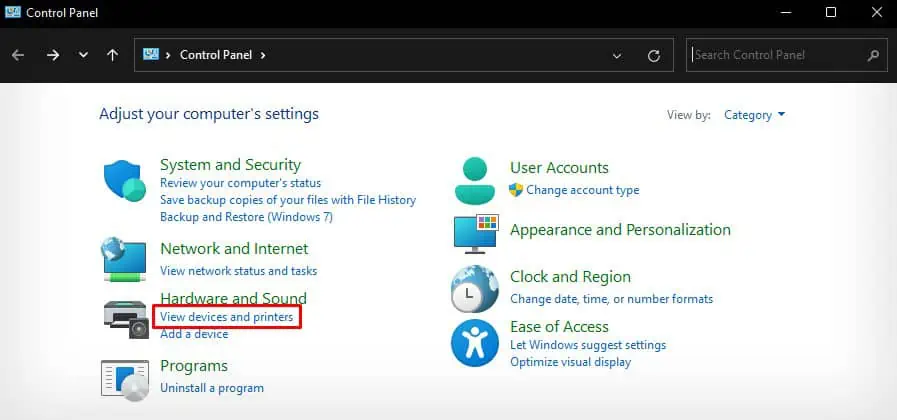
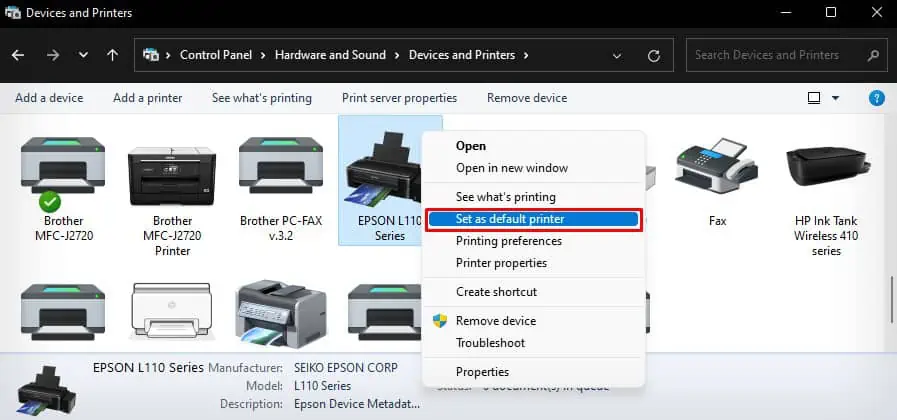
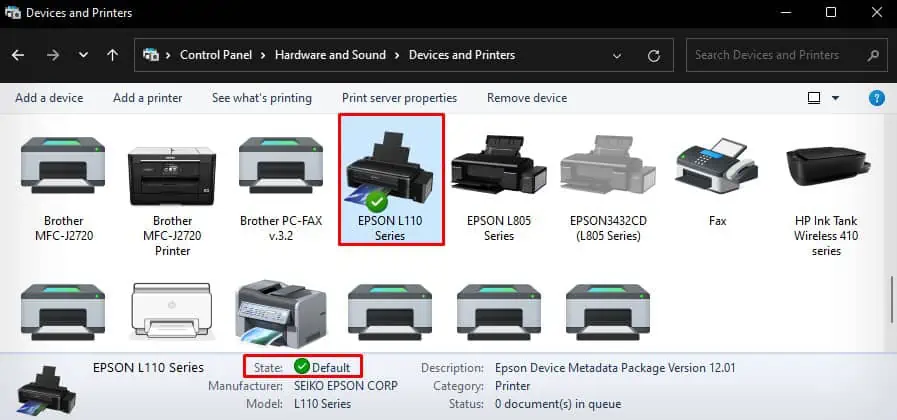
Here’re the steps to set your desired printer to default using the control panel.
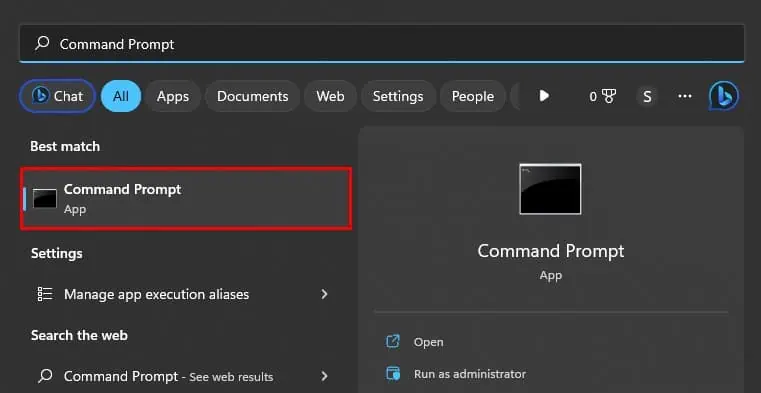
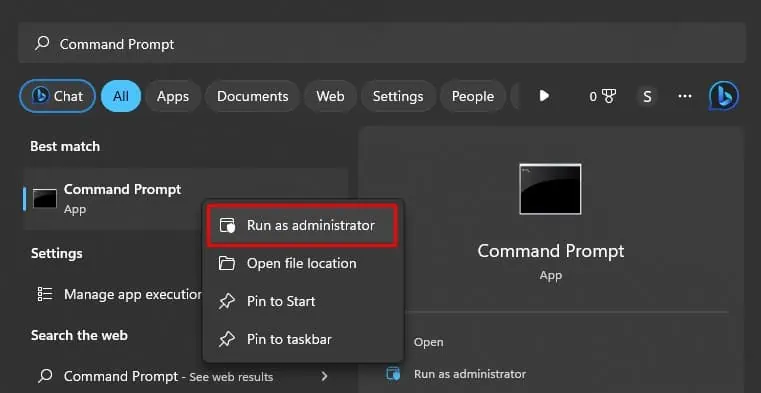
Using Command Prompt
Here’re the steps to set your printer to default using the command line interface.
Using the In-app Print Window
You can also change the default printer from the print window of text editors like Notepad or word processing applications like WordPad.
How to Set Default Printer on Mac?
If you are willing to set the default printer on your Mac, you can go through the steps below.