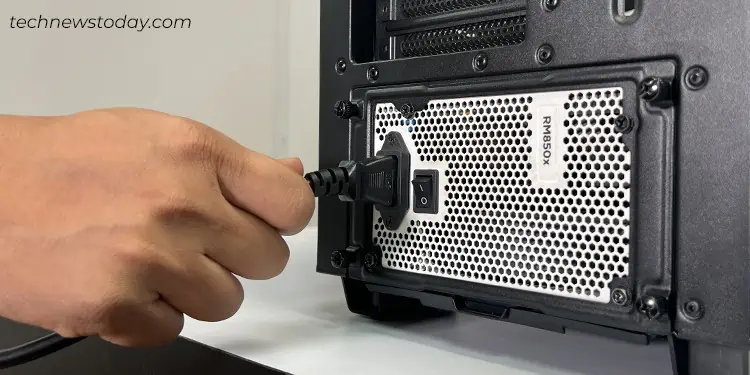
Fromunexpected shutdownstono-power-at-all, a failing PSU can often create havoc on your system, potentially damaging other PC components too. Hence, it’s crucial to test the PSU tomake sure it’s functioning well.
While some systems, like theDell Vostro 3910I’m currently using,have a dedicated buttonat the back for testing PSU, not all computers offer this feature. Having said that, there are alternative methods that make PSU testing across all systems rather a hassle-free process.
To test a PSU, use a paperclip to short the “PS_ON#” pin with the ground on the ATX power connector. This will only show if the PSU turns on. However, this won’t give you a detailed analysis of the power supply. So, I rather advise you to perform a multimeter test that lets you measure voltage levels on each connector. On the flip side, if you already have a PSU tester, it makes the entire process of testing your PSU a breeze.
Before You Begin
You cantest your PSU either within or outside the PC case. To test it within the case, first turn off your PC,open its side panel, disconnect allPSU cablesfrom the system, and proceed. However, for added convenience, I recommend removing the PSU from the case.
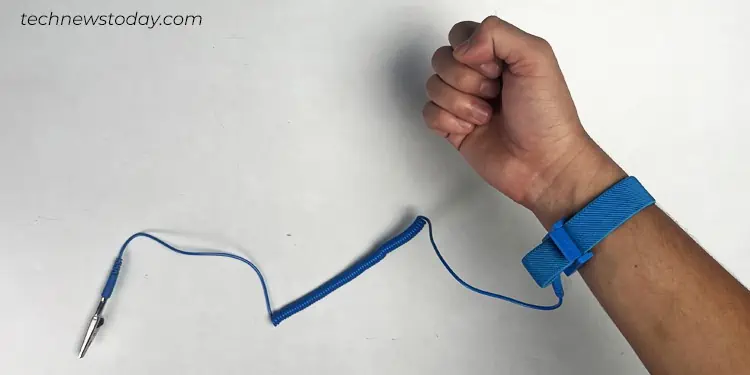
Next, make sure that you are conducting the test in an anti-static area. Also,ground yourselfto avoid any damage to the PSU from static charges. You can either touch an unpainted metal object to do so or use an anti-static wristband if you have one.
Using a PSU Jumper
The jumper test only determines if a PSU can be turned on. However, itdoesn’t provide you with a detailed voltage level analysis.
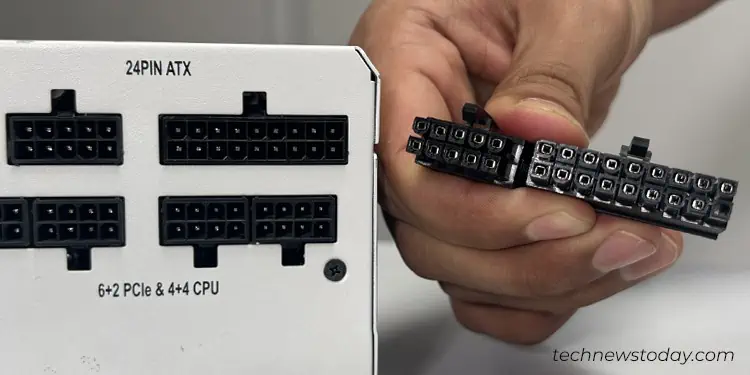
To jump test, you will basically need a “Power ON Self Tester,” often referred to as a PSU jumper. I have one that came with myEVGA Supernova 550 G3as shown below.
No matter your PSU model, the adapter is universal and can be used with any of the PSUs. If you don’t have one, a paper clip or a piece of metal wire will also get the job done.
As talked before, if you do not have the jumper adapter, you will need a paper clip or a metal wire to perform the test.
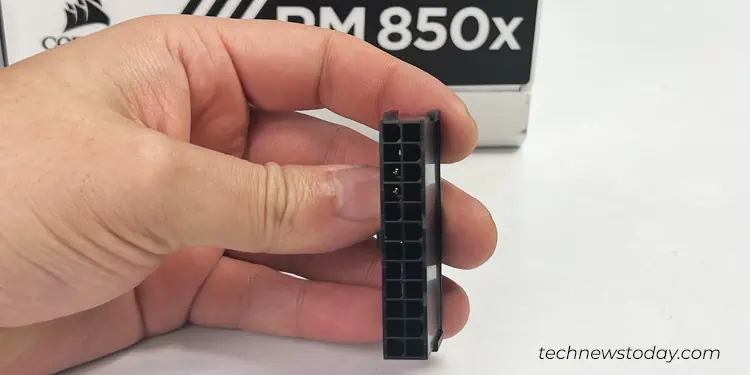
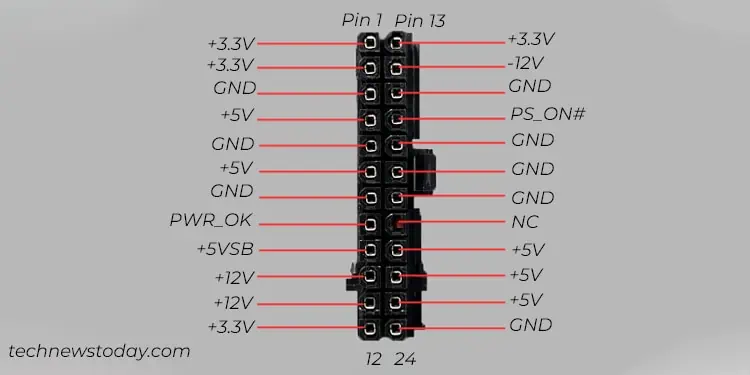
Here’s a quick overview of the ATX power supply pinout that will help you get started.
Here, you need to short thepin number 16 (PS_ON#)andpin number 17 (GND)on the ATX power connector. These pinouts are specified by the ATX standard so you’ll have the same pinout on every PSU these days regardless of the manufacturer. Next,
Do note that the PSU fan might stop after spinning for a while. This does not necessarily indicate that your power supply is bad. It is because your PSU has ahybrid fan modewhich only lets the fan spin after a certain load threshold is reached.
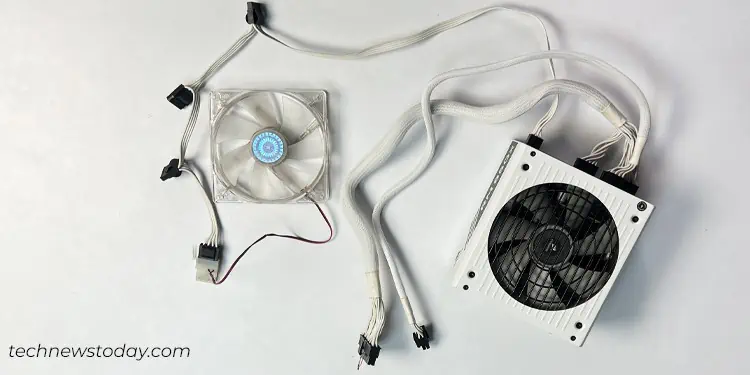
Similarly, some PSUs may require a load to be connected to it before you may turn it on. If youdon’t see fan movementafter a jumper test, you can connect any one of the PC components to the PSU, preferably a SATA drive. You may also connect a Molex interfacecase fanif you have one.

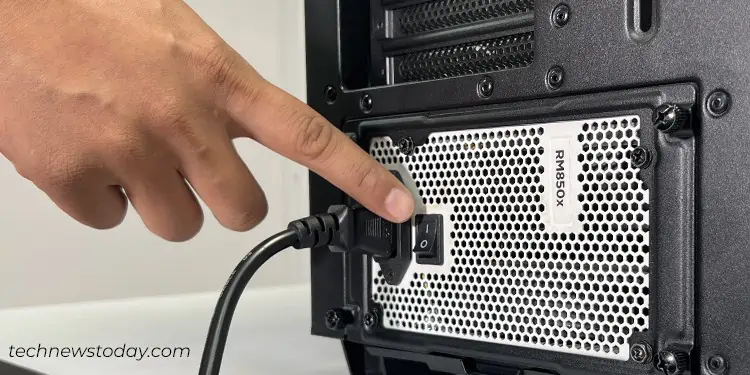
I tested my Corsair RM850x PSU with a Molex fan and the PSU turned on.
Using a Multimeter
Although the jumper test might have turned on your PSU, it does not guarantee that the power supply is working fine. To confirm, I recommend you do a multimeter test. It will help you verify if each pin on the connector is supplying proper voltage to your motherboard andother components.
You should have your PSU powered on to do a multimeter test. So, keep the paperclip attached to the ATX connector to start the test.

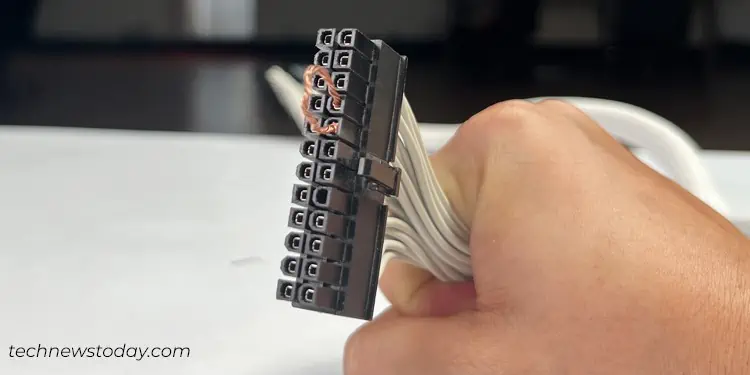
Here’s a quick revision of the 24-pin ATX power connector pinout that will help you begin the test.
The multimeter test isn’t too challenging and can be conducted independently. Yet, having a friend’s help could make things a lot easier and more convenient for you.
Upon testing, you should have voltage readings that are between the tolerance limits. Here’s a summary of what I found when I tested myCorsair RM 850xPSU.
The measured voltage should lie between the expected voltage range as shown in the table above. If you find any discrepancies regarding it, probably yourpower supply is faulty. For instance, if you are only getting a 1.5V measurement out of the 3.3V pin.
Once you test the ATX power connector, I also recommend you test the CPU power connector, PCIe, SATA and Molex connectors too. Here’s my other article that will help you get familiar with thepinout of all ATX power supply connectors.
Using a Power Supply Tester
Here comes the last method to test your PSU—using a power supply tester. This is a shortcut and more advanced method to a multimeter test. You have a readymade power supply testing device. Connect the cables to it and take the readings.
Here’s how to test the PSU using this device.
Similarly, you can test theSATA power connectorsand PCIe ones too. But make sure you test only one connector at a time.