Windows or any other operating systemstores junk fileson a storage drive that are useful just for a temporary period. When several such programs accumulate over the device, they’re likely to take up significant space and mayslow or lag your PC.
Well, there are several techniques to free up disk space, and the built-in Disk Cleanup utility is one of them. The legacy tool first finds the temporary files your computer no longer requires and calculates the amount of space you can gain after removing them.

Furthermore, running disk cleanup is one of the several ways toincrease hard disk speed. Hence, using this tool at least once a month can ultimately help optimize your Windows.
Is It Safe to Delete All Files in Disk Cleanup?
In the Disk Cleanup utility, you canselect multiple filesbefore removing them. While most are safe to delete,we do not recommend deleting Windows ESD Installation filesas they are essential components whenfactory resetting your PC.
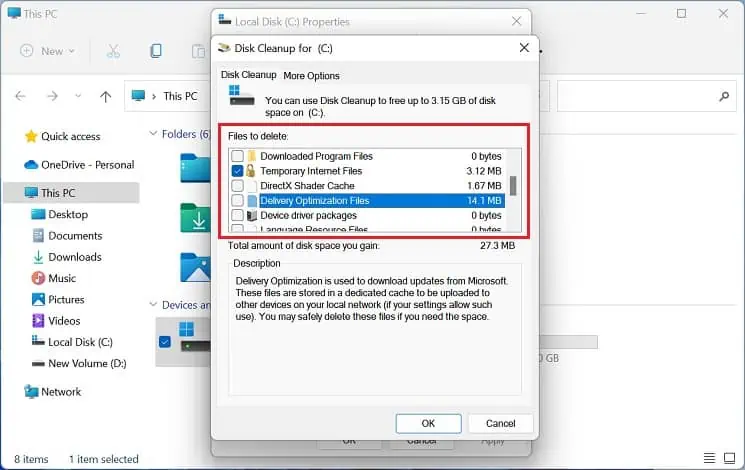
To get more ideas before deleting a temporary file, we suggest checking the Description section. For example, if you plan to remove the Temporary Internet Files, select this from the list and read the Description.
This lets you know that the folder contains data from web pages for quick viewing. Thus, if you want to keep these web pages, simply uncheck them and proceed with other files. Although Disk Cleanup shows only those files that aren’t needed by your PC,it’s best to delete them as per the situation.
How to Perform Disk Cleanup on Windows 11?
Ever since the release of Disk Cleanup in Windows 98, users have been able to get rid of unnecessary log files, temporary internet files, installation files, or thumbnails without fuss.
The latest feature,Storage Sense(that automatically manages and deletes temporary files), is slowly replacing this utility. We’ll save to discuss this topic for some other day.
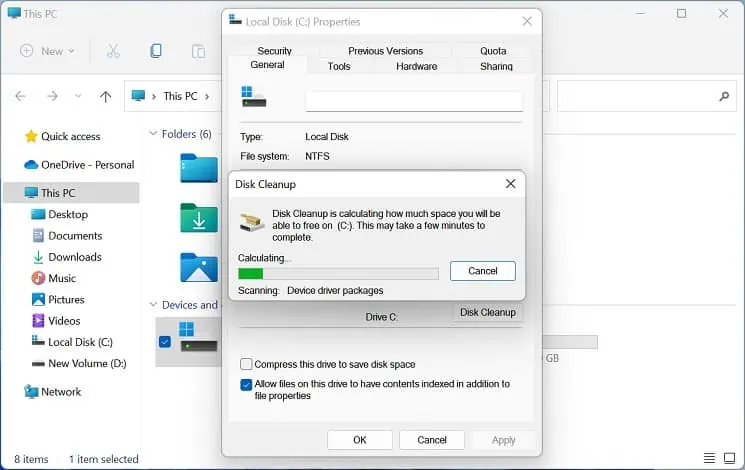
Moreover, this can also help fix the “Out of Disk Space” error on Windows. Regarding the same, this section includes a step-by-step guide to run disk cleanup.
Open Disk Cleanup Utility
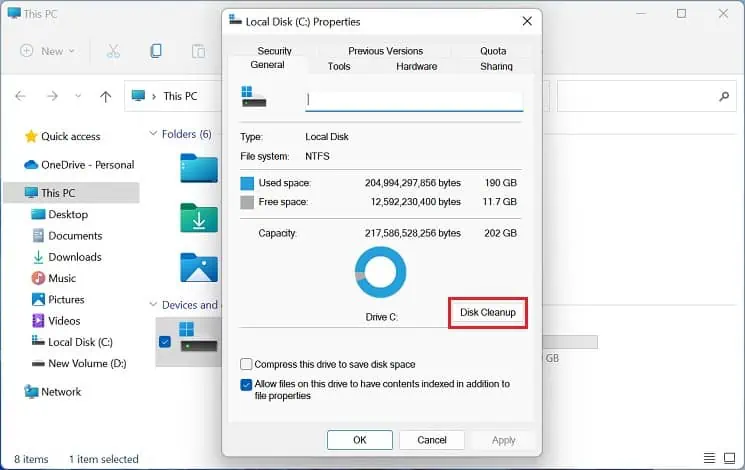
There are plenty of methods to open the Disk Cleanup tool on Windows 11. Here’s how you may do it using the drive properties:
Alternatively, you can also use theRun utilityto open this utility much more quicker:
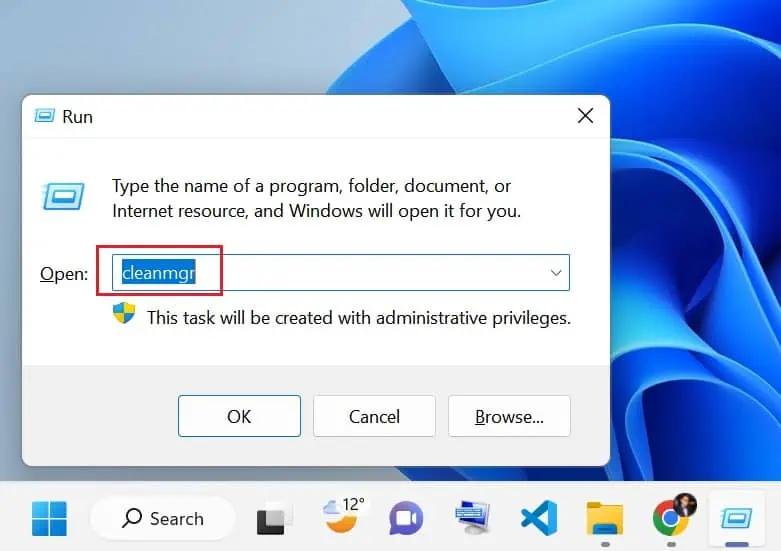
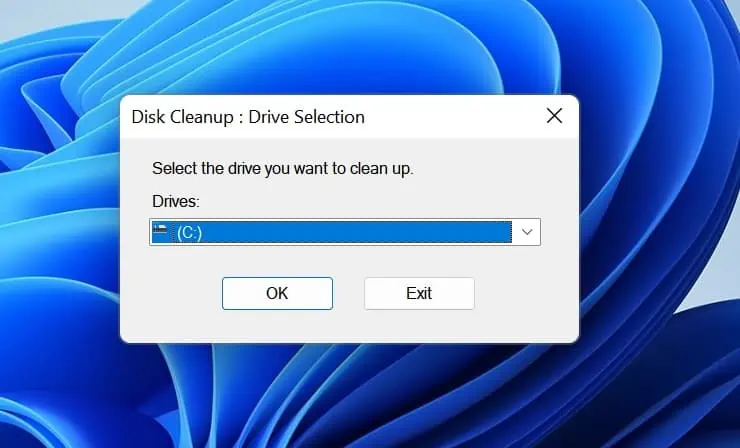
Also, you can runcleanmgrinCommand Prompt or Windows Powershellto trigger the Disk Cleanup: Drive Selection dialogue box if you prefer CLI over GUI. Likewise, you can directly use the Start Menu or Instant Search feature on the Windows taskbar to search and open the tool.
Run Disk Cleanup
Once you’ve launched the Disk Cleanup utility, you’ll be taken to the Disk Cleanup tab. Here, you can select and delete the unnecessary files (program files, temporary internet files, Windows installation files, etc.) that might take up hard disk space.
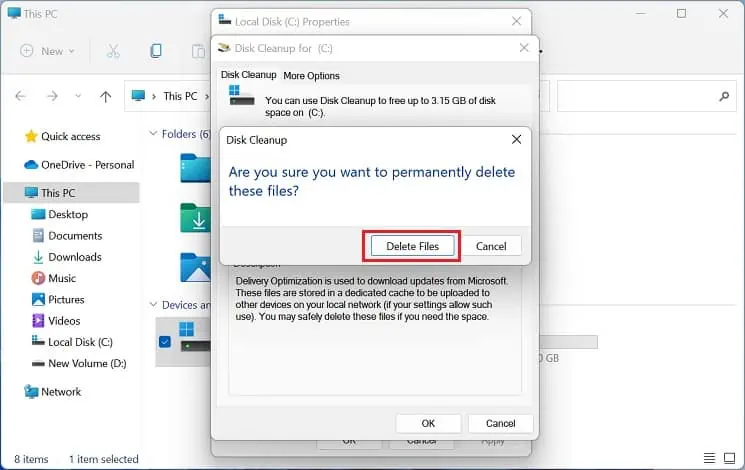
Kindly follow the below instructions in succession to successfully run disk cleanup on Windows 11:
Note:You won’t receive any notifications after the completion of the disk cleanup. As soon as the utility closes, know your desired drive is cleaned.
Explore More Options
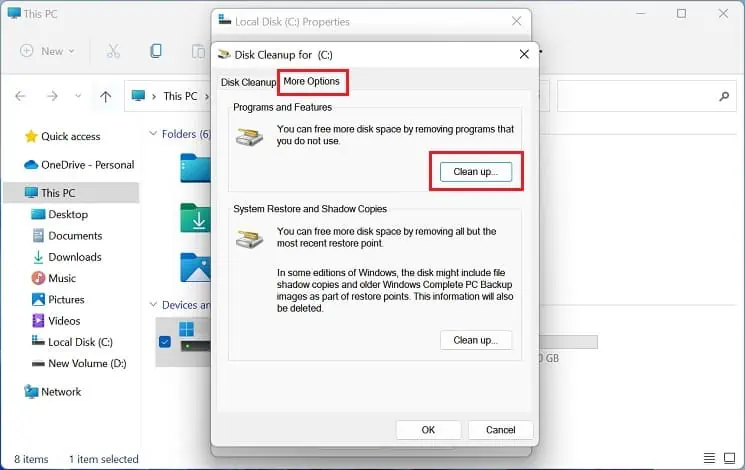
Sometimes, running disk cleanup isn’t enough. Several other apps, features,system restore points, and shadow copies often take up huge space that might remain unnoticed. Fortunately, the Windows Disk Cleanup utility lets you explore more options to free up disk storage and improve the system’s performance.
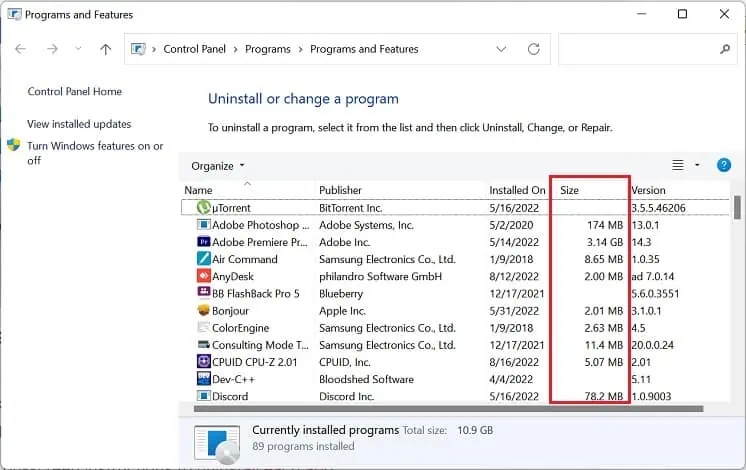
Programs and Features
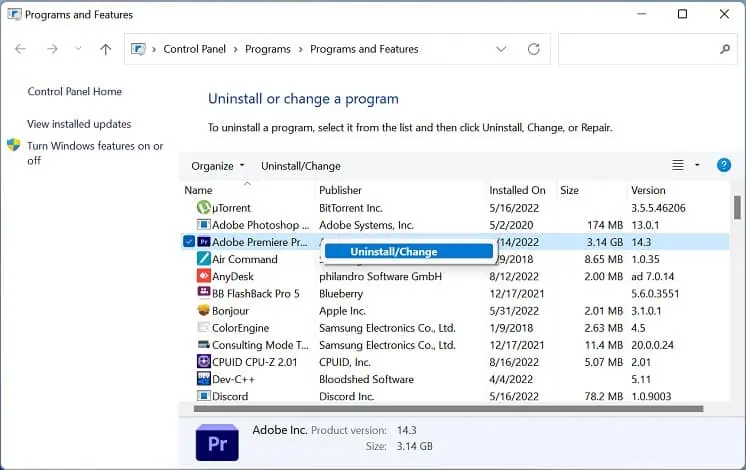
Most of us tend to download unnecessary applications but forget to delete them. Undoubtedly, removing these heavy programs can also aid in cleaning up yourHDD or SSD:
System Restore and Shadow Copies
In some PCs, the disk drive may have stored both shadow copies and older system image backups. Indeed, this can take up huge disk space, and removing them can help clean up your storage device:
