The average life expectancy of a hard drive is about three to five years. Over time, you may notice clunking sounds, laptop freezing issues, or degradation in the overall performance. These are the common signs that your storage device is failing, and it’s time for a replacement.
Upgrading a laptop’s hard drive canboost its performanceand evenimprove storage space. However, you need to know certain things before getting a new disk drive and the proper technique for its removal. Regarding the same, here’s a comprehensive guide that should help you properly replace a laptop’s hard drive.
Step 1: Know Your Laptop’s Hard Drive Slot
Not all laptop hard drive slots are the same. They differ in terms of form factor, interface, and location.This is entirely based on your device’s make and model.Therefore, we do not advise getting a new hard disk without properly knowing your laptop’s drive bay. If you already have a replacement drive, you can directly proceed to thethird step.
Form Factor
Some laptops come with bothHDD and SSDslots, while others only support one of the two. Also, depending on your model’s form factor, it can come with multiple hard drive slots.
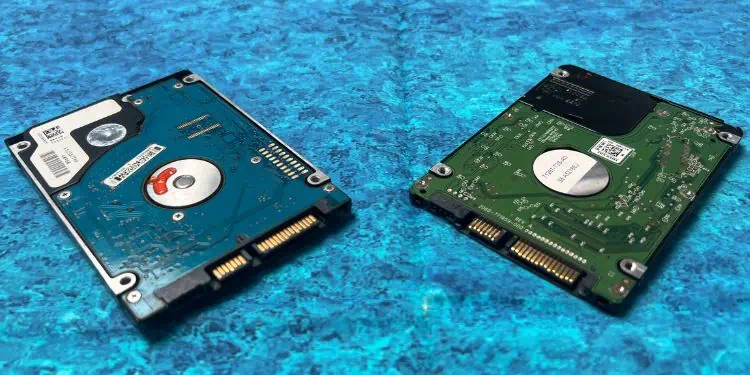
Unlike desktop computers,laptops only support smaller form factors(2.5-inch) hard disks. However, you cannot directly connect the 3.5 HDD to your notebook computer. If you want to, you may use it as an external drive, but it requires appropriate adapters.
Interface
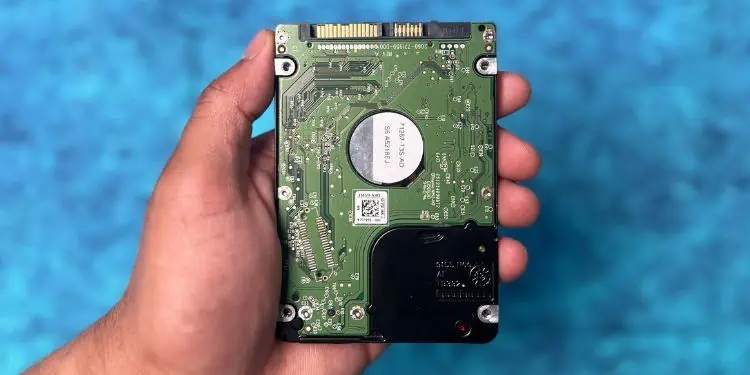
While some older laptops haveIDE/PATAinterfaces, most modern ones utilizeSATA. you’re able to also find 2.5SCSIhard drives that can fit into both laptop and desktop computers.
Those models with SATA and SCSI have integrated data and power connectors. So, you can directly insert the drive, without having to worry about connecting the cables. But for the PATA interface, you require a cable connection.
Location
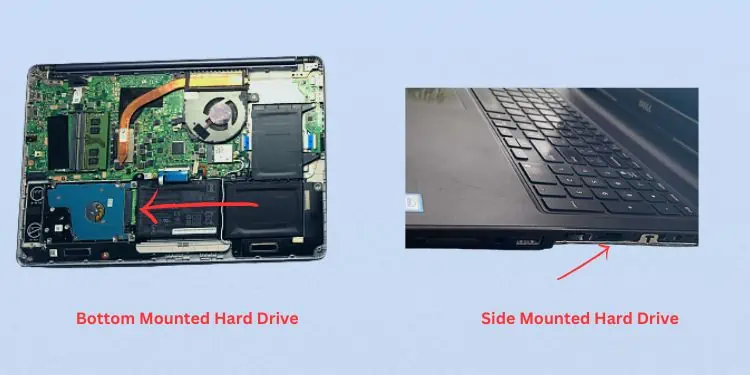
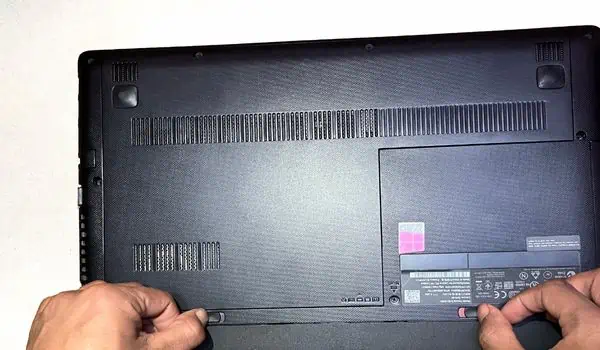
The final thing to check is the laptop’s internal hard drive bay location. While most arefront-mounted, you’re able to even find models withside-mountedandbottom-mountedslots.
The front-mounted hard drive is located right below the laptop’s keyboard panel. On the other hand, a bottom-mounted hard drive can be found beneath the laptop, usually in a dedicated rectangular section. To remove the former, you require opening the bottom casing, but for the latter, you’re able to simply unscrew the dedicated section.
If you have replaced the CD/DVD drive with a secondary hard drive slot, your hard drive is likely mounted to the side panel of the panel.
Step 2: Get a New Hard Drive
Other than the form factor and interface, there are plenty of things to consider when getting a new hard drive. Before anything else, choosing areliable and popular brandis extremely important. Some known manufacturers include SanDisk, Toshiba, Seagate, Western Digital, Kingston, etc.
Step 3: Clone Your Hard Drive
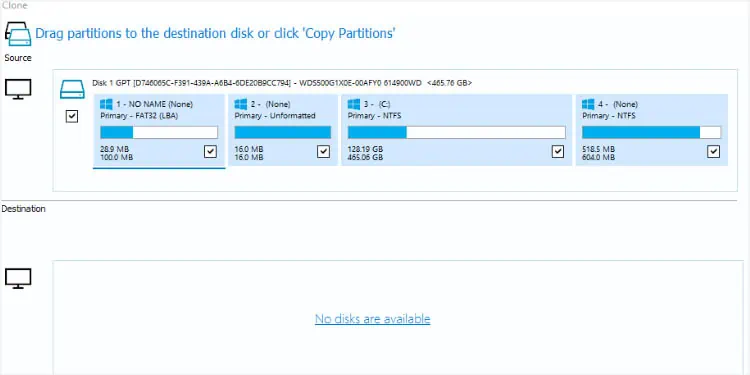
Now that you’ve got the replacement HDD, we advise cloning your source drive. This involves duplicating all data, including both personal and system files. In simpler words, itcreates a replicaof your currently installed storage device.
However, the process requires third-party software, like Clonezilla, AOMEI Partition Manager, Macrium Reflect, O&O Disk Image, etc. We have already prepared a guide that should help youclone your hard drivein no time. This method works for bothHDD to HDDandHDD to SSD. Before following the steps, do ensure you havebacked up all your important filesas a precaution for clone failure.
During the process, you’re able to even choose to move Windows to the target drive and copy all the partitions. However, if your wish is toreinstall Windowsand start everything from scratch, you may directly move to Step 4. Note that this will also completely erase the partitions.
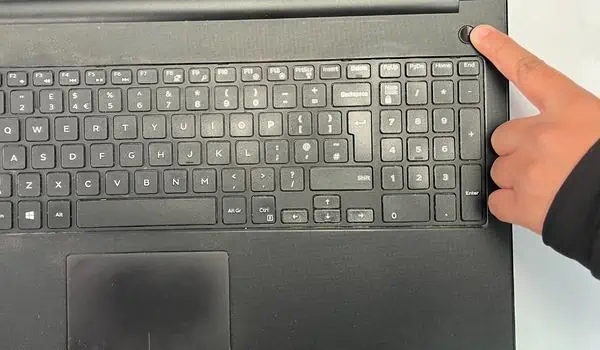
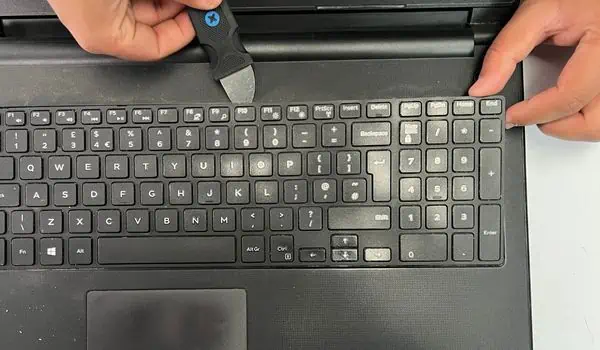
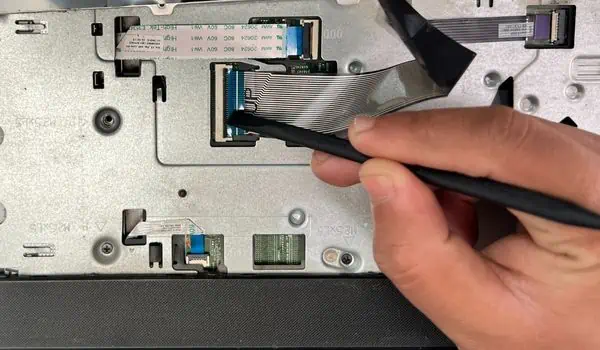
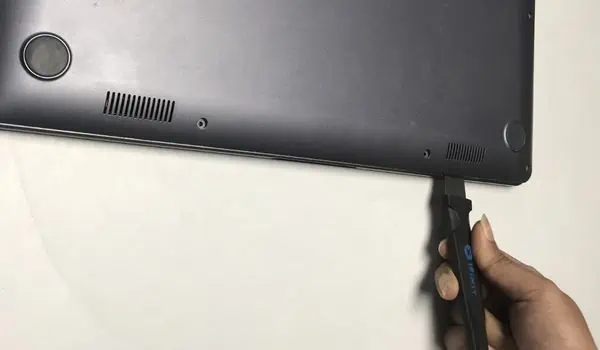
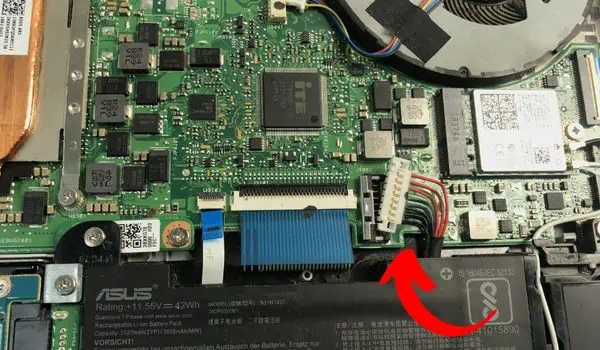
Step 4: Turn Off Laptop and Disassemble Parts
Once the preliminary steps are completed, it’s time to disassemble the parts and get to the HDD slot. Since the hard drive’s location is different based on the laptop’s make and model, you’ll need to adopt different steps for each.
If your storage drive is front or side-mounted, you do not need to remove the bottom case cover. Instead, you candirectly unscrew the dedicated section. But since most laptops support bottom-mounting the hard drives, follow the steps below on what to do next.
Caution:It’s essential toground the laptopor yourself before touching any internal component. This is to avoid any static buildup that may even damage your device. You can either use a wrist grounding strap or occasionally touch a metal surface.
Step 5: Remove the Hard Drive
The next step is toremove your currently installed internal hard drive. As mentioned earlier, its exact location varies based on your laptop’s make and model. We recommend checking the user manual to get a clear view of where your storage disk seats. Then, follow the below steps to remove it:
Step 6: Insert New Hard Drive
Once you’ve removed the old drive, you can now place the new magnetic disk in your caddy before inserting it into the slot. While you’re at it, ensure to fit it the same way as the previous one:
Step 7: Reassemble & Start Your Laptop
The final step is to reassemble your laptop components and check whether your PC recognizes the hard drive or not. Go through the below demonstration on what to do next: