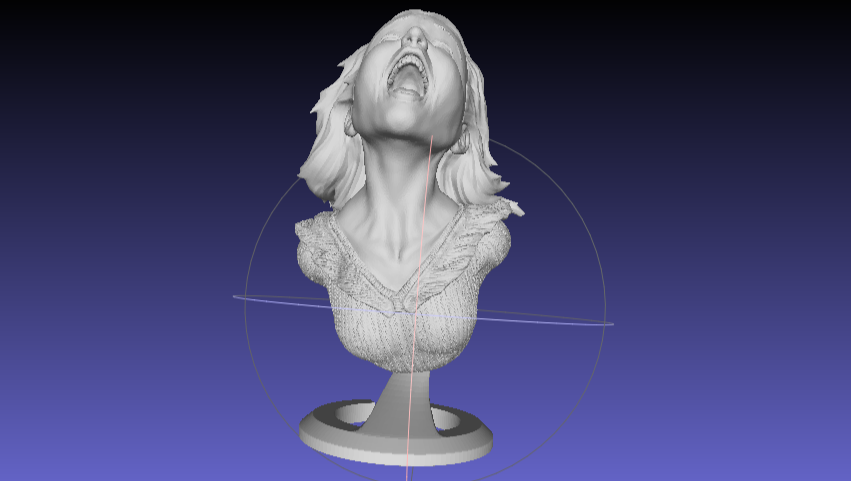
It can be frustrating when you have invested a lot of time and effort in creating your STL file, and when you attempt to slice or 3D print, you find that you’re able to’t proceed because of errors. An STL file represents a 3D model as a collection of triangles, and these triangles form the surface representing the shape and geometry. However, issues like intersecting and overlapping triangles can occur during 3D modeling or conversion from various file formats to STL. Intersecting triangles is where triangles cross each other in ways that create non-manifold edges. Overlapping triangles, on the other hand, are where two or more triangles share the same surface area.
These errors and many others like holes and gaps can cause the slicer to struggle to process the design, resulting in errors. If you manage to slice the file, it can fail during 3D printing or result in prints with defects even if you are using one of thebest 3D printers. To address these issues, you need to analyze the mesh, repair it, and optimize it for 3D printing, and that’s where MeshLab comes in. MeshLab is a free and open-source software useful for detecting and repairing errors in 3D models and ensures they are ready for 3D printing without compromising their integrity. Below we’ll go over how to analyze and clean meshes in MeshLab.
Inspecting, Scaling, Rotating, and Positioning the Mesh
Once you import your file, you can rotate the view to see the model from different angles by holding the left button on your mouse and moving around. You can also pan by holding the control or command key on your keyboard and then move the design around the workspace. Zoom in closely to inspect areas that might require cleaning by moving the mouse wheel up and down. If you don’t have a mouse wheel, hold the shift key, then left drag on your touch pad or mouse.
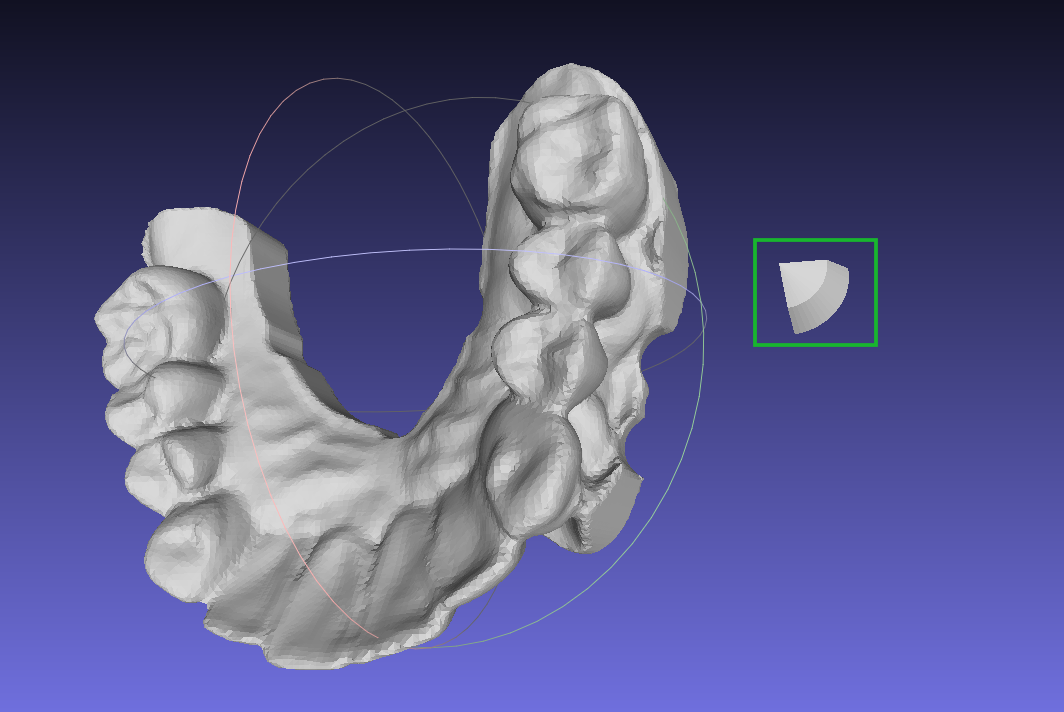
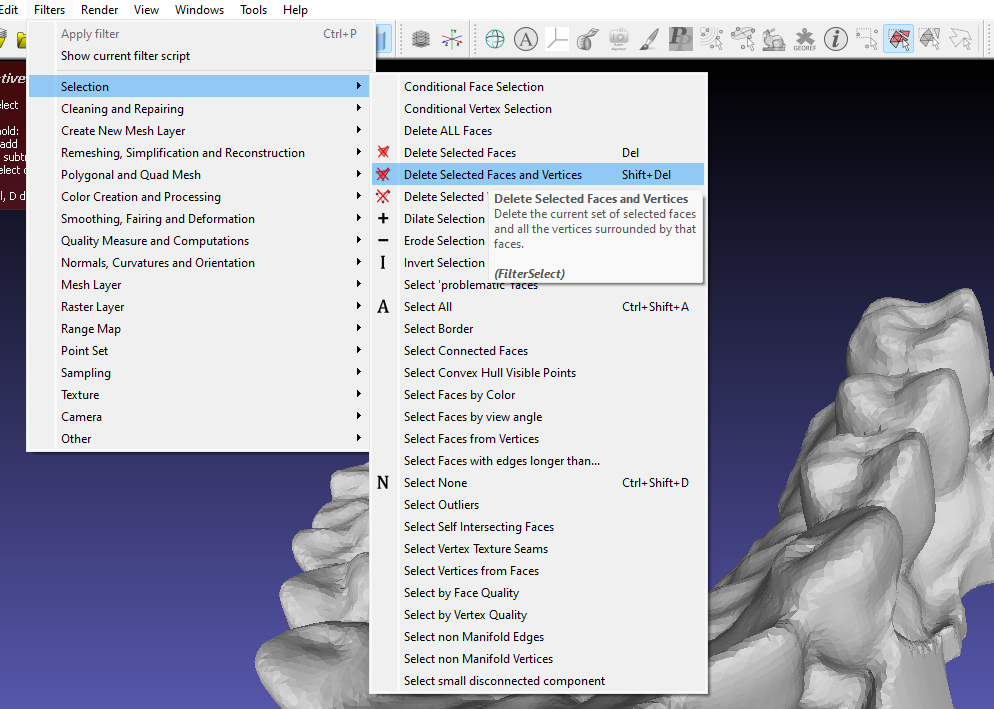
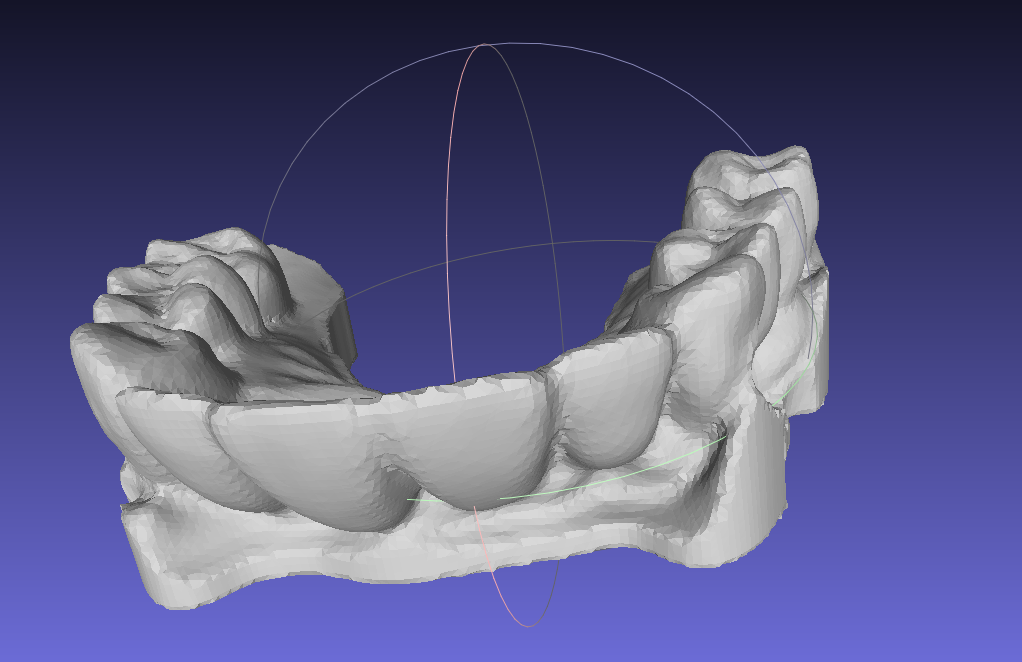
If you see any unwanted elements, you can select them, go toFilters > Selection, and then delete faces or edges. For the design below, for example, an unwanted part on the right was captured by a scanner.
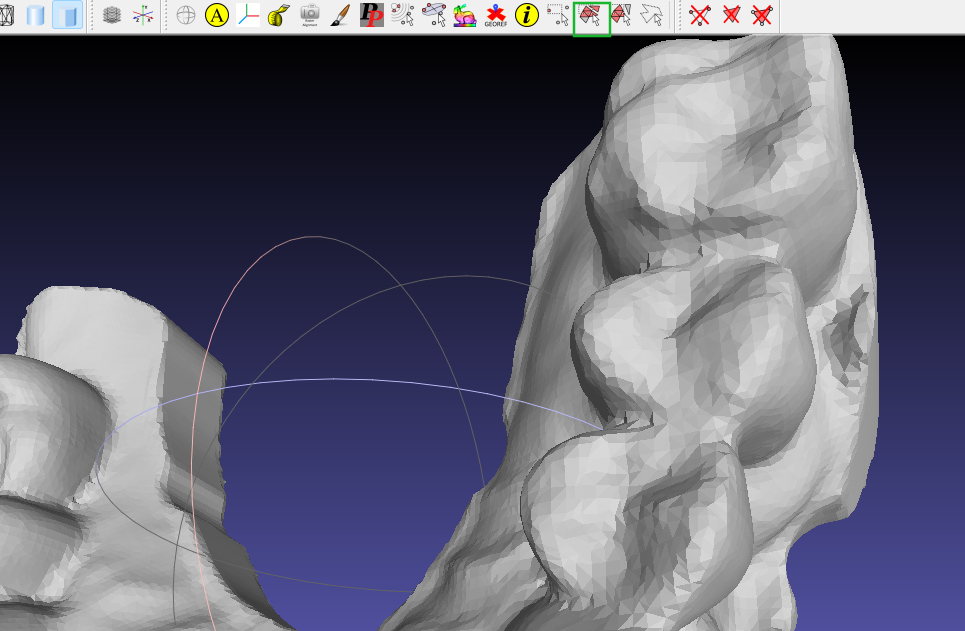
Go and choose the face selection option on the menu bar.
Hold the control key to add the selection or shift key to subtract it.
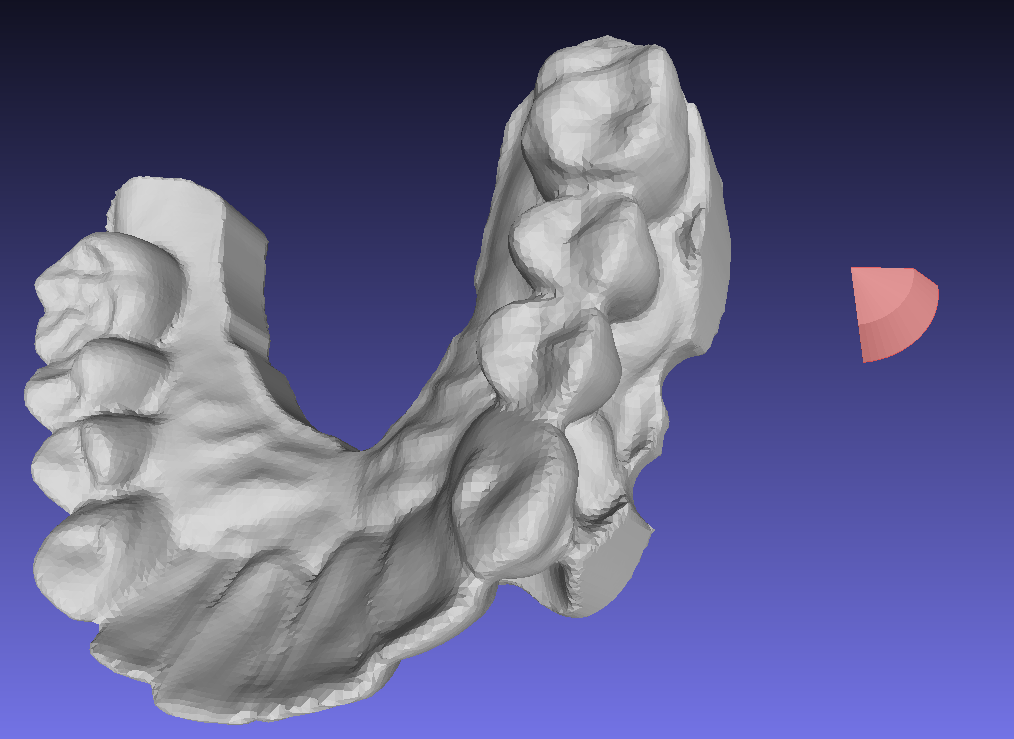
Go toFilters > Selection > Delete Selected Faces and Verticesto delete it.
Get Tom’s Hardware’s best news and in-depth reviews, straight to your inbox.
When you click on it, that part will disappear.
In addition to deleting unwanted features, you can also easily scale, position, and orient your 3D models in MeshLab. Follow the steps below to do that.
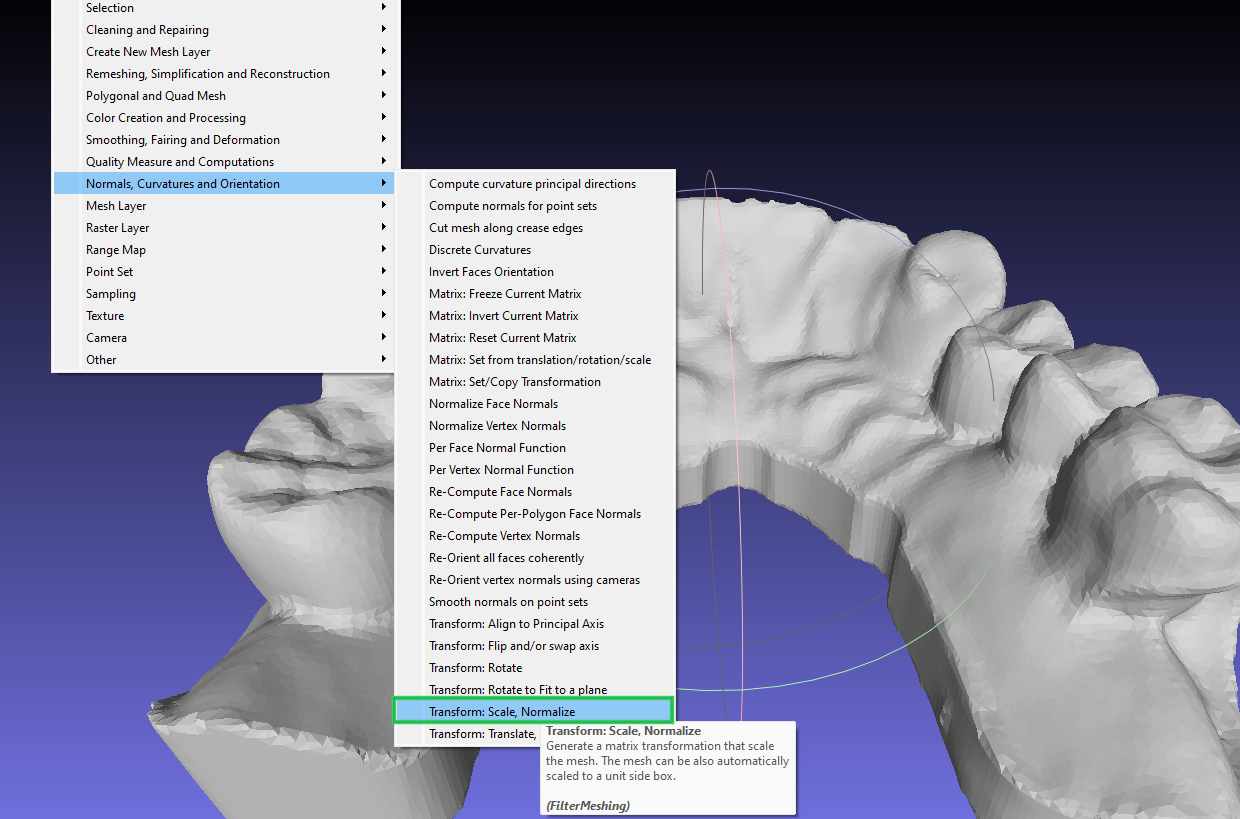
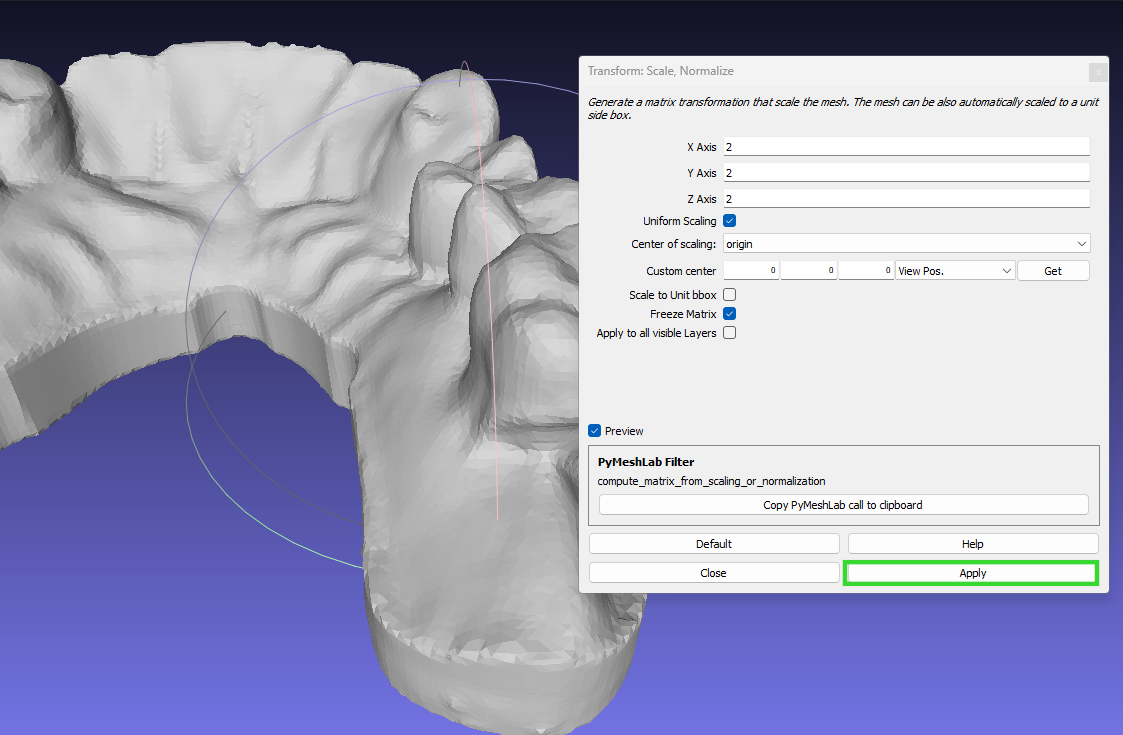
1.Toscale the model, go toFilters > Normals, Curvatures and Orientation > Transform > Scale, Normalize.
- In the window that launches,enter the scaling factors for the X, Y, and Z axes,thenclickApply.
You can also preview the new resized model by clicking on thePreviewcheckbox.
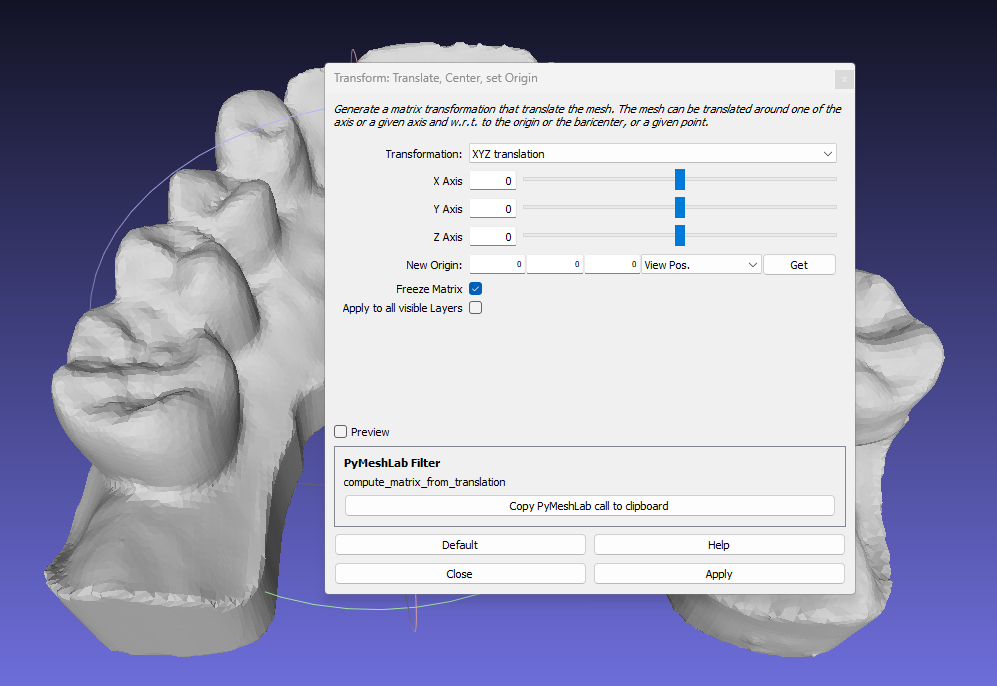
- To position the model,go toFilters > Normals, Curvatures and Orientation > Transform: Translate, Center, set Origin.
4.Input the desired valuesto move your model along the X, Y, and Z axes.
You can then clickApply.
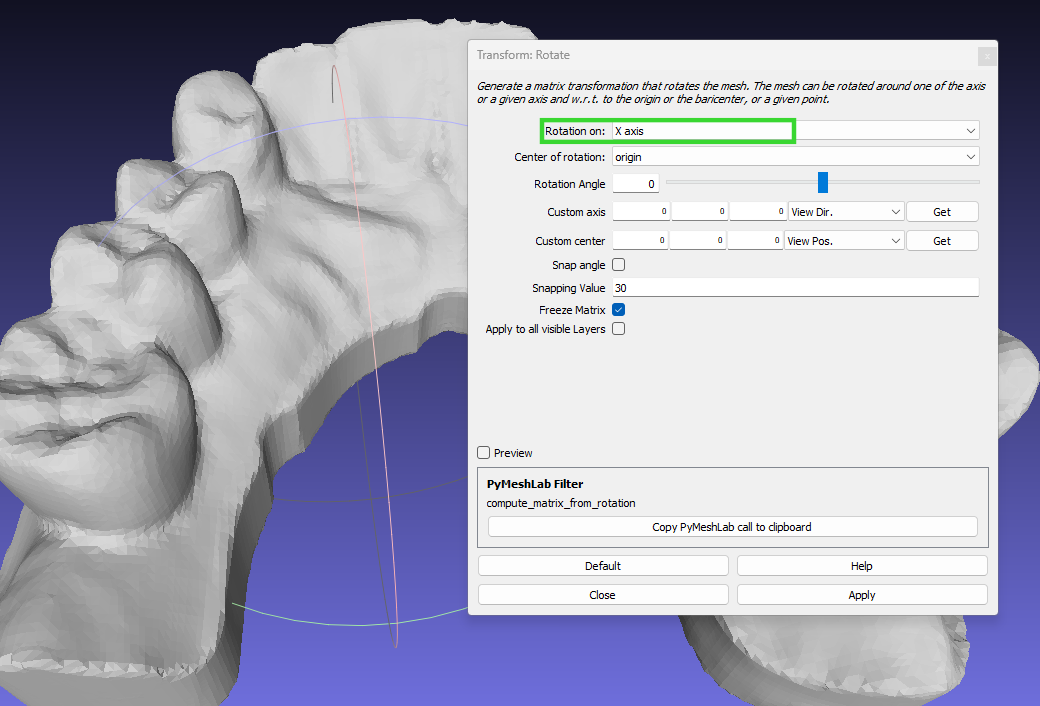
5.Rotate the modelby going toFilters > Normals, Curvatures and Orientation > Rotate.
6.Choose the axisto rotate your design, and when you are done,clickApply.
Cleaning up the Mesh
MeshLab comes with various tools for cleaning the mesh, which can be found in theCleaning and Repairingsection ofFilters. For example, there are options for removing unused and duplicate vertices and faces that can make the model more complex than necessary. To use it, follow the steps below.
1.Remove duplicate facesby going toFilters > Cleaning and Repairing > Remove Duplicated Faces.
This will eliminate overlapping faces in your mesh. you may check the dialogue window on the bottom-right section of the workspace to see the details of the deleted faces if there were any.
You can remove duplicate vertices by going toFilters > Cleaning and Repairing > Remove Duplicated Vertices. And for checking and removing unused vertices you chooseRemove Unused Vertices. This cleans up any vertices that are not part of the faces.
2.Repair Non-manifold geometryby going toFilters > Cleaning and Repairing > Repair Non manifold edges.
This feature will remove twisted or distorted edges that can cause issues later. You can also selectRepair non Manifold Vertices by splittingto repair vertices that have problems.
3.Delete triangles and verticesyou don’t want by selecting them, then go to the top right section and click on the appropriate option to delete them. For example, to delete the bottom faces, we select them first and then click onDelete Selected Facesin the top right section.
Smoothing Meshes in MeshLab
Smoothing meshes helps enhance the model’s appearance by reducing the rough edges and surfaces. Follow the steps below to smooth meshes.
1.GotoFilters > Smoothing, Fairing and Deformationwhere you can find a range of smoothing options.
2.Select Depth Smoothto move vertices in one single direction. When you click it, you will see a dialog box where you can specify the number of smoothing steps and the strength that controls the smoothing.
3.Apply Laplacian Smoothoption if you would like to achieve a gentle and uniform smoothing effect across the entire mesh. It smooths the meshes by averaging the positions of the neighboring vertices. When you click on it, you will see a dialog box when you can apply the settings, and you can preview before you apply.
you’re able to try other smoothing options in the filters section and adjust the settings on the dialog box that appears on each until you achieve your desired smoothness while preserving essential details and features in the mesh.
Simplifying Meshes and Filling Holes
If you are working on a complex design with a very high polygon count, it can take much time to 3D print, and the material consumption is high too hence, for such designs, it’s important to reduce the number of vertices and faces in the design. You can achieve that by following the steps below:
1.Go to Filters > Remeshing, Simplification, and Reconstruction > Quadric Edge Collapse Decimation.
2.Adjust the number of facesthat appear in the dialog window.
You can also adjust other parameters for the simplification process manually. These options include:
When you are satisfied with the settings, clickApply. MeshLab will then process the mesh and generate a simplified version while preserving the overall shape and structure of the design. You can also inspect it to ensure that all the essential details are retained and that the simplification process hasn’t introduced any distortion to the design.
- To fill holes, go toFilters > Remeshing, Simplification and Reconstruction > Close Holes.
4.Adjust the settingsin the dialog box that launches based on your requirements, thenclickApply. The holes will be filled automatically.
When you are satisfied with editing and repairing your mesh, save it by going toFile > Export Mesh.
