Mechanical hard drives work best on small chunks of data. If all files, including system and personal, are kept in the same partition, the drive takes up more time to operate, and alongside comes the risk of data loss.
Keeping these things in mind, partitioning your hard drive can help achievebetter data organizationandimproved performance. Also, this is beneficial if you plan torun two operating systemson a single hard drive or create a local backup for future recovery.
In Windows, you can partition a hard drive using the built-in utilities—Disk ManagementandDiskpart. But before moving ahead with the necessary steps, make sure you’re logged into the system as an administrator. Also, there needs to be unallocated free space or enough free space (in an extended partition).
Basics to Hard Drive Partitioning
The term ‘hard drive partitioning’ refers to thecreation of multiple volumes(logical drives) within the same storage disk. This way, the operating system treats each of the sectors as individual drives.
It can be compared to partitioning a house into different rooms for better organization. For every partition, there’s a unique letter that offers better navigation to both the user and the OS.
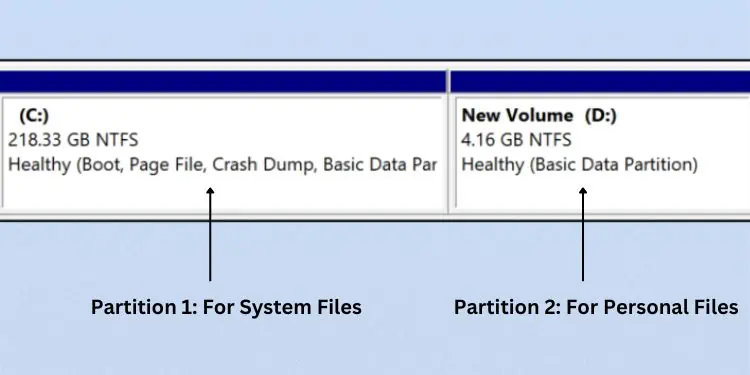
The main purpose of hard drive partitioning is toseparate different forms of datain individual drives. In fact, it’s always recommended to keep Windows files in one partition and personal data in another.
This way, even if your system fails, you canreinstall Windowswithout affectingyour personal files. However, this won’t be useful in case of physical drive failures.
Additionally, you can format each of the partitions indifferent file systemswithout affecting the others. For example, you can install two operating systems on different partitions that use different file systems.
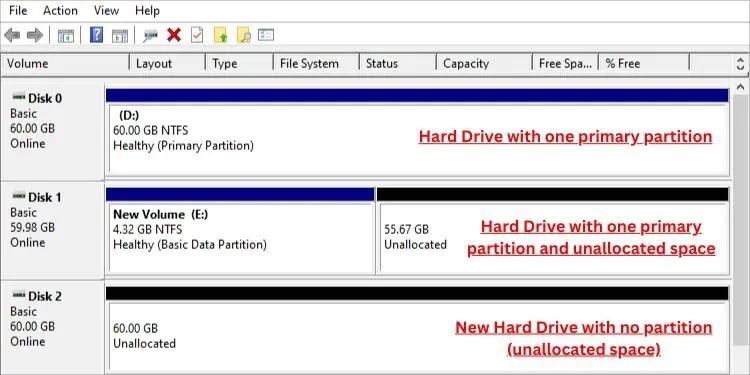
Whenever youinstall a new hard drive, it either comes with one partition or unallocated space. In the latter case, you need to initialize the drive, create at least one primary partition, and assign a letter in order to use it.

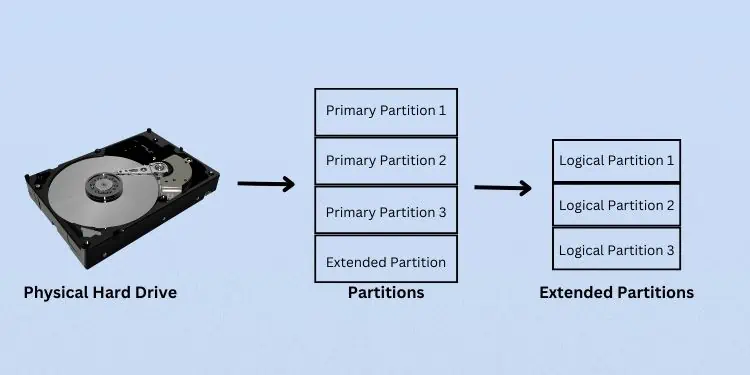
Well, there must be at least oneactive primary partitionwhich is where the OS files reside. Apart from that, you can createthree otherprimary partitions for MBR drives.
Also, you can have a total of three primary partitions andone extended partition. You may further create logical drives (small-sized volumes) for this extended partition.

Talking aboutGPT drives, you can create up to128 partitions.
While the above is for basic disks that use a partition table to keep track of all partitions, the partitioning on dynamic disks works a bit differently. Here, you can create only one primary partition, also called anLDM partition.
It restricts the creation of extended partitions. you may follow our other guide that discusses their differences in detail.
How to Partition Hard Drive?
The number of partitions you want to create primarily depends on yourhard drive space. If you’re using a single drive (of small capacity) to store both Windows and personal files, it’s better to stick withtwo partitions. But if you have a larger drive, you may opt forthree to even morepartitions.
While some wouldn’t advisepartitioning an SSD, I say there’s nothing wrong if you’re doing it for your convenience. However, do note that thiswill not improveyour solid-state drive’s performance in any way.

SSDs store data in flash memory andunlike HDDs, they do not have moving components. This means there is no effect on the read/write performance.
Now, without further ado, let’s get into the four different ways to partition a hard drive in detail.
Using Disk Management
This is an in-built utility that allows you to control storage-related activities on Windows. It is probably the most convenient way to create partitions for both technical and non-technical users.
Before deep diving into the steps below, launch theDisk Management utility. You can do this from Start Menu or Quick Link Menu. My preferred method is toopen Runand executethediskmgmt.msccommand.
Step 1: Check for Unallocated Space
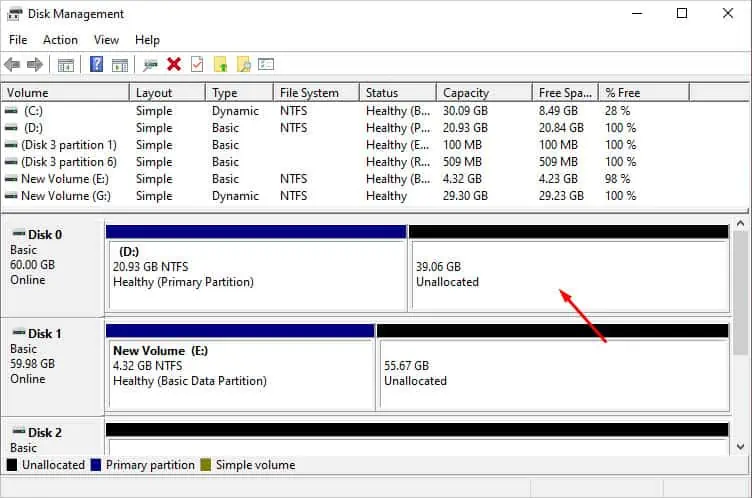
In Windows, we partition a hard drive byshrinking and creatinga new volume. To be precise, when we shrink a primary partition, the remaining portion remains unallocated. We take this section and create a new partition.
But before that, it’s essential to check whether your drive hasunallocated spaceor not. If you recently installed a new hard drive, you’re likely going to notice that theentire drive is unallocated. In that case, you may move ahead to Step 3.
However, if you’re trying to create a logical volume on a drive that’s already partitioned, you requireshrinking its total sizefirst. This is what we will discuss next.
Step 2: Shrink Volume
Whether you have one or more primary partitions, you’ll need to shrink one of their volumes to create a new partition. Below is the step-by-step guide on how to do it the right way:
Step 3: Create New Volume
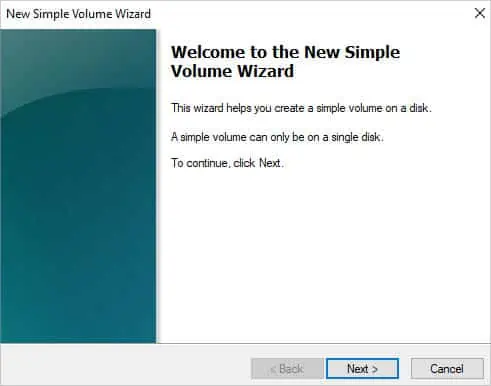
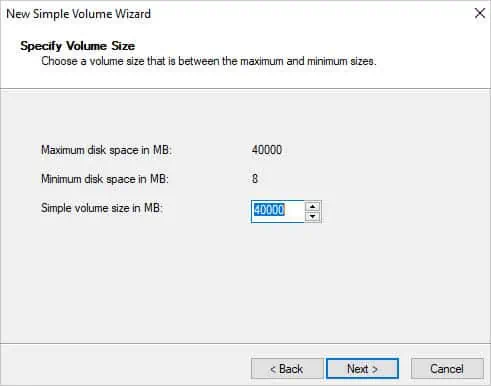
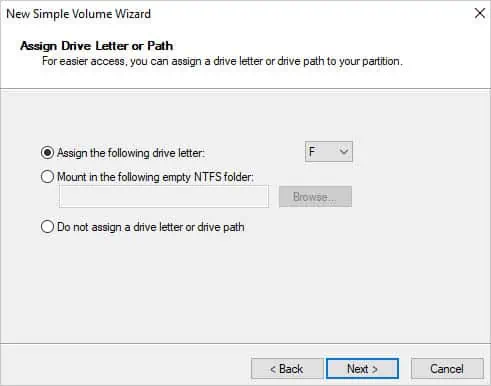
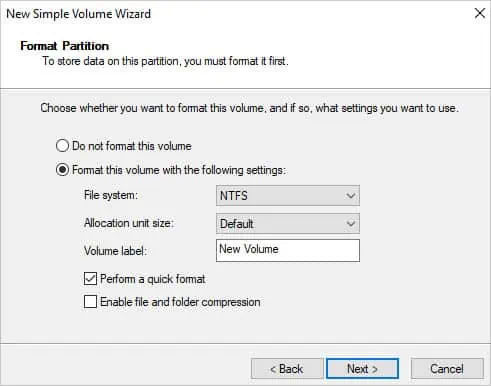
Once you’re left with an unallocated space, it’s time to create a new volume. This involves allocating the appropriate size, assigning a drive letter, and formatting it.
From Command-line Diskpart Utility
While Disk Management is the GUI method to partition a hard drive, Windows also offers a command-line utility that does the same. Instead of adopting lengthy steps, you can opt for simpler commands that allow you to shrink and create new volumes in lesser time.
Step 1: Check Available Disk Space
Before you begin, it’s essential to check the available disk space. As mentioned earlier, it’s a good idea to leave free space for partitions containing boot files so that Windows can move them around and defragment the drive properly.
Step 2: Opening Diskpart From Command Prompt
The next step is to open Diskpart. While there are different ways to do this, I usually prefer launching it from Command Prompt:
Step 3: Execute Hard Drive Partitioning Commands
Now that you’re in the Diskpart utility, you can execute the following commands in succession. I’ve categorized them into two—first is for those users who recently installed a hard drive andhaven’t initialized the diskyet:
The following commands are for those users who are trying to partition their hard drive that consists of pre-existing primary partitions:
During Windows Installation
When you’refactory resetting a PCor installing the OS from scratch, Windows Setup has a dedicated section where you can manage the partitions. So, if you’re in any of such situations or planning to do so, here’s a step-by-step guide on what to do.
Step 1: Start Windows Setup
First of all, prepare abootable USB driveusing the Windows 11 Installation Media or Rufus. Once that’s done, follow the below steps to start the setup:
Step 2: Create New Partitions
After selecting the installation options, you should get to the‘Where do you want to install Windows?’screen. Here, you can manage your partitions accordingly:
Step 3: Complete Windows Setup and Verify
Once you’ve created new partitions and selected one of them to install Windows, the setup should start. This can take roughly 30 minutes to more than an hour based on the configuration.
After Windows installation is complete, open the Disk Management utility to verify the created partitions are present there.

Using a Reliable Third-party Application
Apart from the Microsoft-based utilities, you may opt for open-source applications that offer storage management features, including disk partition. These include GParted, DiskGenius, PartitionMagic, and more.
