Are you achieving the speed specified on your RAM stick? If you check it once, your answer would probably be a “No!”. Well, your RAM won’t reach its actual potential if your motherboard and CPU don’t support the component’s maximum speed.
But what if we tell you a big secret hidden within the BIOS can make the RAM work as per its specifications or even better? This feature is called XMP Profile, and when enabled, helps increase RAM frequency and improve system performance.
While it is an excellent technique for beginners, you would probably want to achieve better than the pre-specified parameters for improved performance. For that purpose, you’ll need to overclock your RAM manually, considering the appropriatevoltage, frequency, and timings. Here’s a step-by-step guide on how you can achieve the best OC settings for your computer memory.
Caution:Overclocking can void the warranty of your RAM along with other components. Also, you need to keep in mind that it can cause compatibility issues or even overheat all the PC components (eventually damaging them in the worst case).
Step 1: Check Specifications & Compatibility
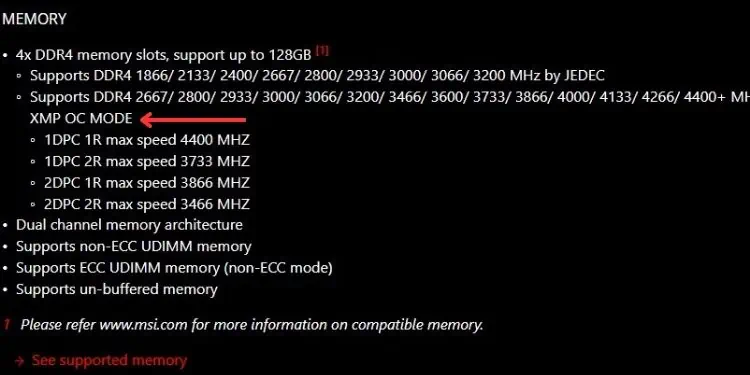
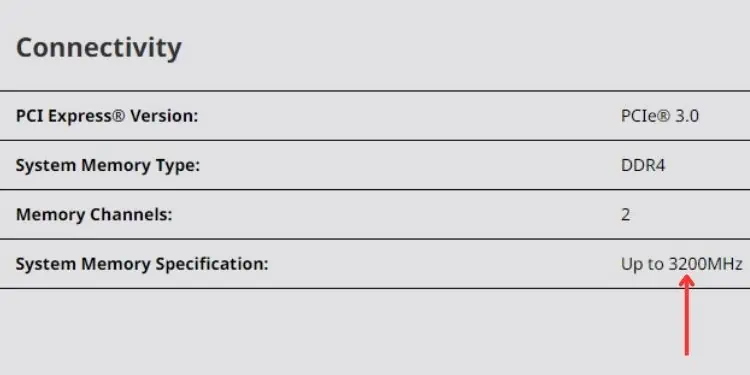
Even though allDDR RAMsare capable of overclocking, yourmotherboard may not supportit. So, before moving forward, it’s important to check whether your RAM can be overclocked. You can check this from your motherboard’s manual or visit the manufacturer’s website to learn more about the specifications.
Along with that, the DDR generation also plays an important role. If you’re going to manually increase the parameters, you shouldknow the specified limitfirst. The below chart indicates the frequency and voltage limit set by most RAM manufacturers.
While it’s necessary to keep these limits in mind, you also need to know that the frequency and voltage depend on the model and quality of your RAM stick. So, overclocking the memorydiffers for individual modules.
Even if you have the same DDR model, its quality and manufacturing process varies. That’s why one might only be overclocked slightly while the other can achieve greater values and works completely fine.
We also recommend checking thefrequency limit specified by your processor and motherboardmodels. If the system components do not support theRAM speedyou’re trying to gain, the overclocking may simply not work, or even if it does, the system might crash or you may experience boot issues. Such problems can also occur if you’re using mismatched memory modules.
Note that we are overclocking RAM to ensure it provides the necessary information to the CPU faster. But if the frequency goes higher than what the CPU can handle, it’s kind of worthless. This is because the processor will still access the memory at its maximum capability.
Moreover, you should also consider agood cooling system. This is because overclocking the memory likely generates heat on other vital components, mainly the CPU.
Most modern RAM sticks are even equipped with heat spreaders. Even if yours doesn’t have one, you could purchase it easily online or from the nearest hardware shop! However, this is completely optional.
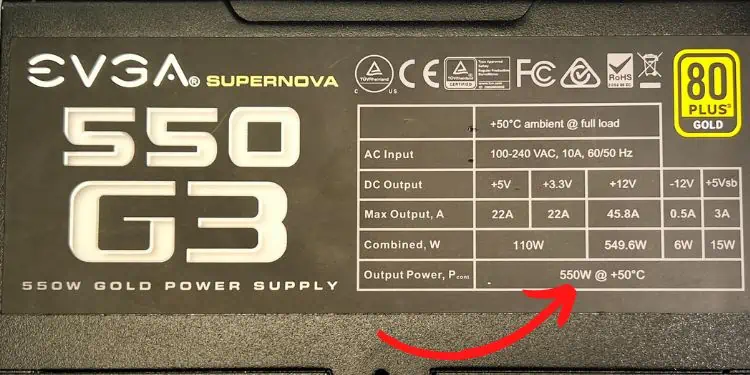
Lastly, it’s also important to have agood power supply. Since overclocking can increase the overall system wattage, it’s a good idea to check whether your PSU is capable of meeting the increased power demand.
Step 2: Perform Benchmark Test
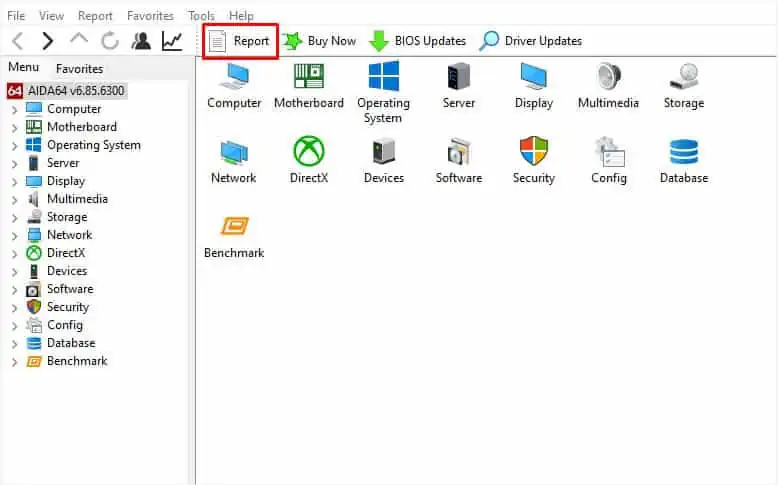
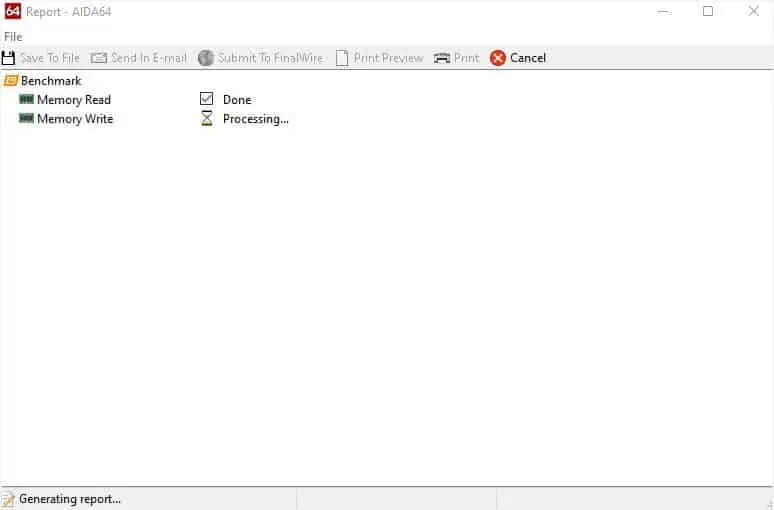
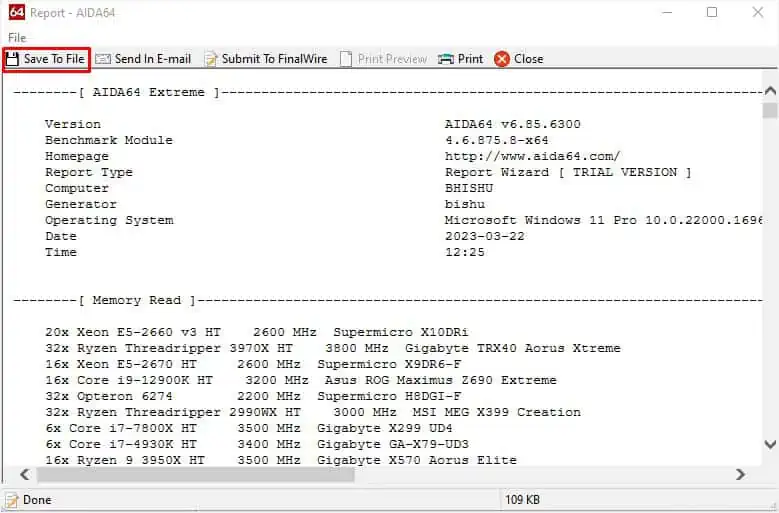
Now that you’re aware of your limits and specifications, we recommend performing a benchmark test to seehow your PC performs at the current RAM frequency. We recommend saving the result for comparing it later.
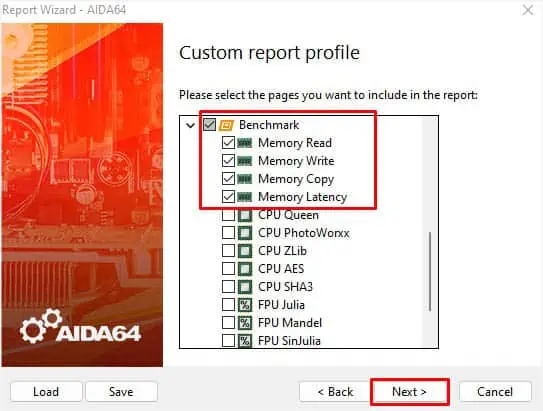
There are several tools that allow you to run benchmark tests– MaxxMEM2, Novabench, Aida64 Extreme, memtest86+, and more. For demonstration, we have used Aida64 Extreme. You may opt for any other preferred tool as well.
Step 3: Get Into BIOS
Caution:We highly recommendbacking up your important datafirst so that you’re able to recover it in the worst-case scenario. You may opt for any approach–use a backup utilityortransfer your files to an external drive. If your motherboard supportsbacking up the BIOS settings, we recommend doing that as well.
While you may find plenty of third-party applications that allow you to overclock your components, we always recommend doing this from BIOS. And that’s what exactly we are going to cover here.
Well,getting into BIOSis not at all tedious. All you have to do ispress the dedicated key before the POST is completed. In simple language, keep hitting the key several times as soon as you see the manufacturer’s logo.
Also, note that entering the BIOS/UEFI interface varies based on the system board and model. In some, you’re required to press the Del key, while in others, you might have to hit F2, F12, Esc, etc. If you’re unaware of this, you may refer to the user manual or simply search for it online.
Step 4: Overclock Your RAM
Now that you’re in the BIOS dashboard, you need to get to the memory overclocking section. Since every BIOS interface is different, the options vary slightly from one another. Nonetheless, the general idea remains the same.
In this section, we are going to discuss three different ways to overclock your RAM. The first two are for those users who are relatively new to overclocking and only wish to achieve slight improvements. On the other hand, the manual method is for savvy users who have already tried the first two settings and are now ready to explore overclocking in detail.
Enable XMP Profile
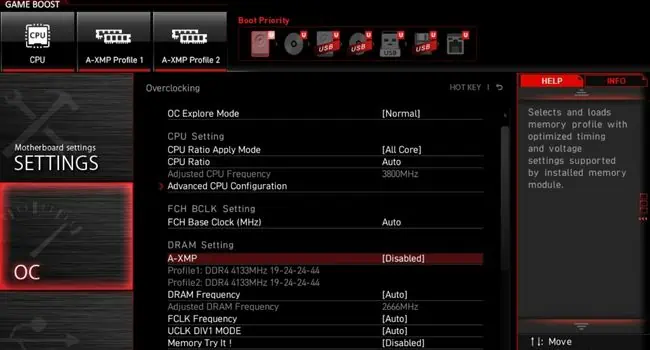
Intel introducedExtreme Memory Profiles (XMP)in 2007 for overclocking the memory controller, which can bring significant improvement to your RAM speed. Basically, these are the pre-defined frequency, voltage, and timings set by the manufacturer.
Note that not allmotherboards support XMP profiles. If yours doesn’t, you’ll have to keep using the JEDEC speed that it recognizes. Also, it’s essential that your CPU supports the XMP speeds.
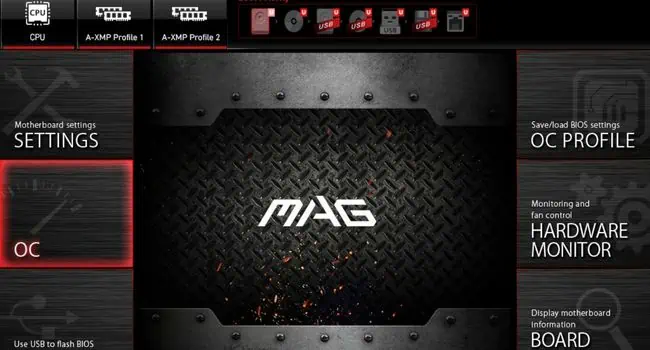
Similar to XMP, AMD has implemented several options, includingA-XMP(for MSI),EOCP(for Gigabyte),DOCP(for ASUS), andAMP(for other motherboards). For demonstration, we are going to enable the A-XMP profile onMSI’s MAG B550M Mortarmodel.
Caution:Even though both Intel and AMD recommend enabling XMP profiles, the warranty still gets void as it overclocks your RAM.
Use Advanced Memory Profile
While enabling XMP is the easiest way to overclock your RAM module, it lacks customization as it only offers two profiles. If you’re looking into more options, we advise trying out the Advanced Memory Profile.
However,only high-end motherboards providesuch a feature. You can navigate into your BIOS interface to know if there’s one.
For example, ourMSI MAG B550M Mortarmotherboard integrates‘Memory Try It’that allows you to pick multiple options based on your DRAM generation. It offers several pre-tweaked parameters (Frequency, Timings, and FCLK frequency). You can try each one simultaneously to determine the best from all. Note that you requireperforming a stress test after selecting and saving each option.
It’s very likely that these advanced tweakers will make yourRAM run at higher frequencieswith better system stability in comparison to the XMP profiles. However, if you experience issues after using them, it’s better to revert to the previous configuration.
Manual Overclocking
The above two methods only dealt with the effortless process of overclocking. If you’re already an expert, you probably would prefer making these kinds of changes manually. While this definitely brings the best out of your RAM, know that it can betime-consumingand is also quiterisky!
If you know how tooverclock your CPUand GPU, this should be familiar to you. But there are certainly a few more things to keep in mind. When overclocking the former components, we only considered their clock speed and voltage. Here, we need toset the appropriate timingsas well.
During manual overclocking, you’re going toincrease the frequency while lowering the timings(latency) as much as possible. However, it’s almost impossible to get the perfect configuration (high-speed with low latency). Thus, you’ll have to make compromises with the timings and voltage (increasing them further) to achieve higher RAM frequency.
Ensuring you modify the parameters methodically. Begin increasing with low numbers. Here’s how you can do just that:
Additional Tip:You may find additional parameters that can make the overclocking more stable. These include Sub Timing Configuration, Turn Around Timing Configuration, CAD Bus Timing Configuration, DRAM VPP Voltage, and more. You can try them as well if you have enough knowledge. Otherwise, it’s better to work with just the basic parameters.
Step 5: Test Stability and Other Faults
After the successful completion of RAM overclock, you can now perform a benchmark test and compare the results to the one you got earlier. This lets you know whether the OC settings are working per expectation and the areas it requires improvement.
Overclocking the RAM can help you achieve faster speed and improve the system’s performance. However, it’snot considered good for the long runand can even decrease the component’s lifetime.
Along with that, overclocking can lead to potential system failures and overheating issues in the future. Even if your current OC configuration is working fine for some weeks, you may encounter different problems with the overall system later.
Therefore, it’s a good idea torun stress tests once a weekto ensure every component is working fine. While you’re at it, we also advisemonitoring the temperatureto confirm there’s no overheating problem.
In caseyou experience lags, system crashes, andBSODs, you might want to disable the RAM OC settings immediately.
