For some reason, your keyboard or keypad may not function well. In such a case, you can use the in-built feature of Windows OS, the On-Screen Keyboard.
Yourtyping speed might declinewhen you use the virtual keyboard. Nonetheless, this is a beneficial tool for all thephysically-challenged individuals.
Well, there are plenty of ways to show the keyboard on the screen for different operating systems. However, this section will focus on the ten techniques to launch the On-Screen Keyboard on Windows 11.
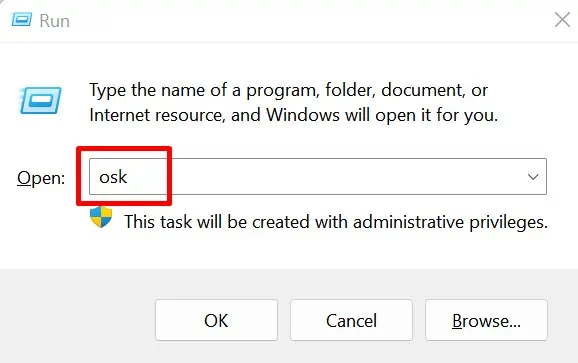
Using Run Command Window
The specialty of the Run command window is to launch any files or programs on your Windows PC. So, it’s definitely possible to show the keyboard on screen using this tool. Here’s how you can do it:
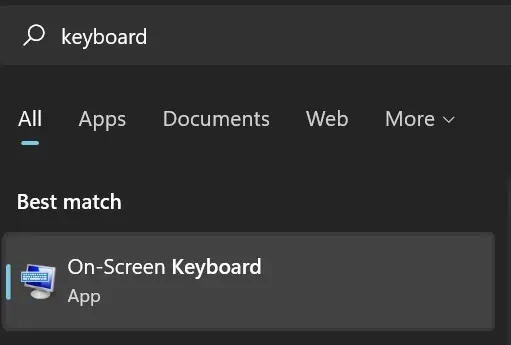
Simply Search From the Start Menu
Well, another simple method to show the keyboard on the screen is by searching the tool directly from the Search Icon or the Start Menu. Follow the below steps to learn this technique:
But, if your Start Menu is not functioning, you might also face trouble launching other tools. So, read this post to learn how you can fix it.
Directly Use the Keyboard Shortcut
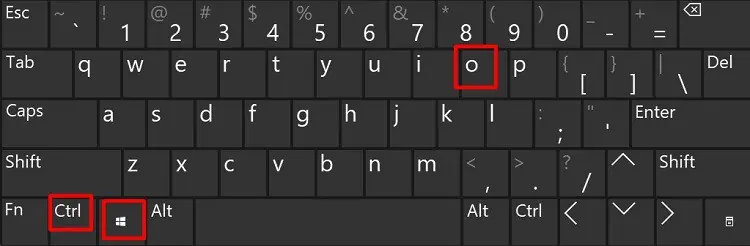
The easiest method to launch the On-Screen Keyboard is using the dedicated Keyboard shortcut. Well, all you have to do is pressWindows + Ctrl + Okeys simultaneously. Then, within a second, you see the tool pop up.
However, the shortcut key is only useful when you have a working keyboard. Indeed, this technique becomes useless when your device isn’t functioning well or you can’t press the dedicated keys.
So, you can navigate to the methods below to see an alternative option for launching the On-Screen Keyboard. Also, you can try thesesteps to fix your keyboard on Windows 11.
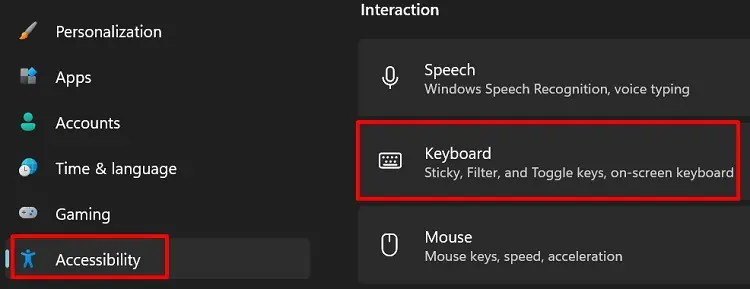
From Windows Settings
Interestingly, Windows has a dedicated section for On-Screen Keyboard in Settings. Here’s how you may launch the tool from there:
Launch From the Installed Location
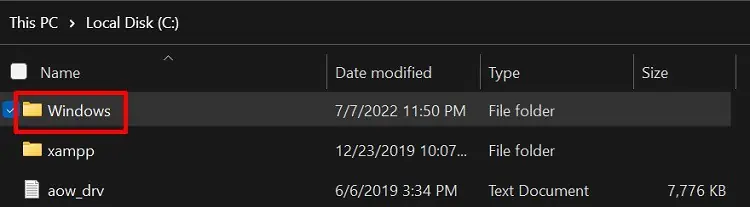
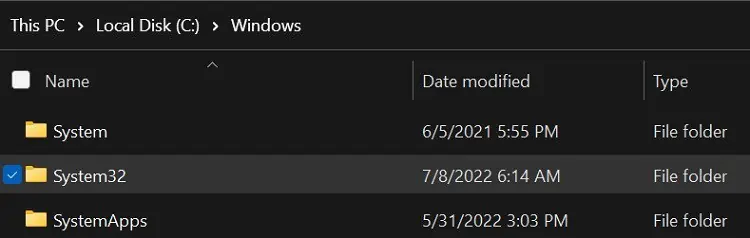
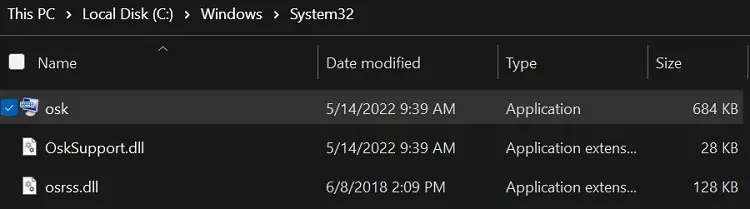
Going to the installed location gives you the idea of where Windows stores the On-Screen Keyboard file. The following steps will guide you in launching the tool from Windows File Explorer:
Alternatively, you may directly copy and paste this location on your Windows File Explorer address bar to launch the On-Screen Keyboard:C:\Windows\System32\osk.exe
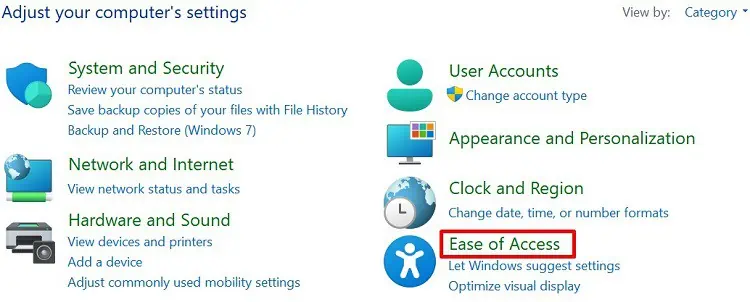
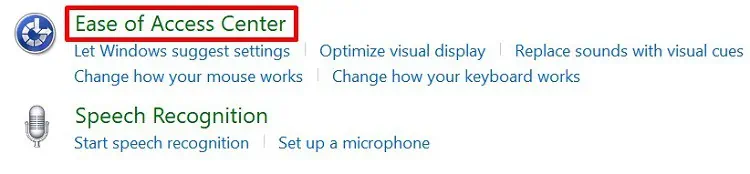
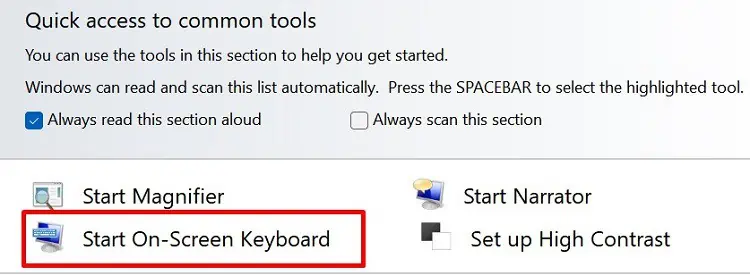
From Ease of Access Center
Interestingly, you’re able to also open the On-Screen Keyboard from Windows Control Panel. To learn more about this, here’s a step-by-step guideline:
Using the Windows Terminal
Well, if you love to work on a Windows terminal, you’d be excited to know that showing a keyboard on the screen is possible fromboth Powershell and CMD. Go through these simple steps to do just that:
Create a Batch File
Very few know that you can create a batch file for loading the On-Screen Keyboard on Windows. Follow this simple guideline to show the keyboard on screen using a batch file:
Create a Shortcut Icon on Windows Taskbar
Creating a shortcut icon on the Windows taskbar will show the keyboard on the screen with just a single click. This way, you do not have to keep pressing the shortcut keys or navigate to a certain location to launch the On-Screen Keyboard.
Here’s how you’re able to create a shortcut to On-Screen Keyboard manually:

Alternatively, you can search for the On-Screen Keyboard from Search Menu. Then, right-click on the tool and select Pin to taskbar.
Use a Third-Party Virtual Keyboard
If you’re not a big fan of the On-Screen Keyboard, you can download any third-party application from the internet. This way, you get a virtual keyboard thatcan be customizablewith some additional features.
Well, some popular third-party apps are Comfort On-Screen Keyboard Lite, Click-N-Type, TouchIt Virtual Keyboard, etc. Also, there are online tools that can assist you with keyboard functions.