Although modern printers come integrated with Wi-Fi, older printer models lack such capabilities. A wireless connection offers great convenience over a wired connection, so it would be a no-brainer if you want to make your old printer wireless.
But before that, your need to connect your old printer to a router via USB or Ethernet cable. Printer manufacturers also provide a dedicated wireless adapter for their printers to make them wireless. However, if your printer does not have one, you may use devices like a Wi-Fi range extender or a dedicated print server box.
Use Printer’s Wi-Fi
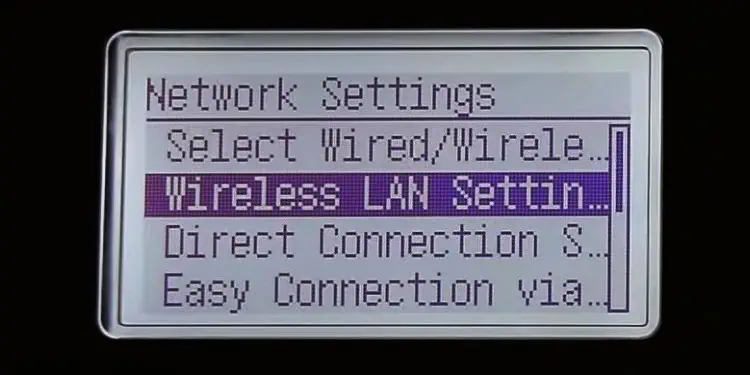
The easiest way to make your printer wireless is by connecting it to a Wi-Fi network. But, you should first verify if your printer has wireless capabilities. You can do a quick Google search for the printer specifications or see the user manual of the printer.
Once you verify that the printer has Wi-Fi capabilities, you can use a variety of methods to connect it to Wi-Fi. You may use the touch panel,WPS button on the router, or manufacturer-specific apps to connect to Wi-Fi.
If you need help connecting your printer to Wi-Fi, you can refer to these detailed guides forHP,Canon,EpsonandBrotherprinters.
However, if your printer is not Wi-Fi enabled, you’re able to go through the methods discussed below to make your printer wireless.
Use Ethernet Port on Printer
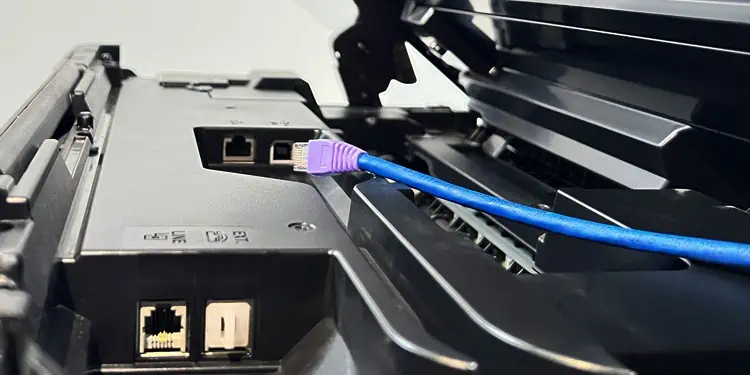
If your printer does not come with Wi-Fi support, you’re able to use the ethernet port on the printer to make it wireless. First, inspect the back panel, rear panel or under the top cover of your printer to see if there is an ethernet port available. If yes, follow these steps.
Once the printer is connected to a Wi-Fi router using the ethernet cable, all the devices connected to that particular network can access anduse the printer.
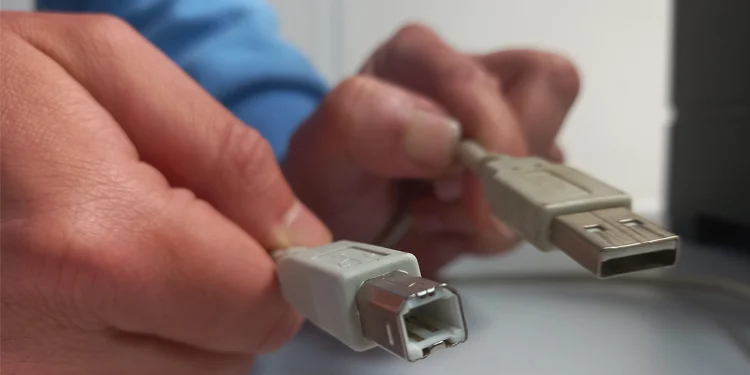
Connect to Router Using USB Cable
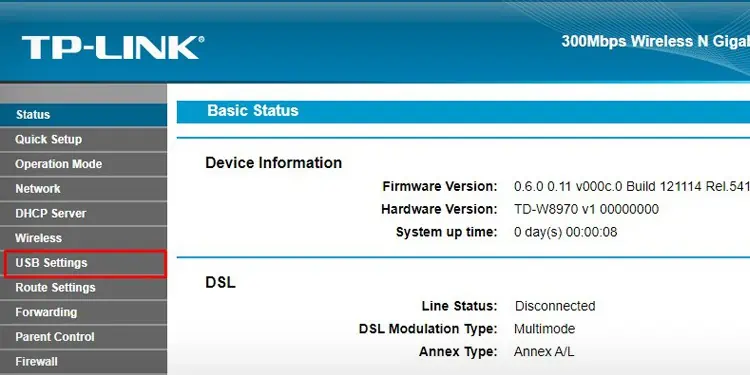
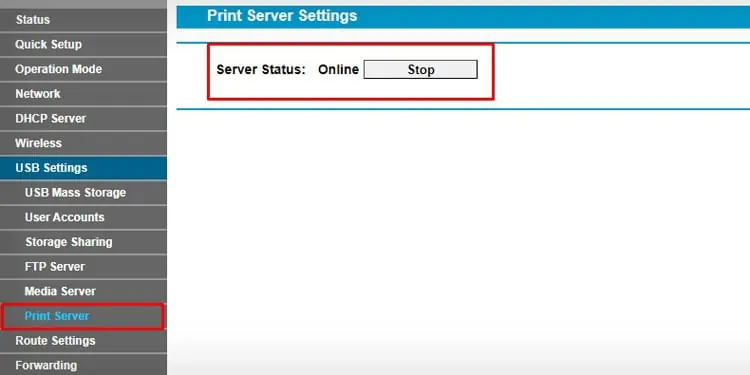
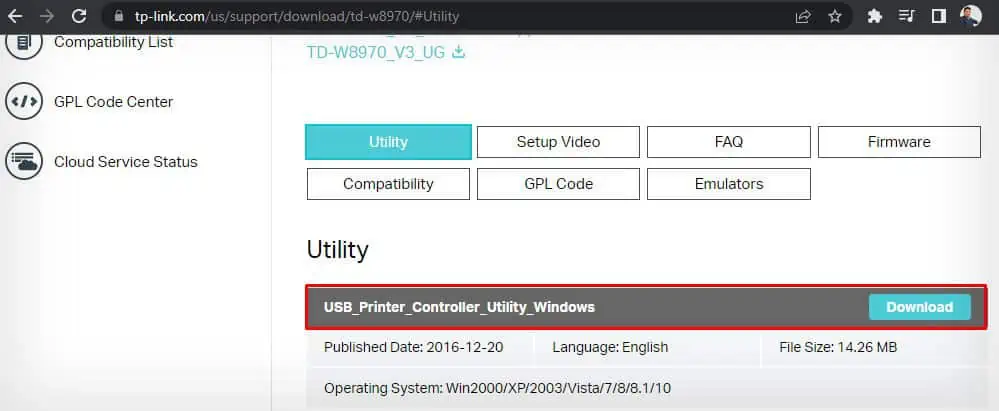
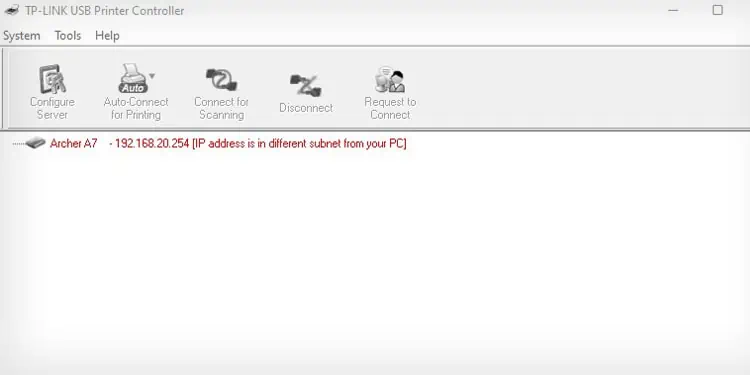
Most routers today come with USB ports. While these ports are mostly used for configuring Network Attached Storage (NAS), you can also use them to connect the printer and use the router as a print server.
Once connected, your printer goes wireless and you can add it to other devices on the network.
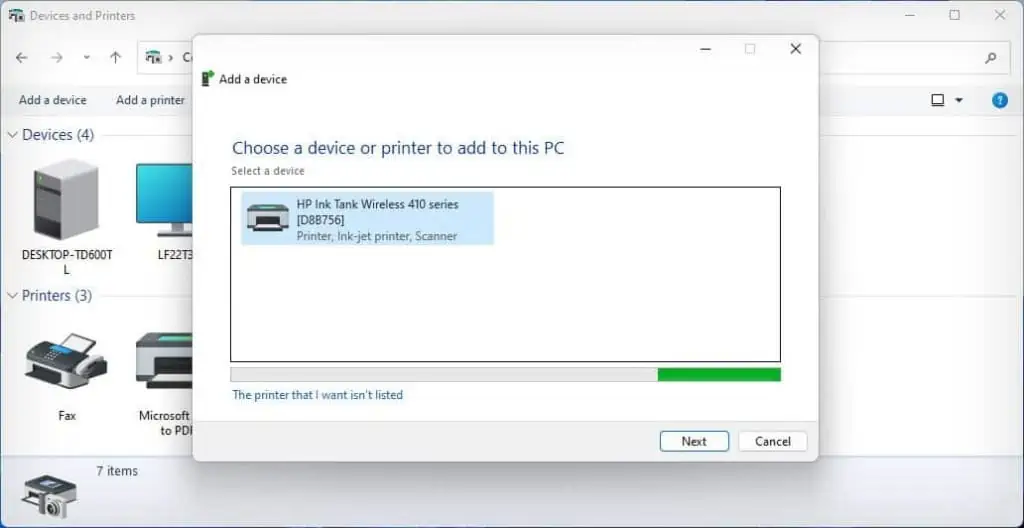
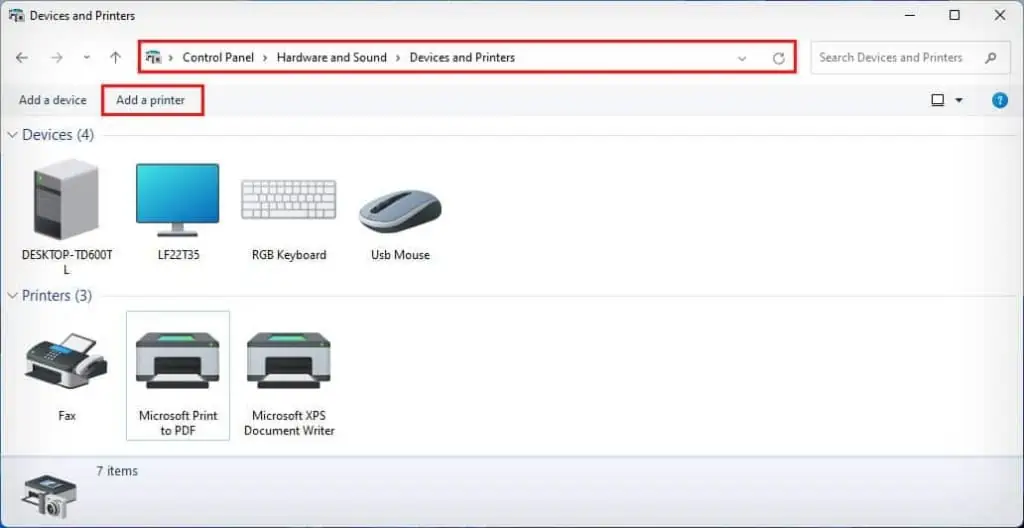
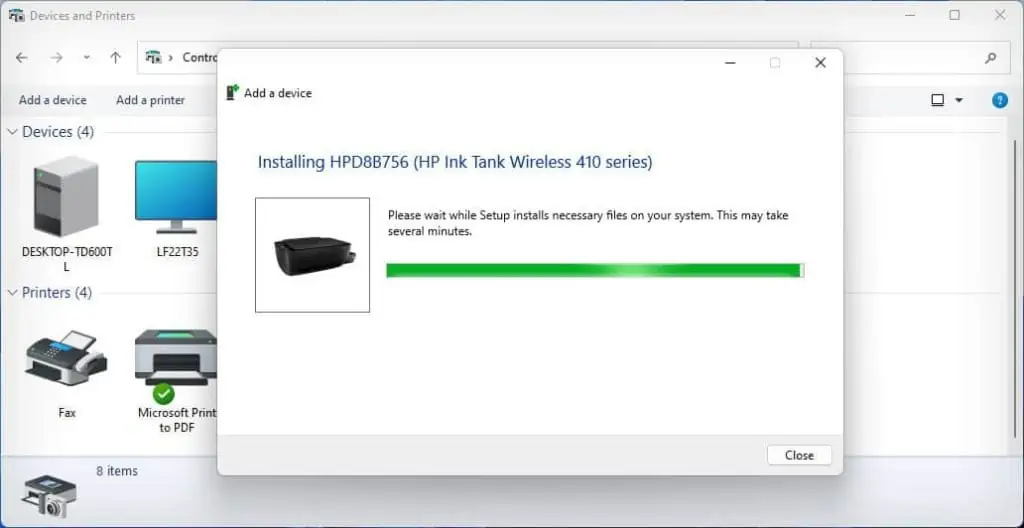
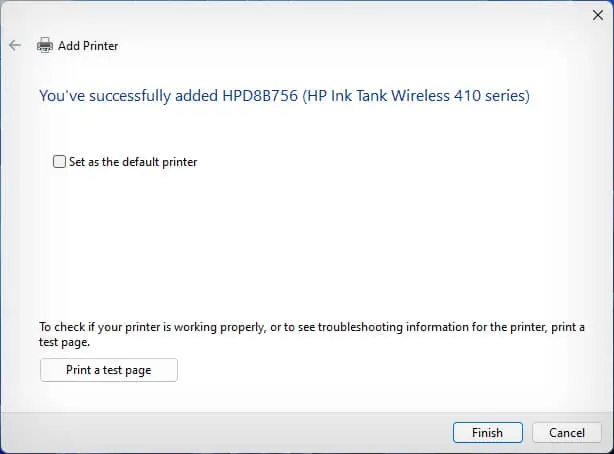
Share Printer on Network
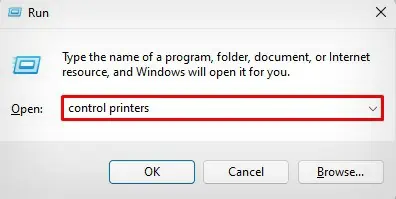
Windows computers have a file and printer sharing feature that allows you to share the files or printer on a network.
First, you need to connect the printer to one of the PCs and share it on the network. After that, all other users on the same network can access it.
However, the PC connected to the printer must be always turned on. Otherwise, the printer will not be available across the network.
Use Wi-Fi Range Extender
You can also get a Wi-Fi range extender with an integrated ethernet port and WPS button to make your printer wireless. It is a better option if you have an ethernet port on the printer but don’t want ethernet cables running across your room.
Use Dedicated Print Server Box
Purchasing a dedicated print server box can be helpful if you neither have an ethernet port on the printer nor a USB port on the router.
You can simply connect the USB side of the print server to the printer and the ethernet side to the router and establish a connection between them.
The print server acts as a host computer by handling all the print requests from the network devices and feeding them to the printer.
Use Wireless Adapter From Manufacturer
Some printer manufacturers also provide a wireless adapter to make their printers Wi-Fi capable. However, such adapters are generally available for only older models of printers.
You should first verify the availability from the official website of the printer manufacturer, and get it if there’s one.