The process to integrate the PSU into your build is quite simple and straightforward. Having said that, you can not still overlook the possible hazards because of an improper installation. For instance,damage to the PC components or even short circuits.
So, it is vital, you understand the process of installing a power supply unit whether you’rebuilding a PCor replacing the old PSU with a new one.
In this article, I’ll be explaining the step-by-step procedure to install a new PSU into your PC.
Getting Things Ready
Here’re a list of few things you need to have before starting up:
Now that you have gathered the necessary tools, it’s time to get into the actual process. Let’s Start!
Attach Power Supply Cables to the PSU
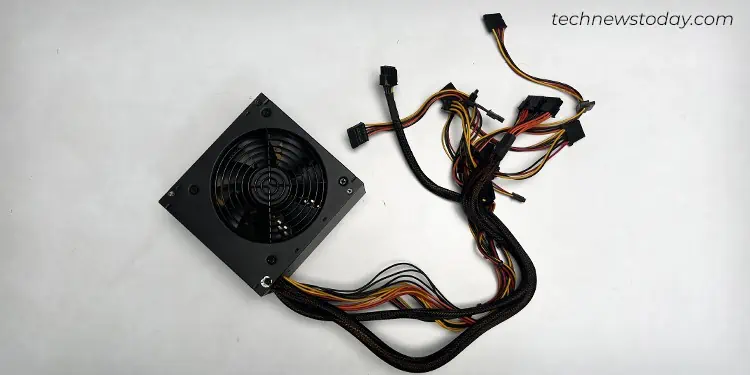
You may skip this step if you have anon-modular PSU(PSUs with all cables pre-attached to them.)
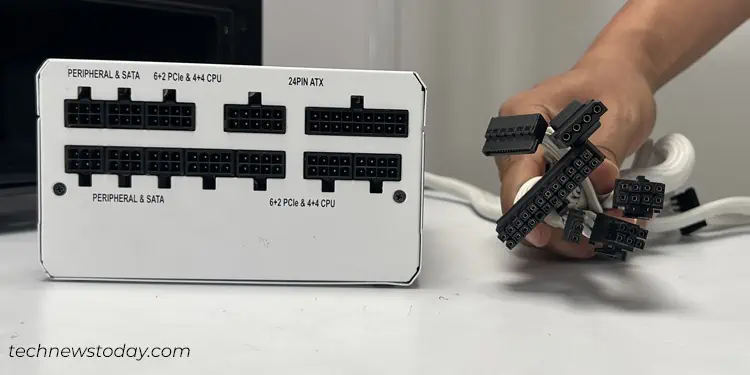
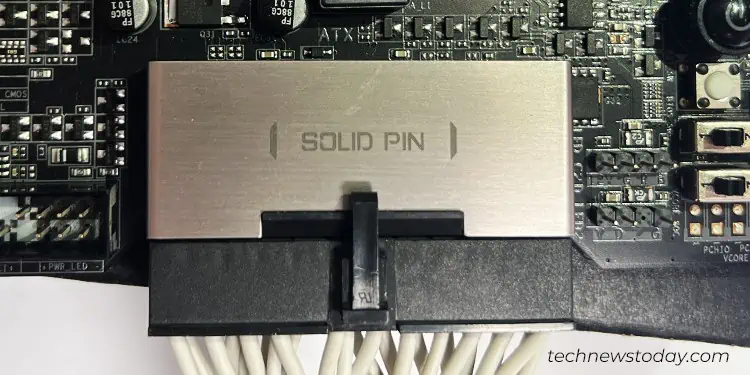
Otherwise, you need to connect the cables to the PSU manually. You will generally find five kinds of cables with your modular PSU, like the ones that came with my fully modularCorsair RM 850x.
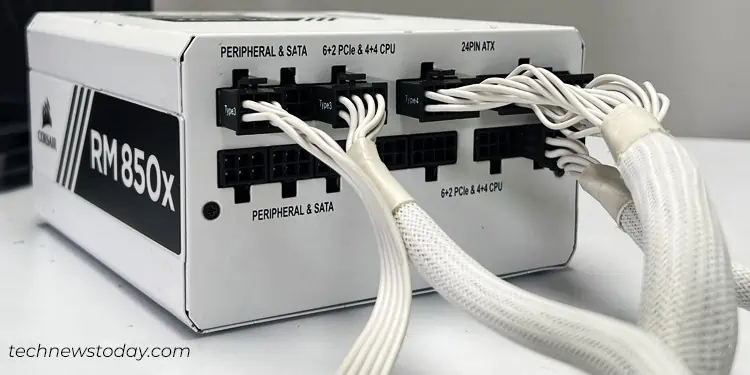
Grab the required cables for your setup and connect them to the power supply unit. Make sure the connection is secure and tight.
Remove the Side Panel
The next step involves removing the side panel. If you are in-between the PC building process, you probably already have the side panel off. If not, read on.
Each PC case has its unique way of removing the side panel. It normally depends upon the manufacturer.
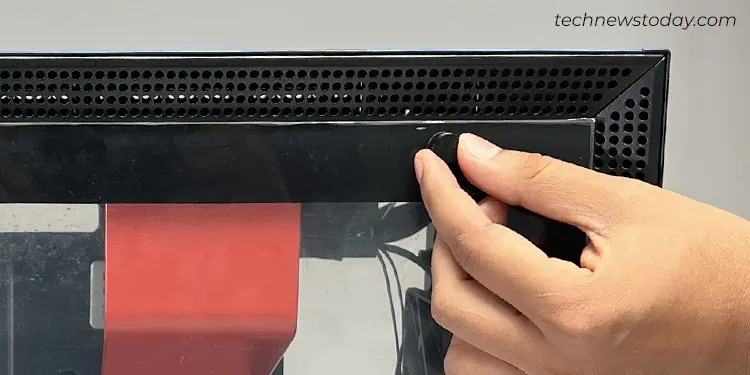
In most cases, you can either do it byremoving the thumb screwson the edges of the panel or unfastening the tiny screws on the edges of the back panel.
You may require removing only the left side panel or both sides depending upon whether your PC case has a shroud or not.

For instance, theNZXT H700 PUBG casethat I bought for myhigh-end gaming rigrequires removing both side panels before I can install the PSU.
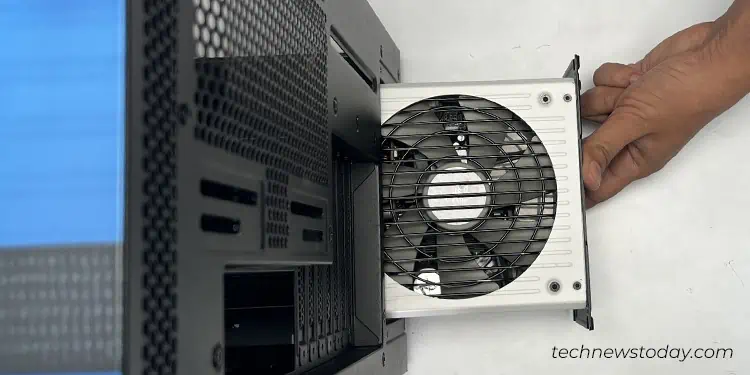
Mount the PSU
Now that you have removed the side panel, you will get access to the PSU compartment, often located at the bottom of the PC case.
In the case of my NZXT H700,

The steps should be similar in case of other PC cases too.
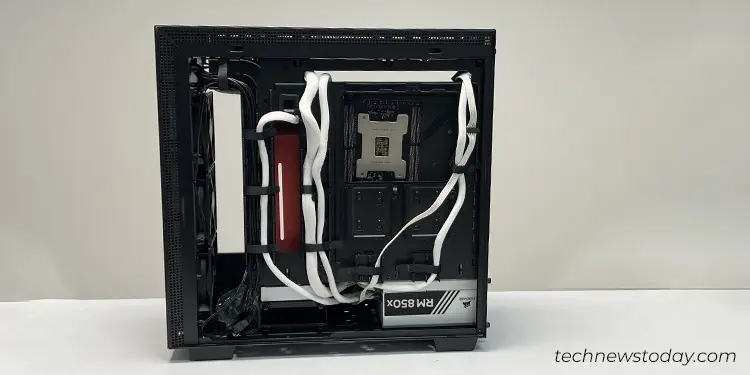
Route the Cables
The next thing you should focus on is the proper routing of the power cables. PC cases these days have a dedicated cable routing path with ample space behind the motherboard tray, as you can see in my mid-tower NZXT H700.
you’re able to direct the power cables through these paths, then guide them through the cable management holes in your PC case. You may use zip ties or Velcro to organize them.
I recommend you guide these cables through the holes/slots closest to the connectors on the motherboard/devices, so that the connection becomes easier later.
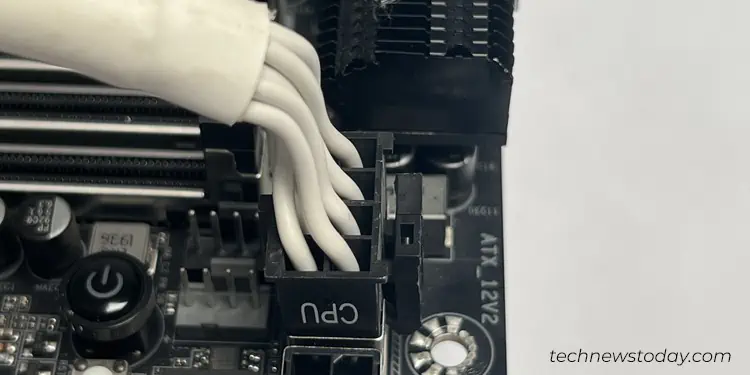
Connect PSU to the PC components
Once you are done with cable routing, it’s now time to connect them to the motherboard and other components.
If you are having difficulties figuring out the cables and where they go, we have an in-depth article onpower supply connectors.

Finalizing Installation
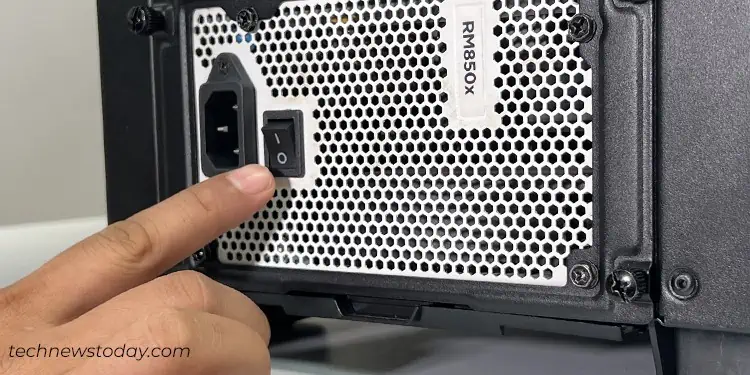
Now you’re only one step away from giving life to your machine. But wait, don’t reattach the side panel or power on your PC yet. Instead, double-check everything first.
Make sure if the power cables are securely attached on both sides. Check if the PSU is properly mounted, and verify the cable routing too. Once everything is set,
Your PC should turn on as expected. However, sometimes due to other causes the PSU may not turn on. In such cases, you need totroubleshoot the power supply.
Moving forward, if anything does not seem to work, you might have to replace your PSU. Althoughreplacing the power supply unitis as easy as installing the new one, make sure you find the right product.
I suggest getting ahigh efficiency power supply unitthat has an 80 PLUSGold or Platinum rating. This way, it doesn’t waste a lot of energy as heat and can even save you money on your electricity bill over time.