The display panel on your laptop can break easily due to any sort of physical damage. In such cases, you will see cracks, spots and patches, splotches of ink, etc., on the screen. The only way to resolve such issues is by replacing the screen panel.
If there are splotches or spots only at small areas or sides of the screen, you will still be able to view the contents of the screen so, you may not need to replace the panel. But if the damage is more severe, you have no other choice.

If your Dell laptop is covered byAccidental Damage support, an add-on to the warranty, you can have Dell replace the screen free of charge. Otherwise, you need to pay for the replacement services. Alternatively, you can also buy a new screen panel for your laptop model and replace it yourself if you have the proper tools.
Step 1: Remove Power to the Laptop
While you do not need to disconnect the power from the laptop before replacing the screen, it’s always recommended to do so. This way, your laptop won’t turn on by accident. If you leave the power as it is, some circuit components can also short and you may need toreplace the whole motherboardin such scenarios. Removing the power is especially necessary if you are replacing a touch screen.
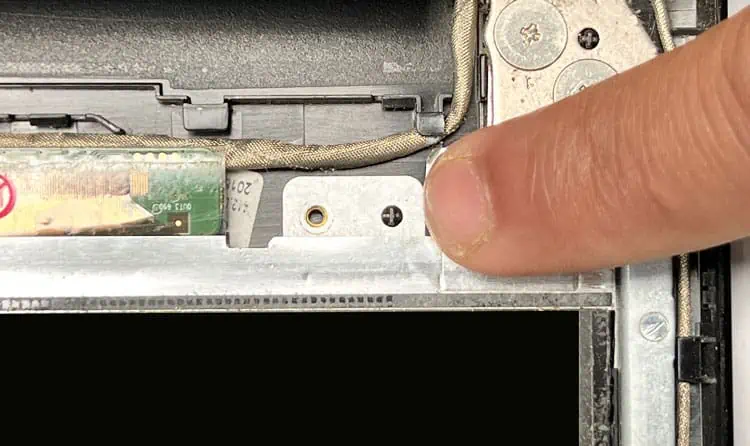
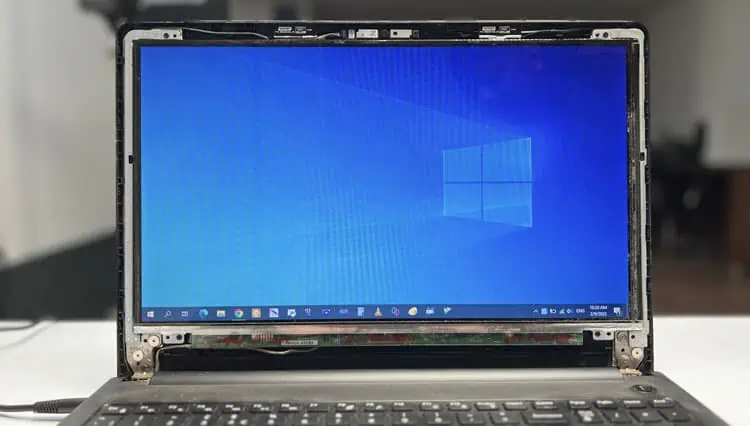
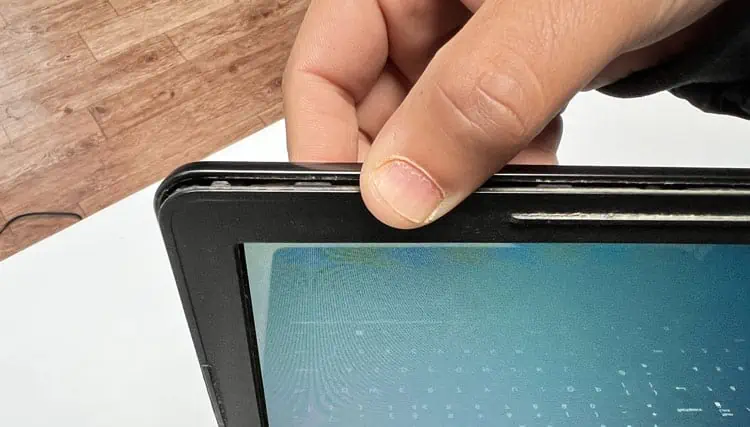
Step 2: Replace Screen Panel
Now comes the main part, opening the screen and replacing the panel.
Step 3: Reassemble Screen and Finish Up
After replacing the screen, you need to put everything back in place in a proper manner.