For avid gamers and overclockers, it’s always a hard time striking theright balancebetween GPU temperature andperformance. Anoverheated graphics cardor anoisy fan–what’s your choice?
If you’re an MSI Afterburner user, you can tweak the fan speed for both MSI and non-MSI graphics cards to achieve optimal cooling. Aside from its extensive hardware monitoring and overclocking features, it offers bothmanual and automaticfan speed configurations.
Without further delay, let me walk you through the step-by-step process of adjusting the GPU fan speed on this application:
Launch the Utility
If you have already installed MSI Afterburner, directly open it from Start Menu or launch the shortcut app from your Desktop. A prompt should pop up asking you toprovide administrative privilege–pressYesto continue.
For newer users, I advise downloading the installation fileonly fromthe officialAfterburner website. Reportedly, there have been plenty of phishing sites reported to MSI lately. Keeping this thing in mind, avoid third-party solutions as far as possible.
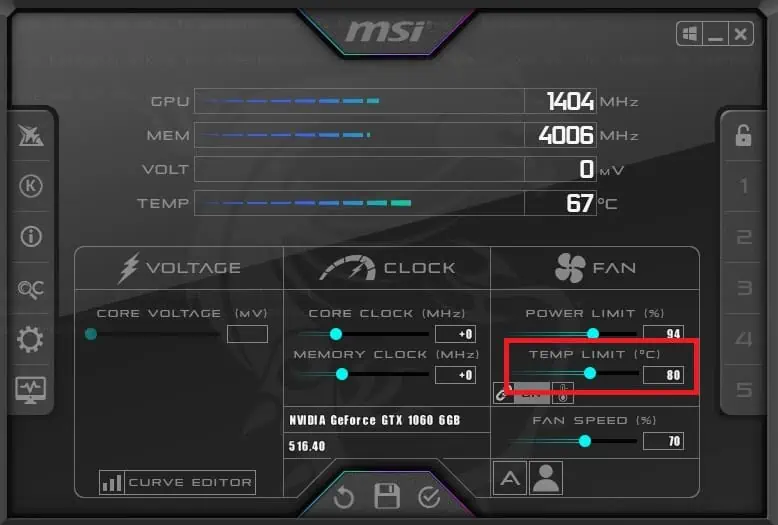
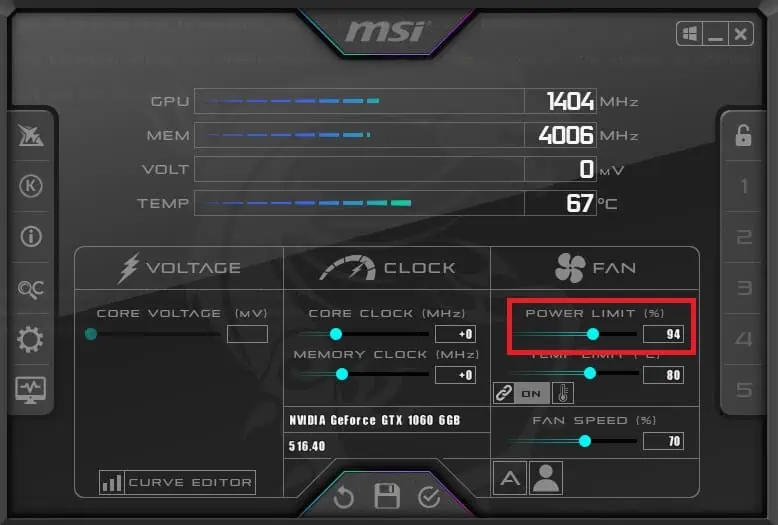
Set Power and Temperature Limits
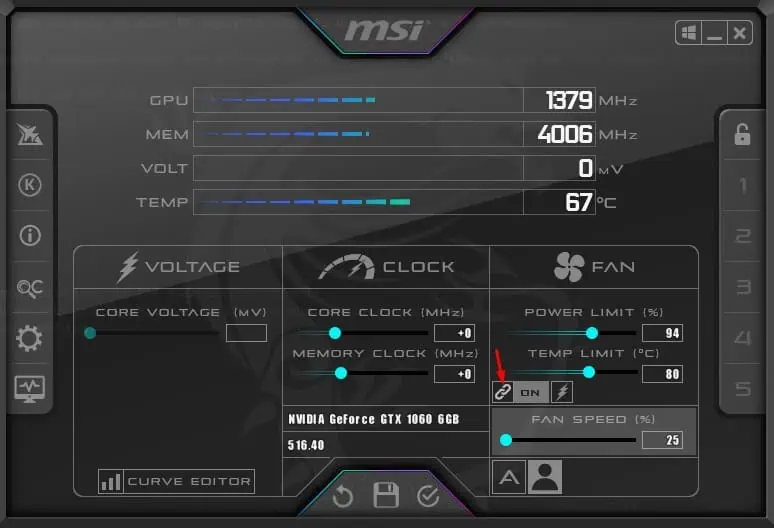
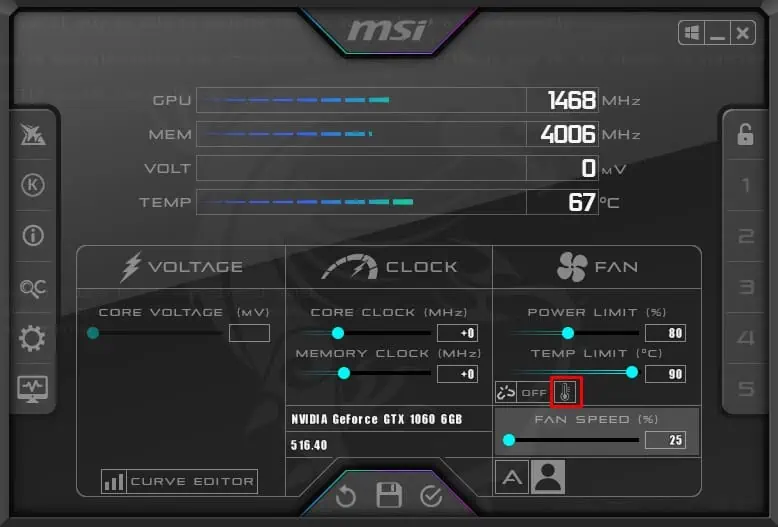
The second step is to set a cap for both the power and temperature parameters. This way, your graphics card won’t go beyond the threshold and helpprevent overheatingissues.
It’s a good idea to stress test before adjusting the fan speeds. This lets you understand how your graphics card can perform at its maximum capacity.
In fact, you can even monitor its stability at different temperatures, powers, andfan speedsto find the optimal fan speed you require.
You may use any application of your choice. But since MSI Afterburner recommendsMSI Kombustor(check the ‘K’ option in the left pane), I suggest the same.
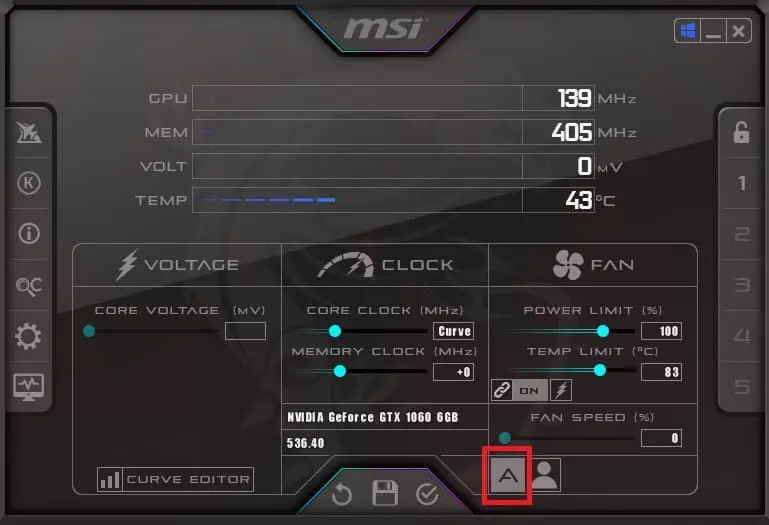
Choose Auto or User-Defined Mode
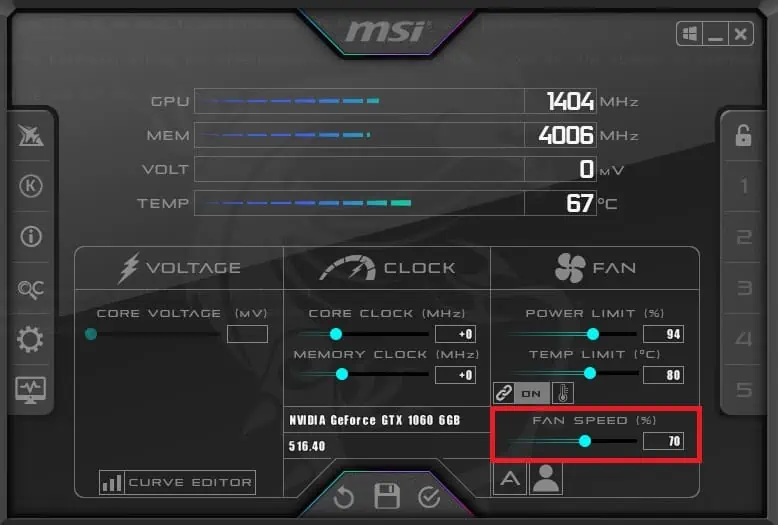
GPU fan speeds are dynamic, meaning they keep adapting to the card’s temperature (which changes constantly). For this reason, youdo not get the direct optionto tweak their RPMs. Instead, you have to configure the fan speed as apercentage of its maximum capacity.
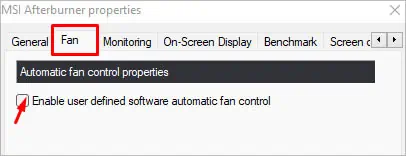
Enable User-Defined Software Automatic Fan Control
Before making use of the‘User define’option in the main application window, you need to enable the feature from the advanced settings. Follow the below instructions to learn how to do so:
Note:If you’re running a dual graphics card, you’re able to select/change your master graphics processor. Go toSettings>General>Master graphics processor selection> Select your GPU. In case the MSI Afterburner application didn’t detect your graphics card, here’s a guide that shouldhelp you fix it.
Customize Fan Speed Curve
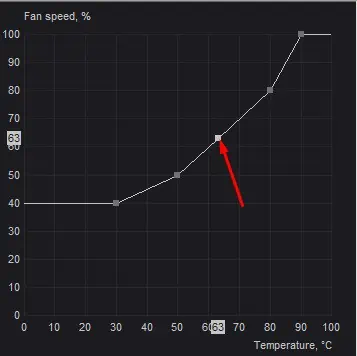
Once theUser-defined Software Automatic Fan Controlis enabled, the fan speed curve editor should appear along with additional options.
The horizontal line indicates thedifferent fan speeds(in percentage) and the vertical represents thechange in temperature(°C). All you have to do is drag and drop the nodes in increasing order.
The general idea is to place the point somewhere above its previous one. Even if you place the second node below, you’ll get anerror messageas the configuration is invalid. This is because your fan speed should never decrease with an increase in temperature.
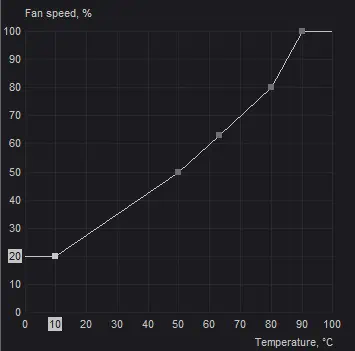
So, you see,you’re never going to make a mistakeand even if you do, you’ll be asked to change the curve. Here’s how I like to do it:
Configure Automatic Fan Control Properties
Now that you’ve plotted a manual curve, it’s time to enable/disable other advanced options before saving the changes:
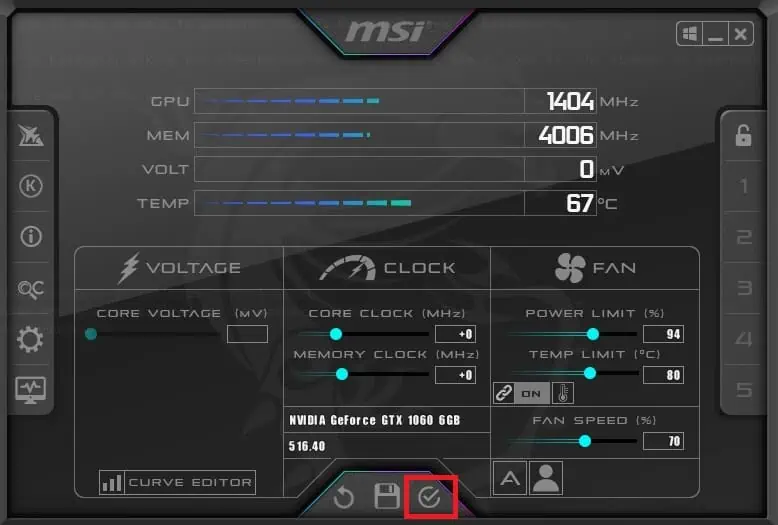
Along with these options, you can alsoforce the fan speed on each periodoroverride the fan speed(when set to 0) with the hardware curve. Once everything is adjusted, press theApply/Okbutton to save your changes.
Save and Manage Your Profiles
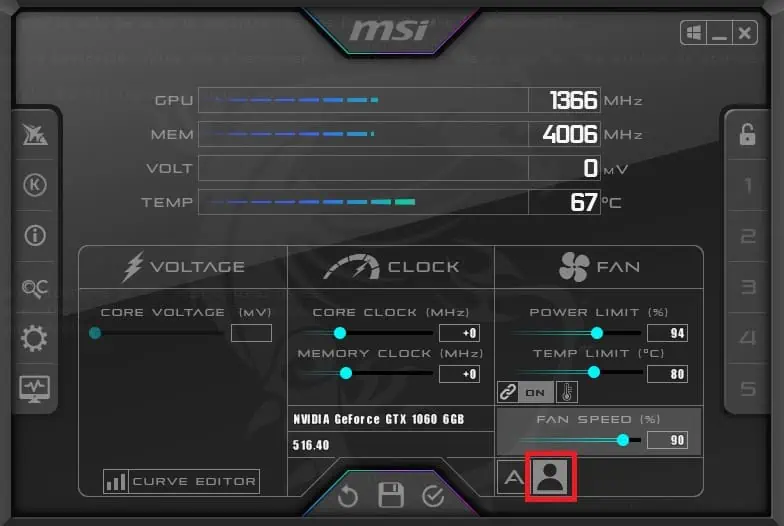
Whether you have configured amanual,automatic, oruser-defined software automatic fan speed, the final step is to save this to a profile slot. For the last one, make sure you have enabled the‘User Define’mode before proceeding to the below instructions:
![]()