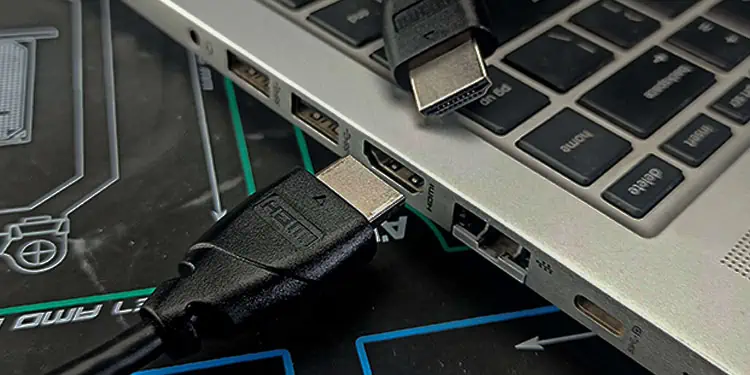
Connecting the monitor to your laptop using HDMI is not complicated at all. First, insert one end of the HDMI cable into the monitor and the other into your laptop. When you connect the two, the laptop will automatically project its screen to the monitor.
But even after connecting the monitor and laptop, you may need to configure some settings to get the desired video output. Using the wrong settings may result in yourmonitor to display a black screen.
To ensure you do not run into any complications when connecting the two devices, start by checking the HDMI ports on both devices.
Check HDMI Ports
Both the laptop and the monitor need to have an HDMI port. On monitors, the display ports are usually on the back side of the monitor. On the other hand, laptop display ports could be on any side. So you will need to manually check for the HDMI port.
However, not all monitors and laptops have an HDMI port. Older devices may use a different display port, and newer devices may not even have a display port. If your device uses a different display port, say aVGA port, you will need anHDMI converterto connect to said display port.
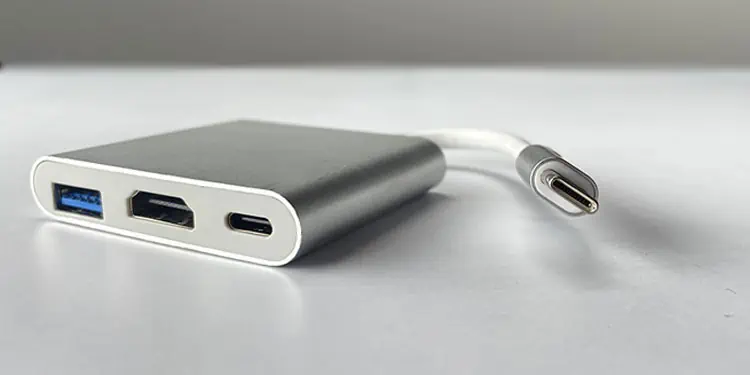
In case your laptop does not have a display port, which is the case formost ultra-portable or 360 laptops, you will need a separate hub with an HDMI port connecting to your laptop.
Connect Monitor to Laptop using HDMI
Before connecting, ensure that the ports on your monitor and the laptop is clean. Dust and debris on the HDMI port may restrict data flow between the devices, resulting in themonitor screen to flicker.
Once you do this, the laptop will automatically detect the monitor and extend your laptop’s screen to the monitor.

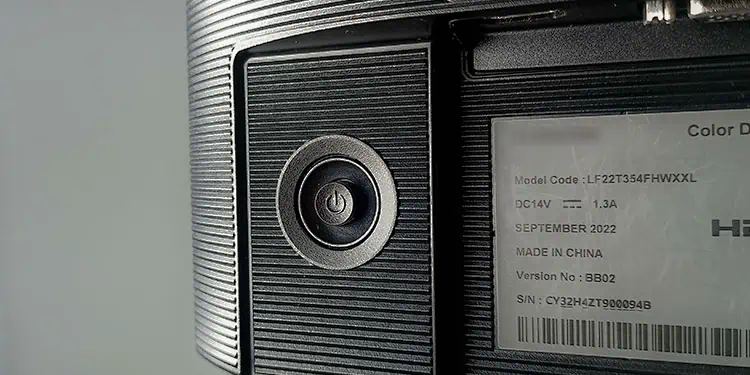
Set Input Source
Input Sourceis a setting that you will find on your Monitor. A monitor will have several types of display ports. So you need to configure your monitor to use a certain display port as a source for input.
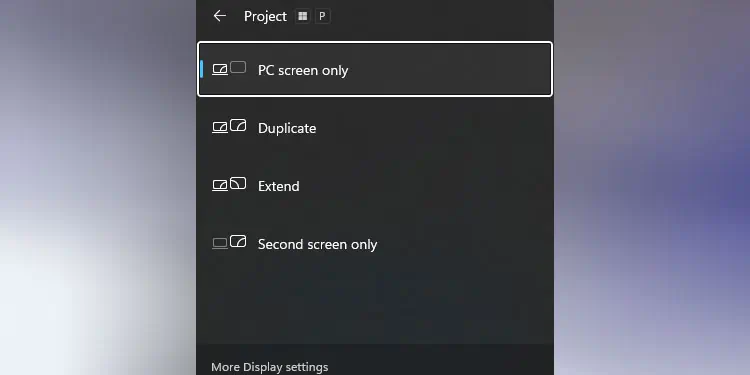
Set Projection Mode
Projection mode determines how the laptop and the monitor screen behave. you may extend or duplicate the display. You can also set the projection mode so that only one screen displays the output.
Press Windows + P key to open Projection mode. Here, select the type of projection mode you want. verify that the projection mode is not onthe PC screen only. The PC will only display the laptop screen when choosing this setting.