Canon printers offer connection in either USB or Wireless mode. In most cases, USB mode is a preferred mode of connection, but if you want to share the printer over the network and print wirelessly, Wireless mode is a better choice.
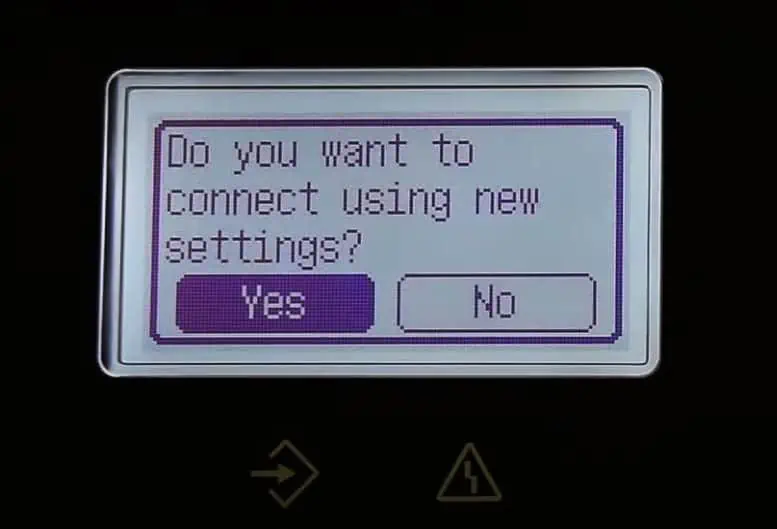
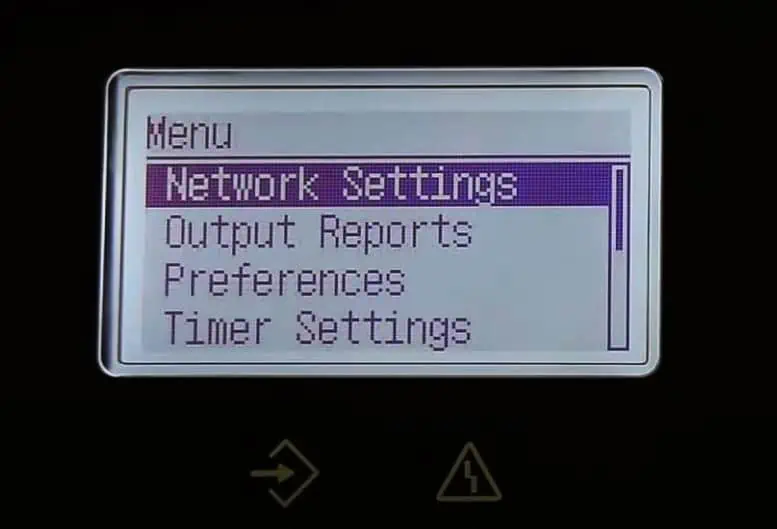
The steps to connect your Canon printer to Wi-Fi depend upon the model of the printer. For printers with LCD screens, you’re able to easily make the configuration from the LCD control panel. While for all other models, you can use Canon’s official setup tool to connect them to Wi-Fi.
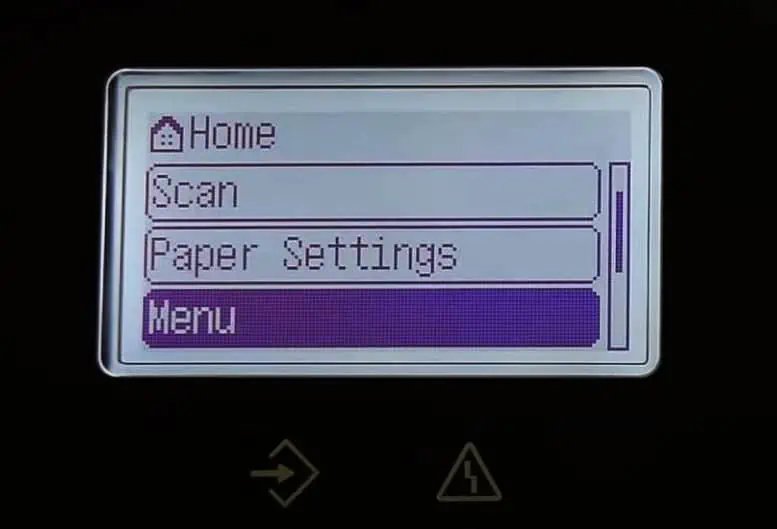
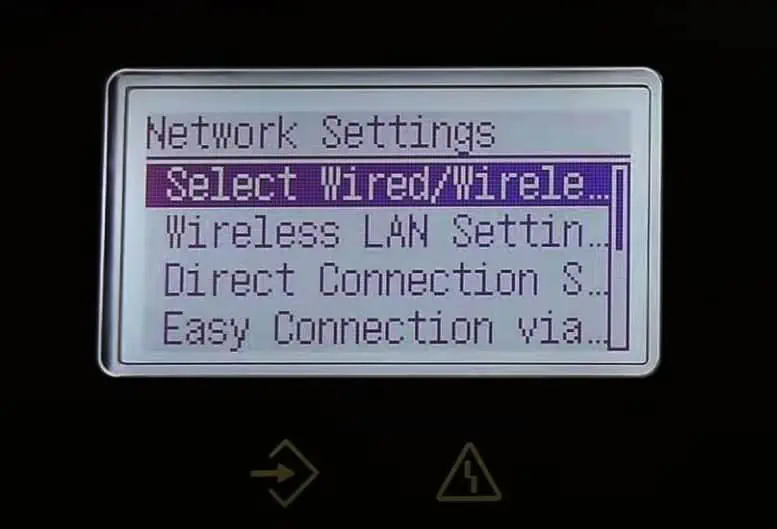
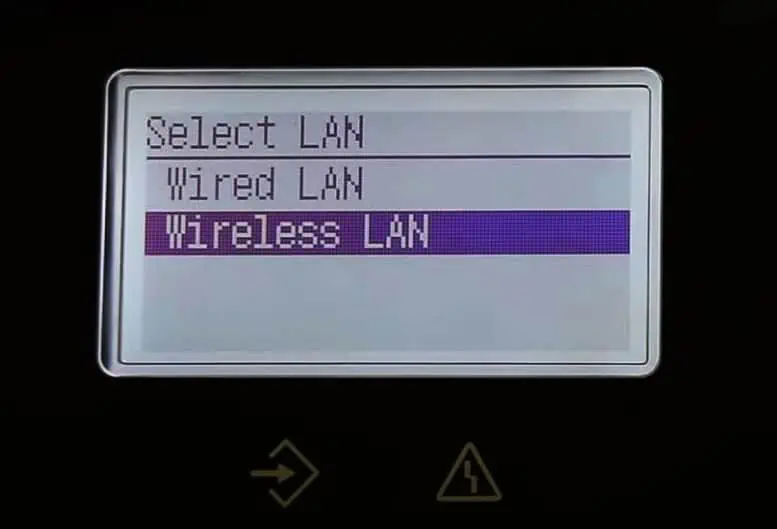
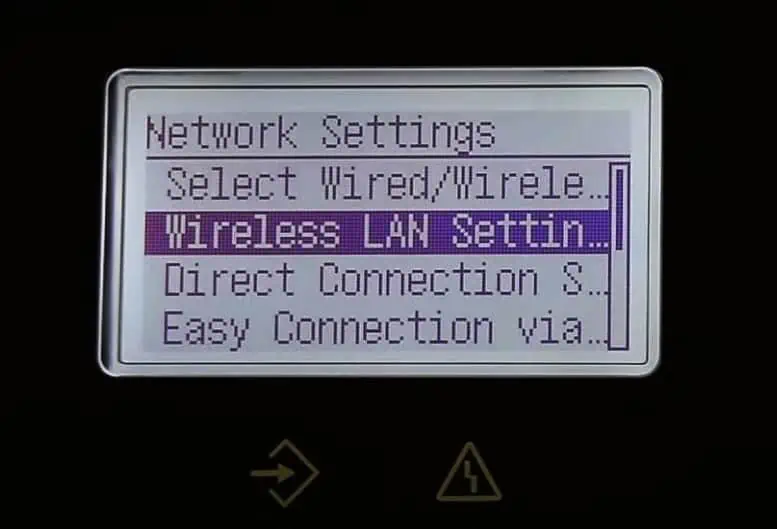
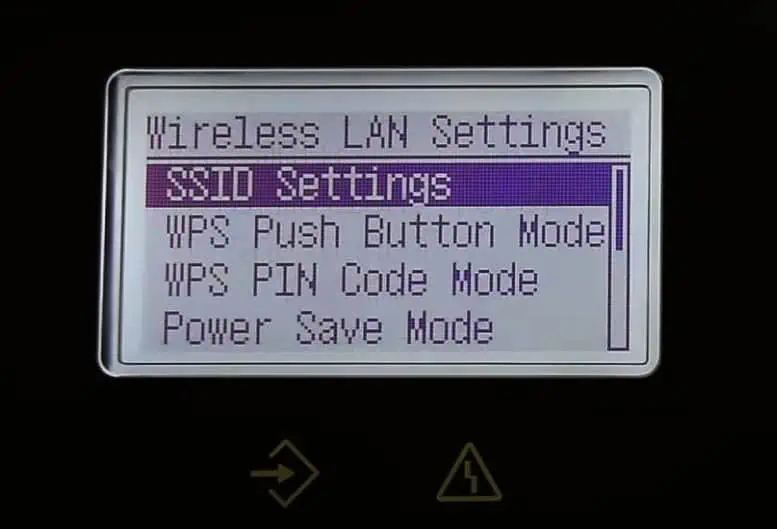
On MultiFunction Printers With LCD Screens
The Canon MultiFunction series printers likeMF112orMF113Wcome with a range of print functions including a wider control panel screen. On such printers, you can easily navigate to the Wi-Fi settings and connect them to Wi-Fi.
On Printers With a Small LCD Screens
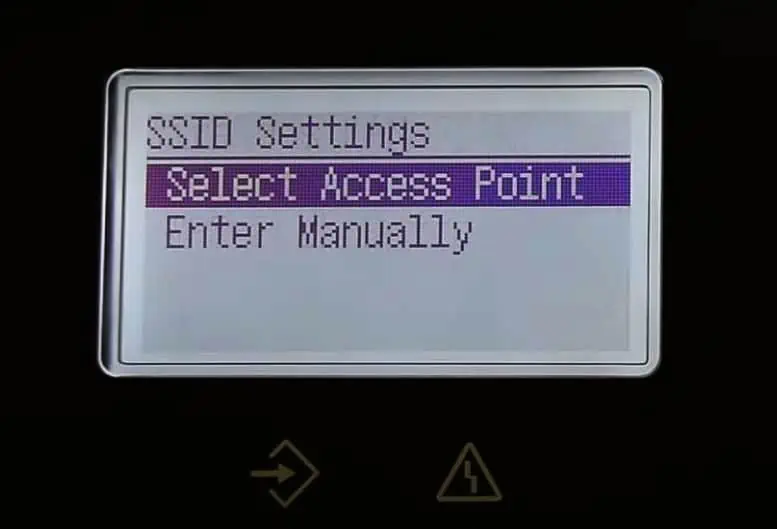
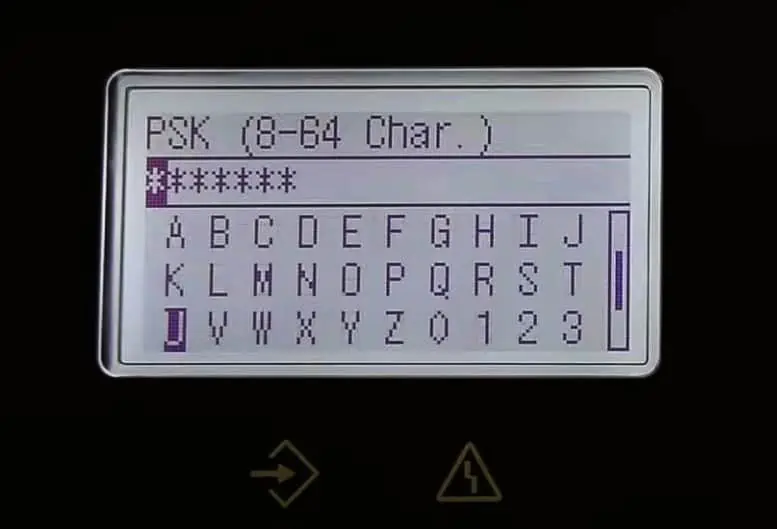
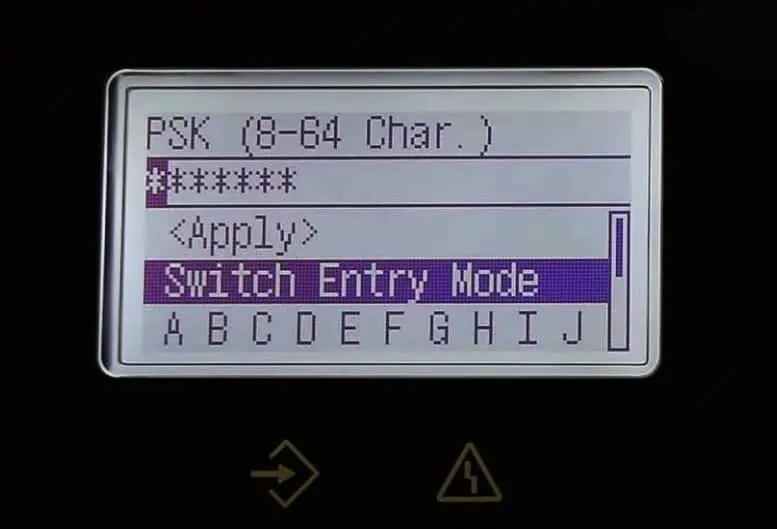
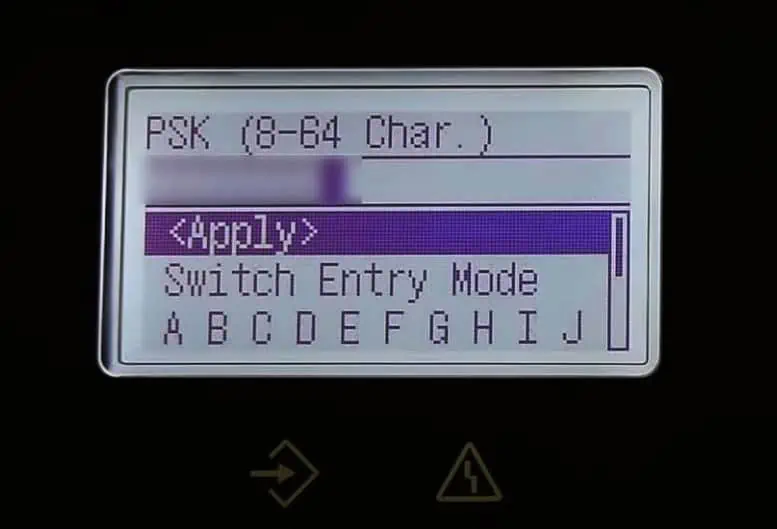
Canon printers likeCanon PIXMA G4210have a small LCD screen on the control panel along with a few buttons. You can either manually enter the Wi-Fi password or use the WPS function to connect such printers to Wi-Fi.
Alternatively, you can also enter the password to connect your printer to Wi-Fi.
On Printers Without LCD Screens
If you own a printer that lacks an LCD screen, like aCanon PIXMA MG3020printer, you can download the printer setup tool from the official website of Canon and use it to connect your printer to Wi-Fi.This method also works on every model of Canon printer.