If a user opens a bandwidth-hungry application, all the other devices are going to experience a slow internet connection. While it’s possible to kick devices off your network, this isn’t always the best idea.
Instead, you canset a limitationfor every connected device to prevent it from hogging up the bandwidth. With the help of the TP-Link router’s configuration interface, you can share the bandwidth equally or even configure the limits individually.
All you have to do is set aminimum and maximum bandwidth limitfor both Ingress (download) and Egress (upload). But in some routers, you might not get the dedicated Bandwidth Control option and should instead opt for QoS (Quality of Service). To understand this better, let’s dive deep into the steps below.
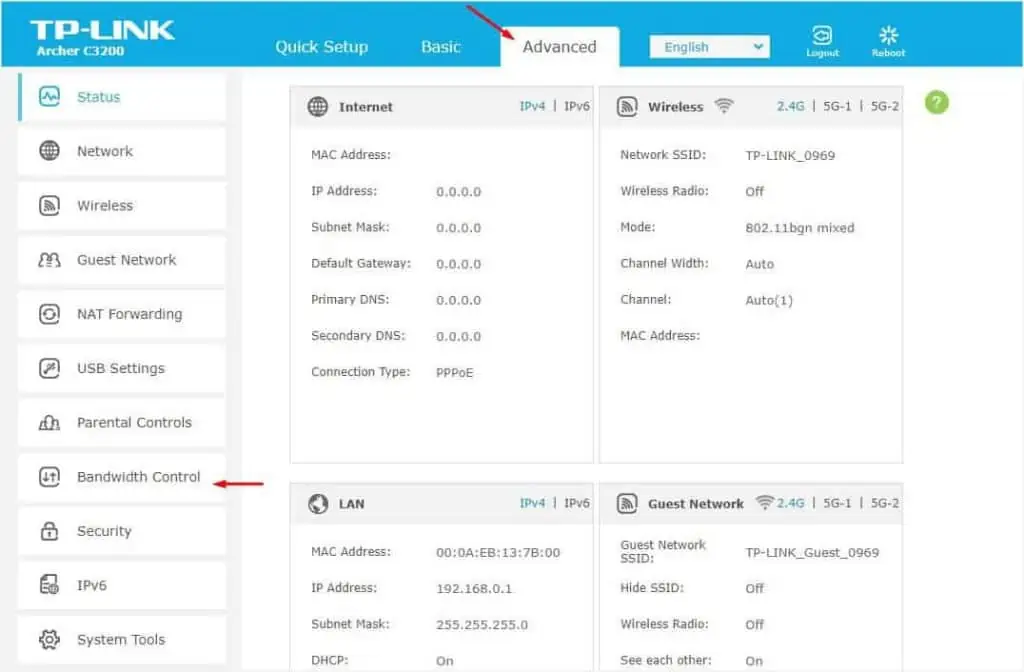
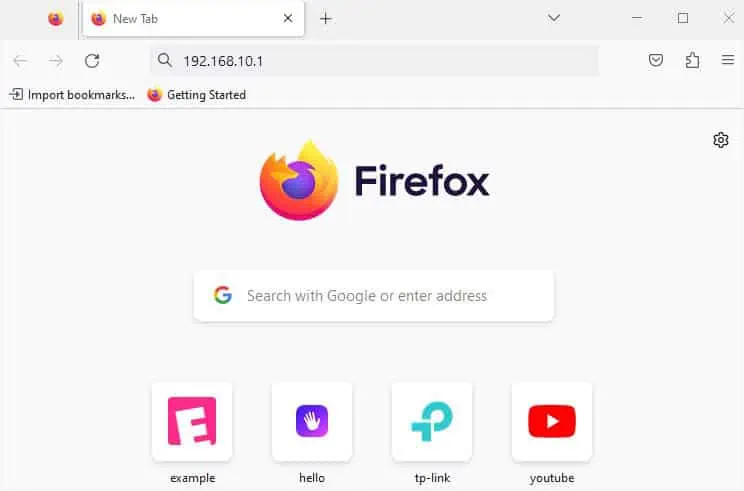
Step 1: Access Router’s Configuration Page
For beginners who have no idea how to access a router page, here are the following steps you may employ on Windows. If you want a comprehensive guide for other operating systems,here’s an articlethat should help you with that.
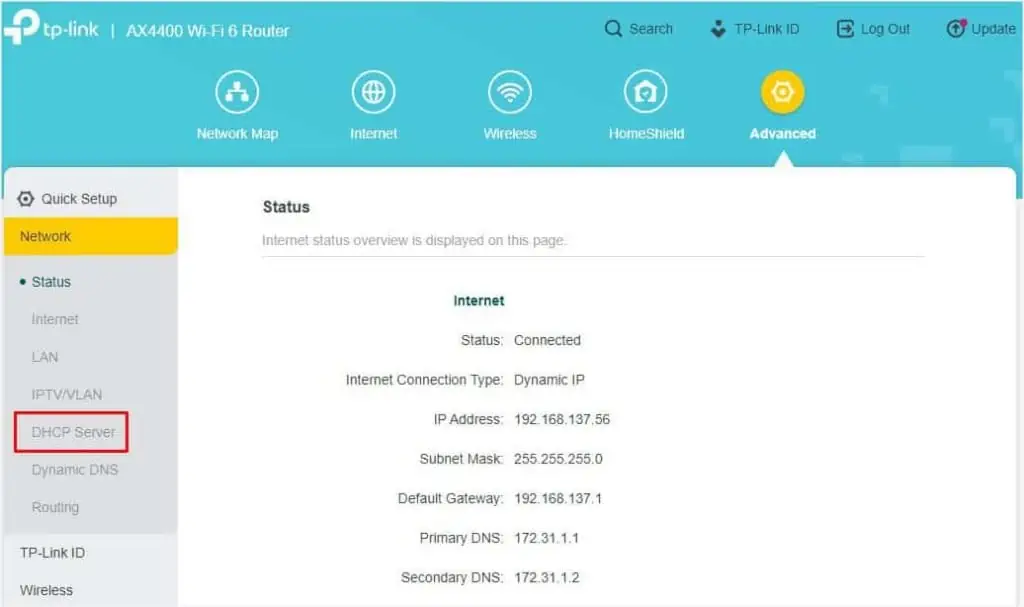
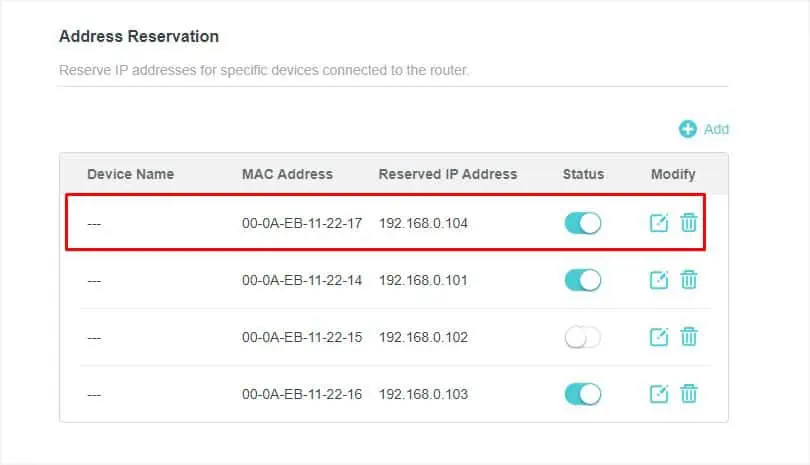
Step 2: MAC Address Reservation
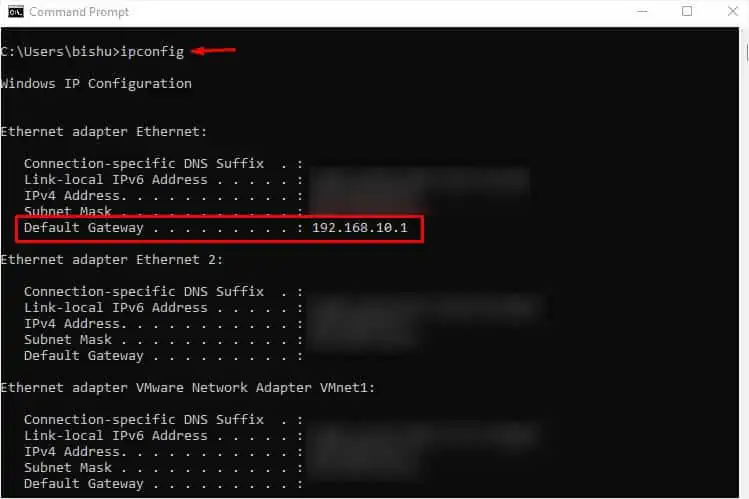
MAC Address reservation is a special feature available on most routers that lets you use static IP addresses for your specified devices. If you’re seeking to keep the settings permanent, it’s essential to reserve theMAC addressfor every deviceyou’re trying to set bandwidth limits.
Note:You may skip this step if you’re only trying to control bandwidth usage for a temporary device.
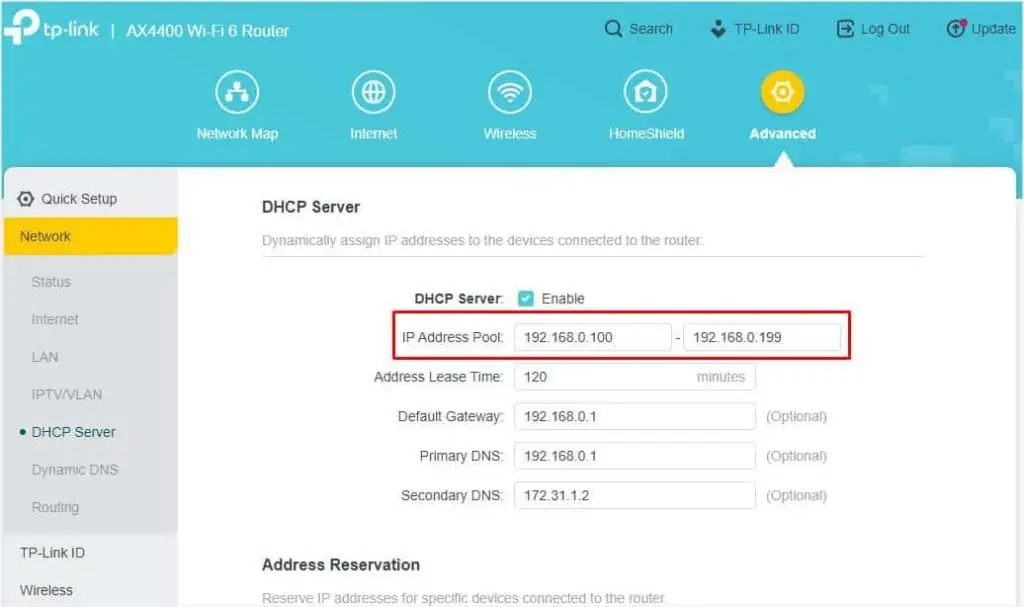
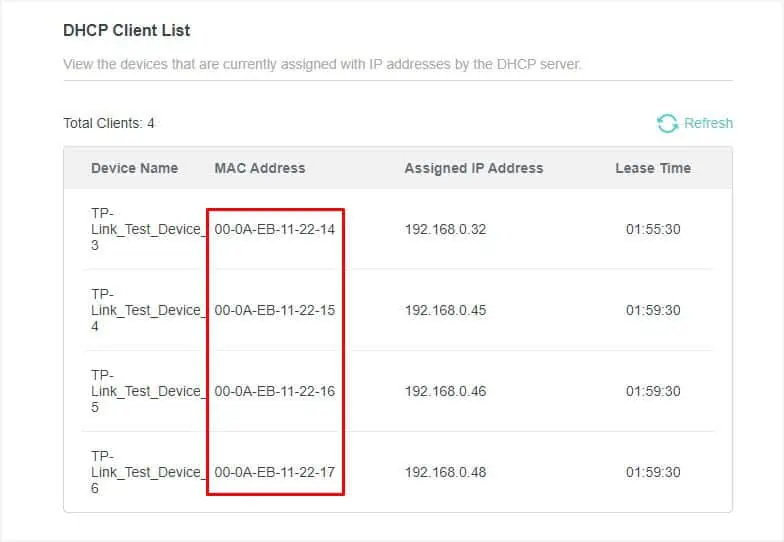
By default, a router utilizes theDHCP serverto assign dynamic IP addresses for each connected device. The provided address can change over time and when this happens, the applied settings won’t be applied.
However, if you reserve specific/static IPs for individual devices, the router will recognize its MAC address. So, you do not require reconfiguring the settingseven if you disconnectand reconnect it.
Follow the general steps below on how to reserve a MAC address on a TP-Link router. I have used theAX4400model for the demonstration. The steps may vary slightly on your device.
Step 3: Configuring Bandwidth Limit
After assigning a static IP for each device, you can now get to the Bandwidth Control section to configure the related settings. However, not all TP-Link models support it. In such cases, you can opt for the QoS feature.
While the two are slightly different, the Bandwidth Control setting isavailable underthe QoS section in some TP-Link routers. Let’s understand how they work and the necessary steps to configure them in the different sections below.

Note:Some lower-end TP-Link models might not include either of the features.
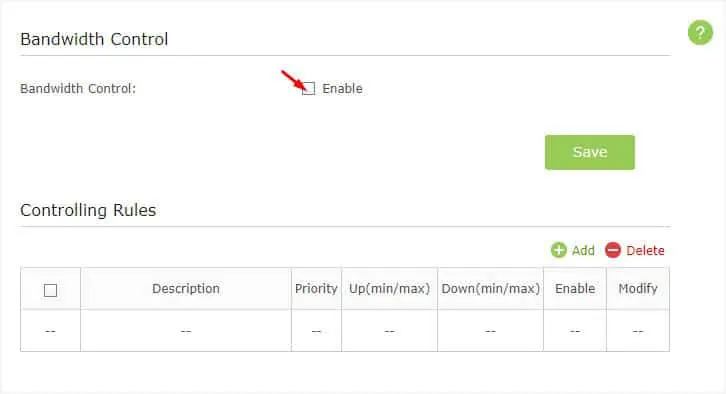
Using Bandwidth Control
As the name suggests,Bandwidth Controlallows you toset limitson the maximum rate at which data can be sent (upstream bandwidth) and received (downstream bandwidth). This section comes with the Controlling Rules section that lets you allocateingress and egress bandwidth rangesfor a device or service.
Some TP-Link models also come with a Priority option. Usually, 1 is the highest priority level, and 8 is the lowest. This may vary on some router models.
Before configuring the bandwidth control for a specific device/service, it’s important that you enable the feature first. Also, you require assigning the total upstream and downstream bandwidths provided by your ISP.
The involved demonstration is forArcher C3200and the steps are slightly different on other models.
Once the Bandwidth Control setting is enabled, you can now move ahead with the below instructions to configure for specific devices:
Using QoS
QoS is a network performance optimization feature that allows prioritizing the internet traffic. In TP-Link routers, you can use it to configure bandwidth control on specific devices.
As with the dedicated Bandwidth Control feature, you need to set the upload and download bandwidth first. Once that’s done, you requireadding devices based on priority levels. Interestingly, it’s possible to edit the priorities too.
Let’s take an example to understand QoS better. Suppose, my total Internet Bandwidth (taken from ISP) is50 Mbps. I’ve set 60% to High Priority, 20% to Middle Priority, and the remaining 20% to Low Priority.
This means that devices/services that I assign to High Priority will share 60% (30 Mbps), Middle Priority shares 20% (10 Mbps), and those within the Lower Priority use10 Mbps.

In case there are no devices/services listed in one of the priority levels, the bandwidth will automatically be used up by the other two. For instance, if there are no devices/services listed under Low Priority, its10 Mbpswill now be sharedamong those under High Priority (5 Mbps) and Middle Priority (5 Mbps).
Important:If you do not include a device in any of the priority lists, you might experienceconnection problems. Often, this issue occurs when joining a new device on the network. Thus, it’s a good idea to leave a certain percentage without any rule. For example, you may set the priority as 60-20-15 and the remaining 5% can be used by the new devices.

Like the Bandwidth Control feature, the steps for QoS vary slightly. Some TP-Link routers have separate sections forService and Device configurationwhile in others, it’s included within the same page.
For demonstration, I have used theArcher C2300model to enable QoS, edit the priority levels, and create a rule by device, application, and physical port.
Additional Tip:Since the involved steps are going to be different for every TP-Link model, I highly recommend checking the help section on the configuration page. Press thequestion mark icon, usually available on top of the section. Here, you’ll get the definition for each of the terminologies that are available on your router and even the step-by-step procedure to do it.
Step 4: Test the Setting
After successful bandwidth control configuration on your TP-Link router, I recommendrestarting it. While high-end models do not require this step, some models require a restart to apply the updated settings.
Once that’s done, I adviseperforming a speed teston every device to check whether the applied bandwidth control/QoS settings are working. You may utilize any tool, like Fast Internet Speed, Speedtest by Ookla, TestMySpeed, etc.