Whether you move your laptop often or just keep it stationary somewhere, it is bound to gather tons of dirt and grime. You wipe the screen, and it quickly gets dusty again!
Some of us are so busy with our everyday work that we do not get enough time to clean our laptops. Unnoticeably, food crumbles, pet hairs, and dead cells accumulate over the different components. The fans and vents can get clogged, the keypad/touchpad becomes filthy, finger stains appear on the palm rest, and many more.
If you’re a regular laptop user, the dust buildup may get you exposed to infectious bacteria and germs, which is indeed bad for your health. Along with that, yourdevice becomes laggyand thechances of overheating also rise. So, it’s best to keep your laptop clean, and here’s a detailed guide to doing that.
Before You Begin
Most of us make silly mistakes when cleaning laptops and electronic components. Using the wrong tools and solutions can damage the hardware parts, and in the worst case, you may have to replace the entire system!
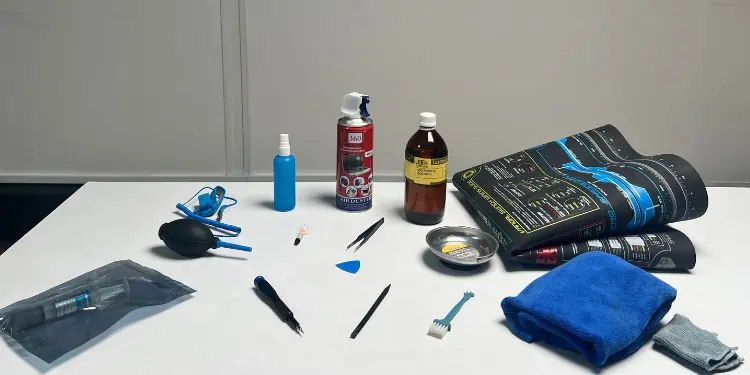
So, before moving on to the actual steps, we recommend gathering appropriate cleaning tools. Additionally, this section discusses the things you need to do and those you should avoid.
![]()
Gather Appropriate Cleaning Products
You can find dedicated kits for cleaning electronic products online. While these are extremely beneficial if you’re going to regularly clean your laptop, you’ll need to increase your budget just for that.
Fortunately, it’s also possible to do the cleaning with tools that are already available at home. But before that,make sure all of the items are also neat and tidy. Regarding the same, we have gathered some of the common products you can use. While we are going to focus mainly on the easily available items, you might require investing in some of the ones listed below.
Things to Avoid
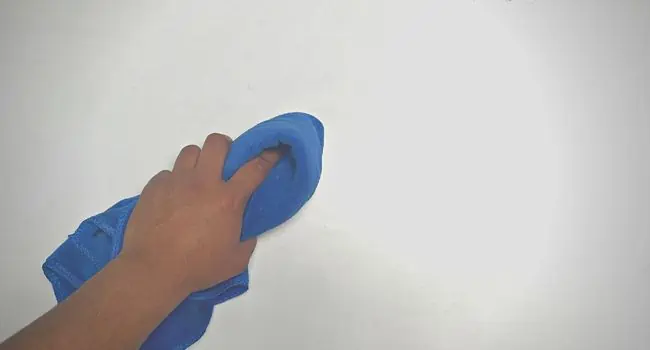
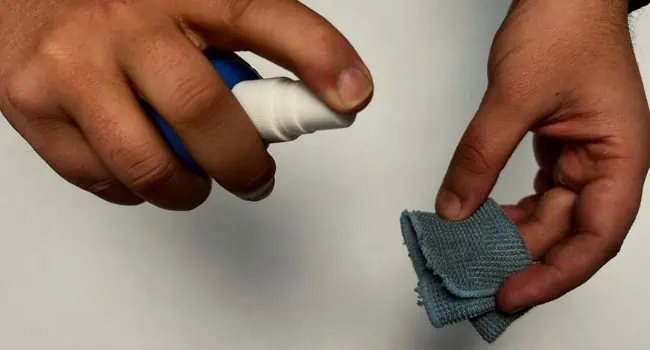
As mentioned earlier, common mistakes can be brutal to your laptop. Even when using the aforementioned products, you need to take extra care! For example, pouring liquid cleaners directly may damage the electronic components. So, always consider applying them to a microfiber cloth first.
Also, you’ll need to move your laptop in unnatural positions during the entire cleaning process. Therefore, it’s essential tohandle the device properlyor else you might break the screen or even the hinges.

Backup Your Files
Deep cleaning your laptop can be tedious if you haven’t done it before. If you do not handle the components properly, you might even brick them. So, you should always back up your important files as a precaution.
Frankly speaking, you can use anyonline tool(Google Drive, OneDrive, etc.) or simplytransfer your files to a flash drive/external hard drive. It all comes down to your decision. So, you can proceed with the option you’re most comfortable with.
Step 1: Shut Down & Discharge Capacitors
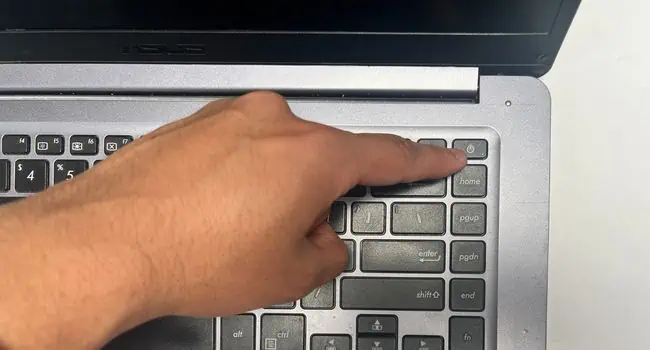
Cleaning your laptop when it’s turned on can cause injury or even damage to the components. Therefore, it’s advised not to operate any parts without properlyshutting down the laptopand discharging the remaining capacitors.
Step 2: Soft Cleaning
You should always find time to clean your laptop. Even on your busiest days, it’s essential that you perform a soft cleaning. In fact, we advise doing this at least once a week. If you’re planning to do it regularly, it’s even better, and the following steps are going to come in handy. However, if you’re looking to deep clean your laptop, skip this section and move to step 3.
Step 3: Laptop Disassembly
Doing a soft cleaning is going to make your laptop look good only from the outside. But you should know that there’s much more dust buildup inside of the chassis, beneath the keys, and inside of the ports/slots.
If you want to properly clean your notebook computer, you’ll have to do it both the inside and the outside. Before you jump into the actual procedure, open the laptop’s bottom casing and also disassemble everything.
However, the internal section of a laptop varies based on the model. You may not find all the sections that we are going to discuss here. Also, opening the bottom chassis is different for every device.
Step 4: Deep Cleaning Internal Parts
Excessive dust buildup inside your laptop can cause components to not get seated properly. When this happens, your computer will simply not start.
Another common issue is that the fans get clogged and the airflow is blocked. This will eventually overheat the components and make thelaptop slow and laggy.
Therefore, it’s absolutely essential to keep the inside of the laptop clean. While you do not have to perform this every single day, it’s good practice to do it once every three/four months. Indeed, this can optimize the laptop’s performance and even help extend its shelf life.
Internal Battery Compartment
While dust build up on the internal battery is very rare, it can still happen. In fact, this is the prime reason why thelaptop overheatsand in the worst case, the device might catch fire!
A simple solution is to keep the battery and its compartment clean. Additionally, this can help improve battery life and efficiency.
Also, check for possible electrolyte liquid leakage. In case it has any type of leak, it might be time to replace the battery. So, we advise taking it to the nearest hardware center for further inspection.
Caution:Avoid all sorts of liquid cleaning products as even a tiny droplet of water on the battery will eventually damage it and becomes no longer safe to use.
Speakers
If you start hearing buzzing noises or thespeakers do not workat all, know that they could be clogged with dirt and dust. Usually, cleaning the component fixes the issue and you will start hearing crisp sounds once again.
HDD or SSD Slots
Like any other component, dust build-up on HDD/SSD can cause overheating problems. That’s also the reason you could be experiencing vibrations and hearing buzzing noises from the hard drive. In laptops with HDD, the dust buildup will cause the fans to start spinning faster and hence the noise.
Caution:Do not open your hard drive to expose the platter. This can cause more dust buildup and will likely corrupt all your data.
RAM Slots
Clogged RAM slots will eventually prevent your laptop from booting up. Along withcleaning the slotswell, it’s also essential to keep the gold contacts of your RAM sticks free of dust and debris. Here’s a quick demonstration:
CPU & GPU
Unlike other laptop components, cleaning the CPU and GPU can be tedious. You require removing the heatsink and alsoreapplying the thermal paste. If you haven’t changed the thermal paste for over four or five years, it’s time to do it. This helps increase thermal transfer speed from the CPU IHS to the heatsink, and henceprevents your laptop from overheating.
Heatsink and Fans
When there’s excessive dust buildup in the heatsink, and the CPU fan also gets clogged, it’s certain that the airflow is blocked. Since laptops have less ventilation, heat cannot dissipate fast enough, and thus, the CPU and GPU start overheating, which can even lead to fatal damages. Here’s a short demonstration of how to clean these components:
Motherboard and Other Parts
Now that you’ve cleaned all the major areas where dust accumulates the most, it’s time to finalize the cleaning on other parts. Along with the fans and heatsink, it’s obvious that your entire motherboard can get filled with dust and grime. Thus, it’s essential to look into this matter and clean the remaining sections.
Taking off the motherboard is only possible in some laptops. Along with that, it’s a time-consuming process and even requires professional skills. Do not force into anything or you might break the entire board. Since it’s possible toclean the motherboardwithout removing it, follow the below steps:
Step 5: Deep Cleaning External Parts
Once you’ve cleaned the entirety of your laptop’s internal parts, it’s time to get to the outer section. As mentioned earlier, the screen, keys, hinges, ports, palm rest, and everything else are susceptible to excessive dust. While soft cleaning can make it look tidy, there’s still more to do. Without further delay, let’s start the cleaning in detail.
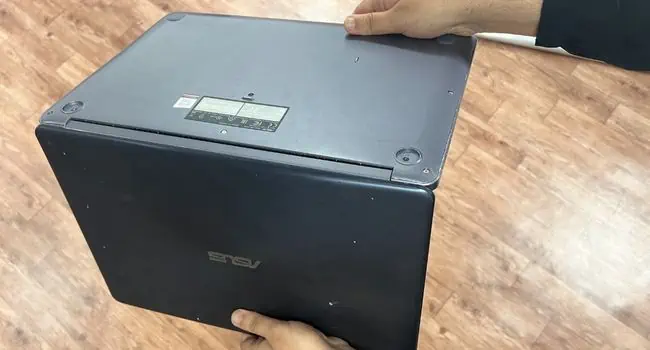
Top and Bottom Panel
Over time, both the top and bottom panels can become dirty. In fact, if your device has a glossy surface, it’s susceptible to finger stains too.
Most of us have a habit to place our laptops in random places. While the portability feature is great, you should keep in mind that keeping the laptop in dusty areas will eventually build up dirt inside the casing, through the vents. Below is a complete guide on how to deep clean the top and bottom panels of your laptop.
Caution:Since you’ll be using water while cleaning the top panel, ensure not even a single drop gets to the inside.
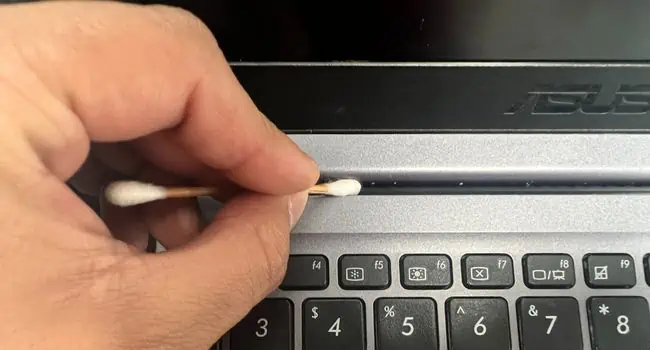
Ports
Have you ever inspected the inside of your laptop ports? In case you haven’t, take a bright source of light and examine how dirty they have become! If the dust buildup continues, the ports may get clogged making it difficult to insert the cables. Here’s a detailed guide on cleaning all the common laptop ports:
Optical Drive Slot [Optional]
If you have an older laptop, you’re likely going to find an optical drive slot, which is probably missing in most modern models. In case you’re still using DVDs, it’s a good idea to clean the compartment while deep cleaning your entire laptop.
Pen Slot [Optional]
Few laptops integrate a dedicated slot for a special stylus. If you use the pen frequently, the chances of dust accumulation increase over time. In fact, you may encounter a situation where the pen doesn’t fit inside it properly. To overcome such problems here’s a quick way to clean this area:
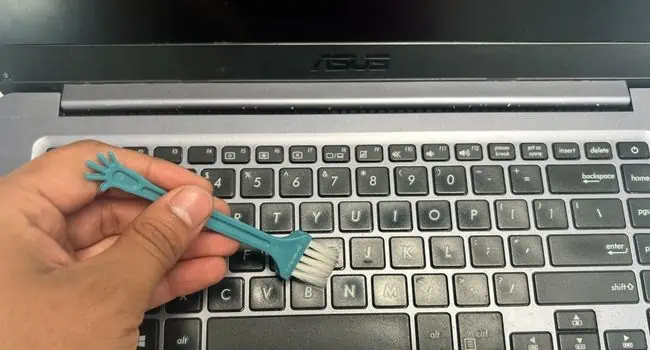
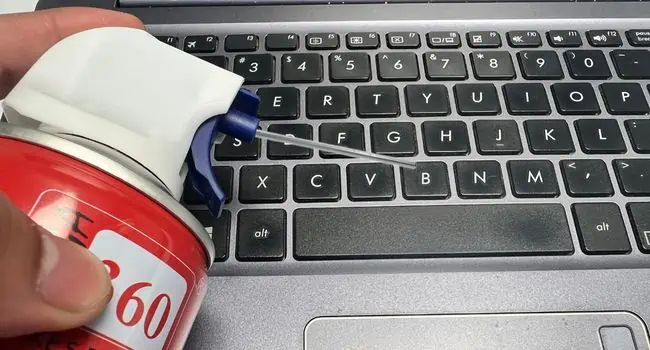
Keyboard
To deep clean a laptop’s keyboard, you need to pry out all the keys first. Most laptops have membrane keyboards with individual rubber cups beneath each key. Along with that, you’ll also find a hinge clip underneath every keycap. In the longer ones (backspace, spacebar, shift, etc.), you’ll even find additional stabilizers, which is why they are harder to take off.
In case you’re using a laptop with a mechanical keypad, you can follow ourother guide on how to clean it properly. The steps are similar to any other external mechanical keyboard.
Caution:If you haven’t pulled out a keycap before, you might find this guide a little difficult. So, we advise taking help from someone who’s frequently doing this. Do not force yourself while doing so, as this may break the hinges and retainers, or even damage the rubber cup!
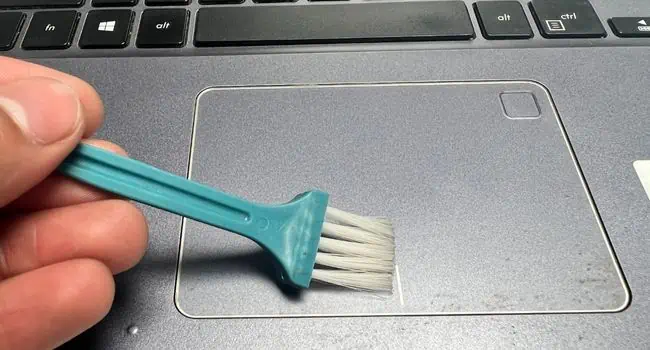
Touchpad
The habit of operating a laptop while eating is one of the prime reasons why your touchpad and other parts often become sticky. The oils in your fingers build up sticky layers and this makes it difficult for you to precisely move the screen cursor. Therefore, it’s essential to keep the touchpad clean, and here’s how you’re able to do it safely and properly:
Palm Rest
Whether you’re typing on a word file or scrolling through web pages, there’s no other option than keeping your sweaty hands on the palm rest. Over time, that part of the section becomes tacky and sticky. In fact, some silver-colored laptops may even turn black!
Well, there’s no cleaning solution if the palm rest has gone too dark. In such cases, we recommendapplying stickersor covering the entire section with avinyl wrap.
However, such scenarios won’t occur if you take care of your laptop and clean it occasionally. To do this, you just have to use a moistened microfiber cloth torub and remove stickinessfrom the palm rest and the entire laptop surface.
Additional Tip:You can use palm rest covers available online that are meant to protect your laptop surface from scratches, spills, and sweat.
LCD Screen
Various factors can make your laptop’s monitor dirty. Some of us eat/drink in front of the screen while others have a habit of touching the surface with sweaty fingers (mainly on laptops with the touch-screen feature). Nonetheless, if you’re going to use the dedicatedLCD screen cleaner, it’s not at all difficult to remove the stains and stickiness:
Hinges
Most of us do not notice the dust and debris buildup on the laptop hinges. In fact, when there are excessive grime and dirt inside, it prevents you from smoothly opening the device. And when applying a little more pressure than usual, there’s a high chance these will damage or even break the hinges.
Caution:Handle your laptop with care when cleaning the hinges as you’ll be holding your device in unnatural positions and even extending the hinges further. Otherwise, you might break them.
External Battery Compartment
If your notebook computer supports an external battery, cleaning the compartment is a little different than that of the internal battery. Nonetheless, the general idea is the same and we discourage using any liquid products here as well.
Step 6: Start Your Laptop and Check for Faults
Now that you have deep cleaned all the laptop components, it’s essential to check whether everything is alright. Since we’ve used different products (some liquid as well), there are slight chances of errors if not done appropriately.
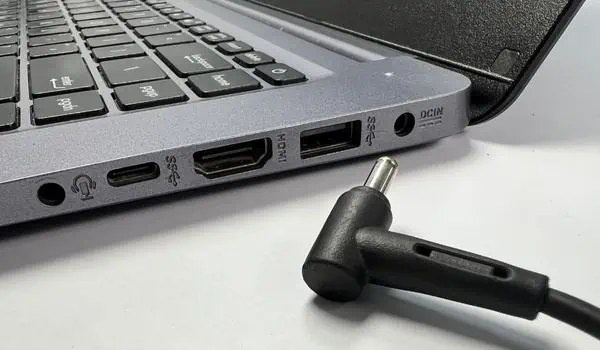
Press the power button to start your laptop. In case it doesn’t start, plug the AC adapter into its charging port. If the issue prevails, check whether the external battery is seated properly.
Some laptops evenindicate issues using LED codes. Check for such a sign too. But if your notebook computer still doesn’t show any signs to start, there may be other hardware faults. If that’s the case, open the bottom panel and ensure all the components (RAM, HDD/SSD, coolers) are properly seated.
Once your laptop boots up, you shouldnotice improvementsin its performance. Also, examine the heat buildup and other problems that you used to face earlier. We’re pretty much sure you’re only going to find positives!
In case you experience any kinds of faults, do let us know in the comment section below so that we can help you out.
