When you buy a new router or get one from your ISP, the Wi-Fi network is either set up with a default name and password or no passcode at all. You definitely wouldn’t want to stick with this and wish to keep it personalized for security purposes.
Also, if you have set up two or more access points, it’s best to keep a different name for each of them. When setting a new SSID (Service Set Identifier), it’s a good idea to select one that’sunique from the restof the nearby networks.
The process to change the Wi-Fi network is extremely simple but varies based on the router model’s interface. With this step-by-step guide, you should get a general idea of how to do it on every router.
Step 1: Gather Router IP and Login Credentials
To change anything related to your Wi-Fi network, it’s essential to know the router’s IP address and login credentials first. This can vary on the different manufacturers and their models.
If you or someone else haven’t changed it, you may navigate to the back of your router andcheck for the sticker details. But if you’re already aware of yours, you can move ahead with the next step.
![]()
In case it’s not there, you’re able to even look for the default details online. For your ease, here’s a table with the default IP and login credentials for some popular routers.
Well, the above details might not work if you or someone you know had changed the router’s gateway or login credentials. In case you do not remember the username and password, there’s no other option than to reset your router andset it up again.
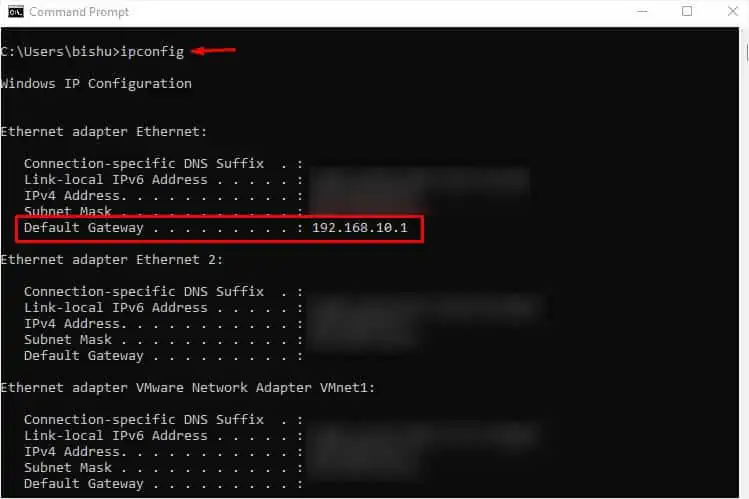
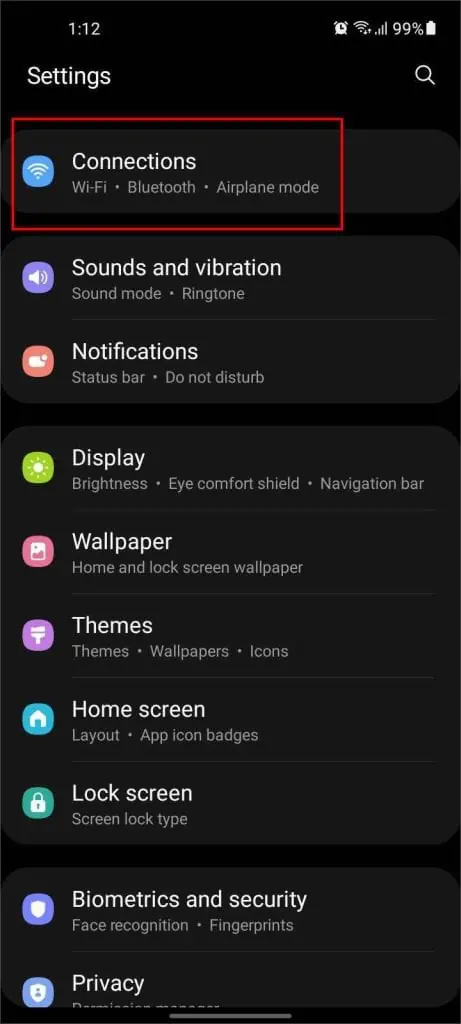
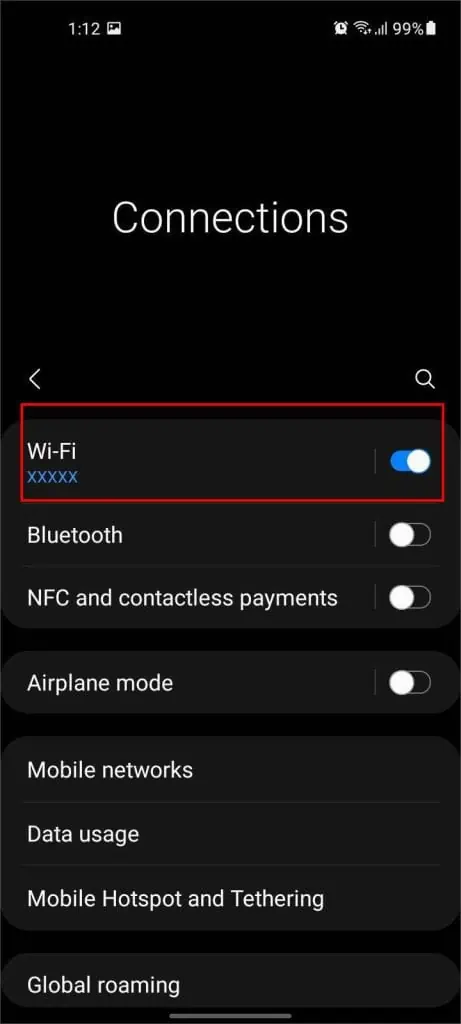
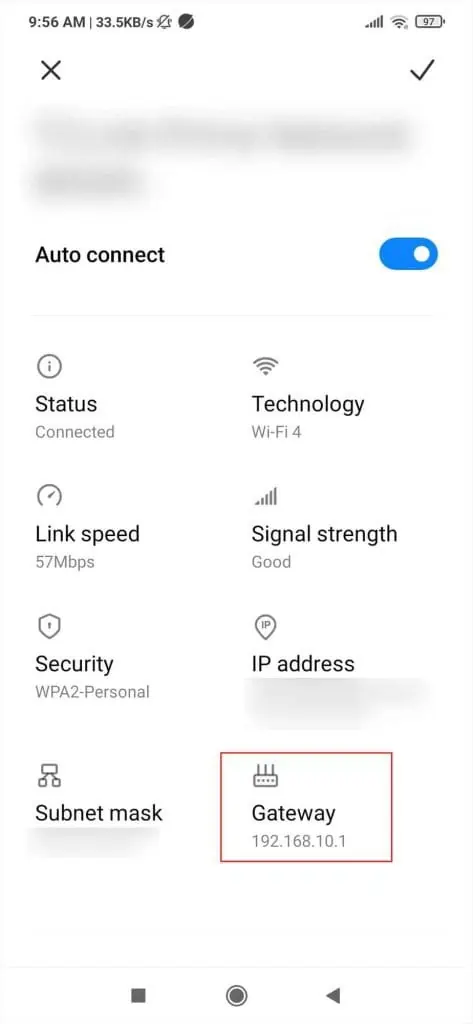
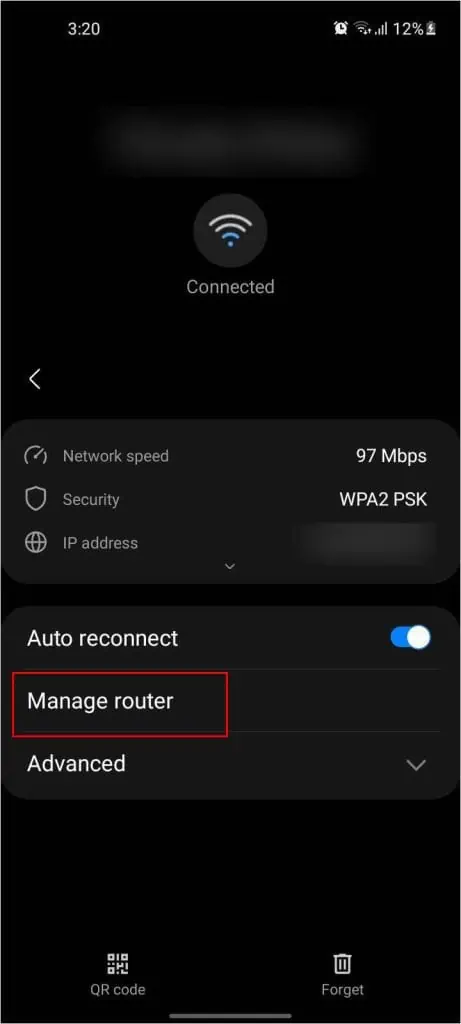
However, if you’re only unaware of the router’s IP, it’s possible to get it from either a computer or a smartphone. Below is the step-by-step process for Windows, macOS, Android, and iOS.
Note:If you do not remember the Wi-Fi password and aren’t connected to the network yet, I advise establishing an ethernet connection on your laptop/PC.
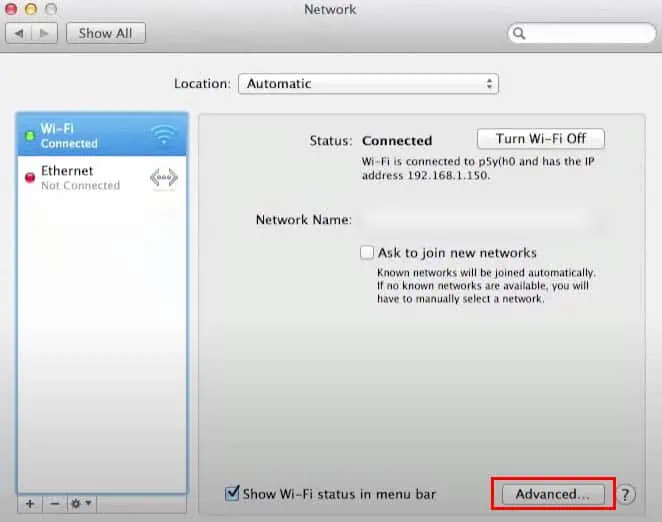
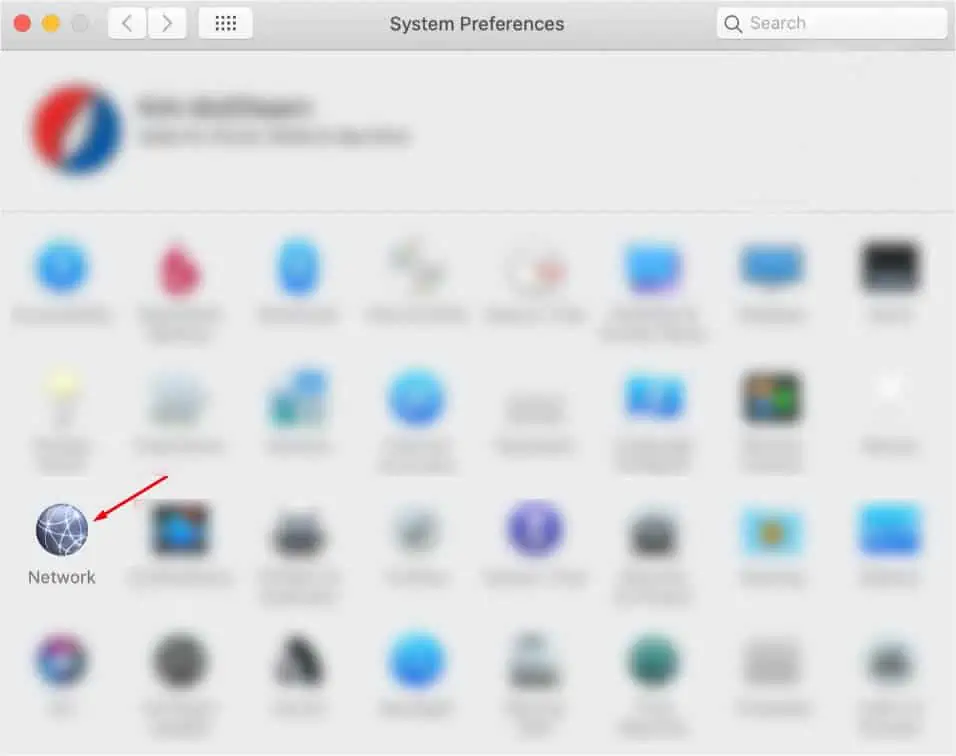
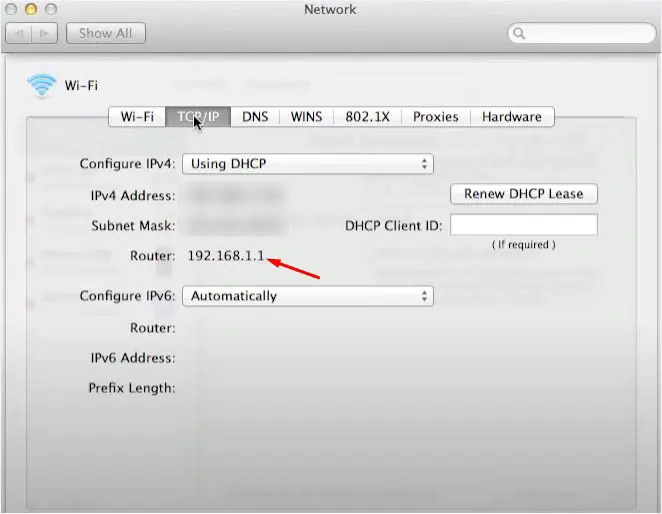
On macOS
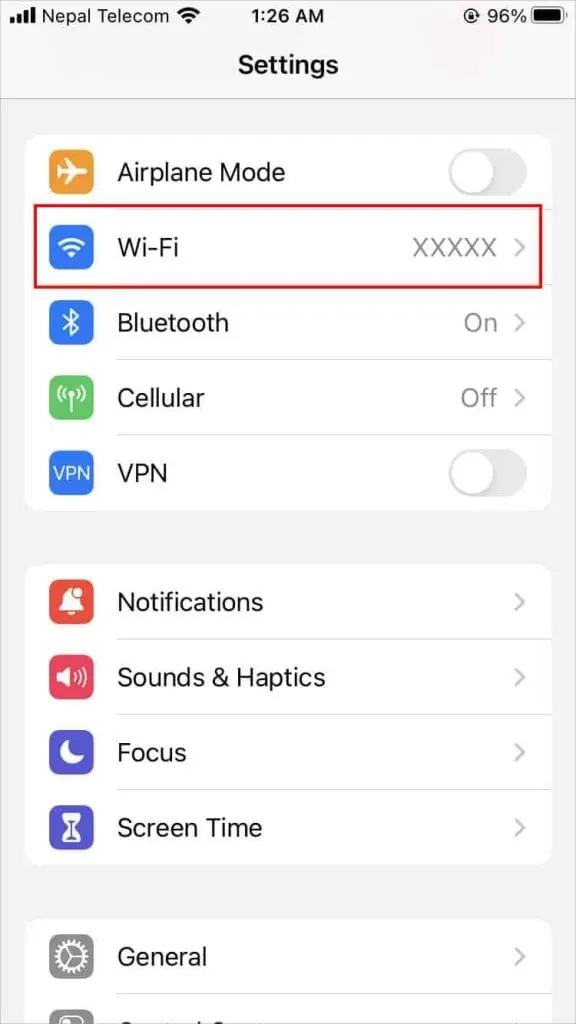
On iOS
Step 2: Access Router Interface
Once you have noted down the router’s default gateway and login details, you can now move ahead toaccess the routerinterface. All you have to do is navigate to a web browser (Google Chrome, Microsoft Edge, Mozilla Firefox, or anyone you prefer), get to the router’s page through its IP, and log in to get access.
Step 3: Get to the Wi-Fi Section
After gaining access to the router’s page, you need to navigate to the Wireless or Wi-Fi section. Since every model’s interface is different, theymight use different terminologiesfor the dedicated section.
Usually, the SSID and password fields are underWireless, WLAN, or Wi-Fi. However, in some interfaces, these options might not be under the same heading. For example, older TP-Link models incorporate a “Wireless Settings” section to change the network name and “Wireless Security” for configuring passwords and other security features.
When changing the Wi-Fi network name and passcode, it’s equally essential to configure other features like Smart Connect, wireless security, authentication methods, signal strength, and more. For that reason, some routers, like Asus include the Wireless section in the Advanced Settings.
However, in other interfaces, you may find them under bothBasic and Advanced Settings. In the former section, you may only get to change the name and password while the latter section includes additional security options.
In this article, I am going to demonstrate using theTP-Link Archer C80model. So, I’ll navigate to the Wireless section from the menu bar, as pictured above. I can easily change the Wi-Fi credentials along with configuring other options here.
However, to get additional benefits (Encryption, Transmit Power, Channel, and more), I need to get toAdvanced>Wireless>Wireless Settings. Since we are only dealing with changing the Wi-Fi name and password, we are going to stick with the Basic settings in this article.
![]()
Step 4: Change Wi-Fi Name and Password
Before moving on with the following instructions, take a quick scan of the available Wi-Fi network names in your region. You wouldn’t want to have a conflicting SSID.
Along with that, I recommend opening up a password-checking tool to ensure you’re going to set up a strong password. In fact, we have a dedicated article that should help you understand more about good and strong passwords.
Additional Tip:Always note down your Wi-Fi password somewhere so that you can check it in case you forget it.
Step 5: Join New Wi-Fi Network on Your Device
As soon as the name and password are changed, you’ll get disconnected from the Wi-Fi network (this doesn’t apply to wired connections). So, you’ll have to join the new networkon every gadget.
All you have to do is get to the Wi-Fi or Connections window, find your network, enter its new password, and complete the connection.
Even if you have only changed the passcode, you’ll still get kicked out of the Wi-Fi network. To rejoin, you need toforget the network and reconnectusing the new password.
As I’ve been mentioning from the start, the steps vary on every router interface. In case you’re still facing issues in changing the credentials, here’s a complete guide onhow to change the WI-Fi passwordon popular brands.
If neither of my guides helped you out, feel free to share your problem with the router’s model in thecomment section below. I’ll be at your rescue as soon as possible.
Other Ways
While changing the Wi-Fi network using a web browser is the most preferred choice, there are some other ways too. Some popular and trusted brands, like TP-Link and Asus, havededicated applicationsfor the same.
One problem here is that you require creating a new account using your personal details. This might take a little longer than the approach I have discussed here.
![]()
Also, in some regions, ISPs block users from accessing the router settings for security concerns. In that case, you have to contact your service provider and find out whether there’s analternative optionto change the Wi-Fi network’s name and password.
These days, most ISPs have a dedicated application that’s much easier for normal home users. There should be a section where you can change your Wi-Fi credentials.
