Whether you’re seeking precise movements when playing FPS games or simply want a smoother workflow, mouse sensitivity matters.
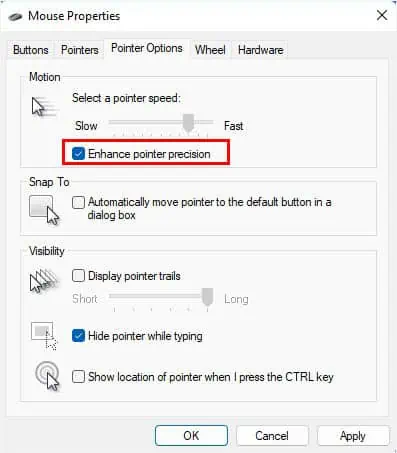
While this is usually based on personal preference, professional gamers aim for a lower DPI when starting a new game. Only afterimproving their pointer accuracyand the overall gameplay, do they gradually increase the sensitivity. Even graphic designers favor smooth and responsive mouse movements, which can be achieved after adjusting appropriate mouse DPIs.
Whatever the purpose, changing mouse sensitivity is relatively easy. In high-end input devices, you even get dedicated buttons for it. Other than that, it’s possible from Windows Settings, Control Panel, and the manufacturer’s recommended software.
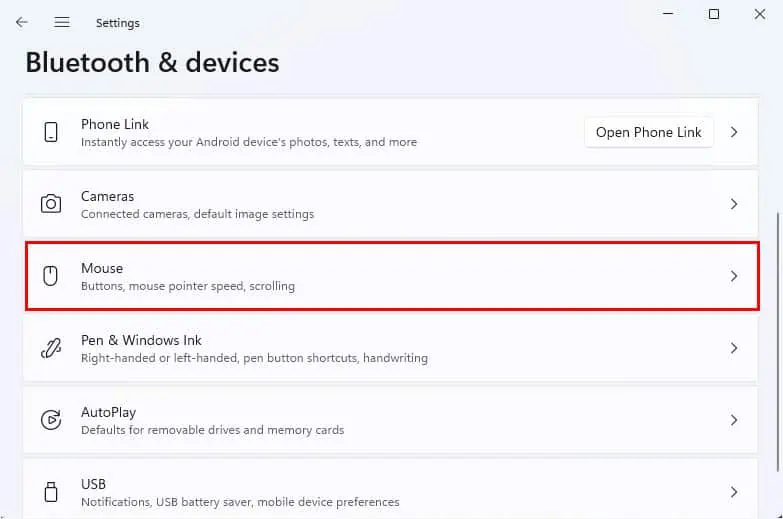
Through Windows Settings
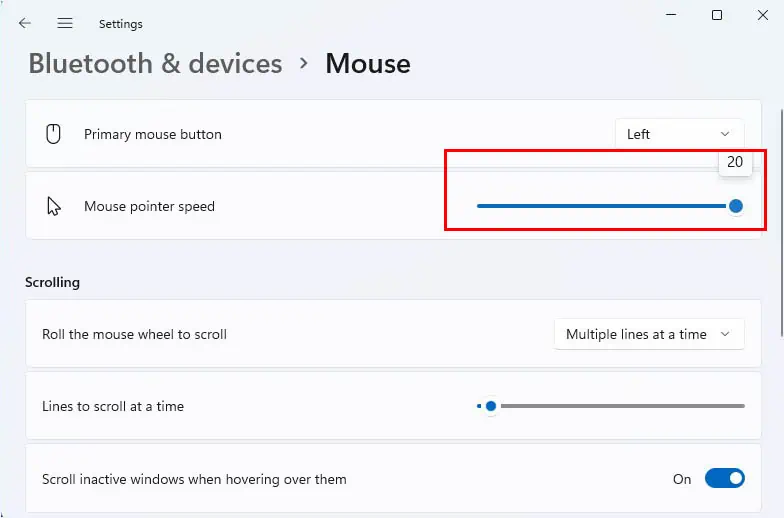
The built-in Windows Settings application allows direct and the easiest method to tweak the mouse sensitivity. However, you don’t get to check or set the DPI here. Instead, it has21 (0 to 20) sensitivity valueswith individual pointer speeds. So, you require setting an appropriate one to increase/decrease the mouse sensitivity:
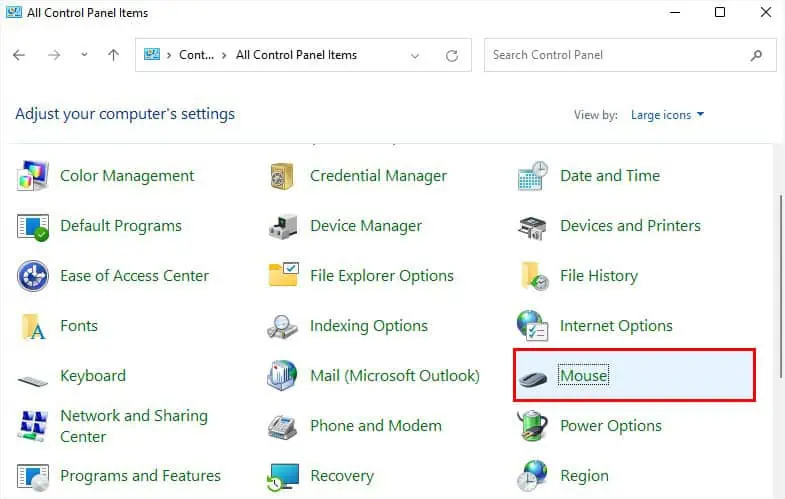
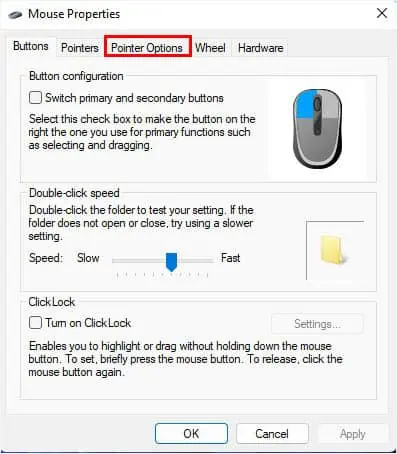
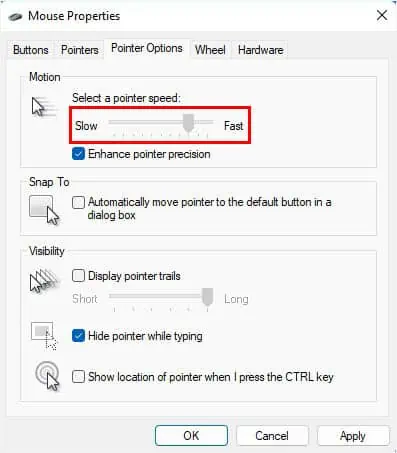
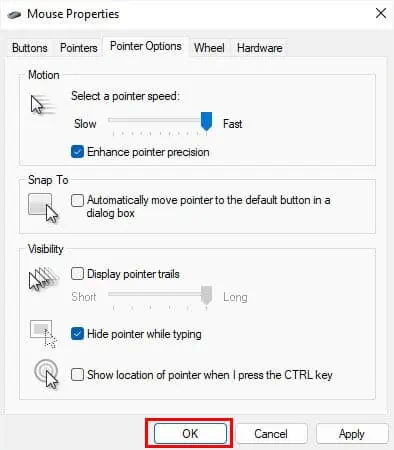
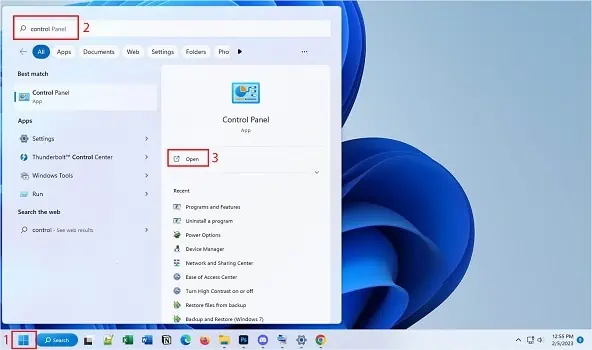
Through Mouse Properties in Control Panel
Control Panel is the gateway to all your available hardware and software features. Just like in the Settings app, Mouse Properties offers a dedicated slider to increase/decrease the pointer speed. Unfortunately, you cannot check the DPI along with the sensitivity value here.
Without further delay, let’s move on with the required steps to change the mouse sensitivity from Control Panel on Windows 11:
Through Windows Registry Editor
You can also increase/decrease the sensitivity value by making changes in the registry. The higher the value, the faster will be the pointer speed. Since the highest-supported value is 20, inputting a greater number won’t increase the sensitivity further.
Caution:Incorrectly editing the registry values can cause serious operating system issues. Therefore, it’s best toback up the registrybefore moving forward with the below steps.
Using DPI On-the-fly Button
Most modern mice come with DPI On-the-fly buttons that let you tweak the on-screen pointer movements withjust a simple click. This can come in handy in-between games where you frequently require changing the mouse sensitivity.
When you click the button each time, a different speed is set –low, standard, or high. For example, if the mouse sensitivity is standard by default, clicking on the button will increase the DPI by a certain number. The next time you click, the speed is reduced.
However, the number of DPIs differs based on mouse models. In some, you may even get variations in the low and high speeds. Also, you can add or remove the supported DPI values using dedicated software, which we will discuss below.
Using Manufacturer Software
Basically,mouse sensitivity is directly proportional to the number of DPIs. This means that the greater the number of DPI, the higher will be its sensitivity.
In case your mouse doesn’t have a DPI On-the-fly button, you can install the manufacturer’s software to tweak the pointer speed. Popular brands, like Logitech, Microsoft, Corsair, Razer, etc., all provide their users with one or many such utilities.
For demonstration, we have used the Logitech G Hub tocontrol the mouse DPI settingsfor model G305. Before moving on with the steps below, ensure you have downloaded the software fromLogitech’s official website.
Additional Tip:Some video games offer different in-game sensitivity settings. For example, the popular battle royale Fortnite allows you to tweak the X-Axis, Y-Axis, DPI, Targeting, and other sensitivity settings to improve your overall gameplay. This way, you do not have to adjust anything on Windows, and the alteration only applies within the video game.
![]()