Since most printers available today are plug-and-play, you may start printing your documents right away after connecting them to the computer. The printer driver on your Windows computers will help carry out the print jobs easily without setting up the printer. However, you need to install the official printer drivers to access all the functionalities.
In this guide, I will show you the entire process to add a local and network printer on your computer.

Adding a Local Printer in Windows
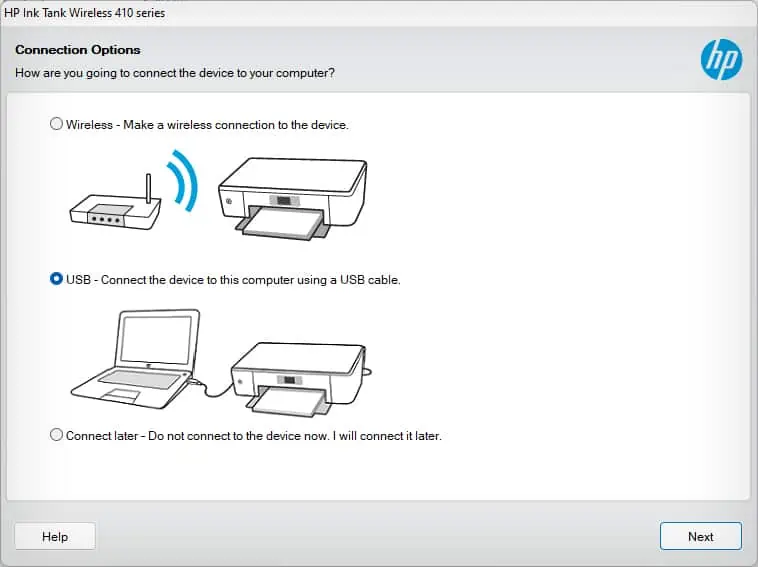
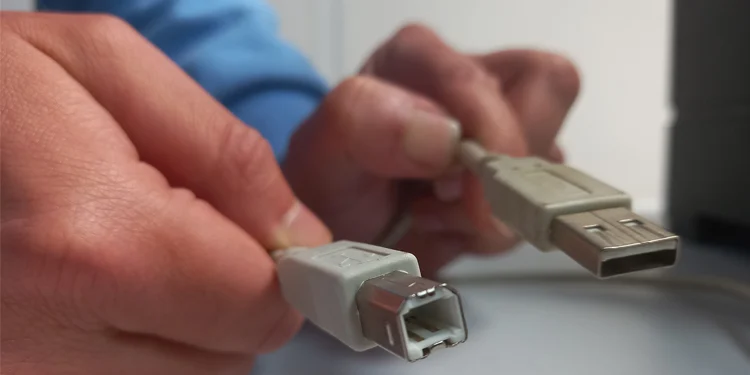
If you are planning to use your printer with a single PC only, you can use a general wired connection method (USB connection) to add it to the computer.
Installing Official Drivers
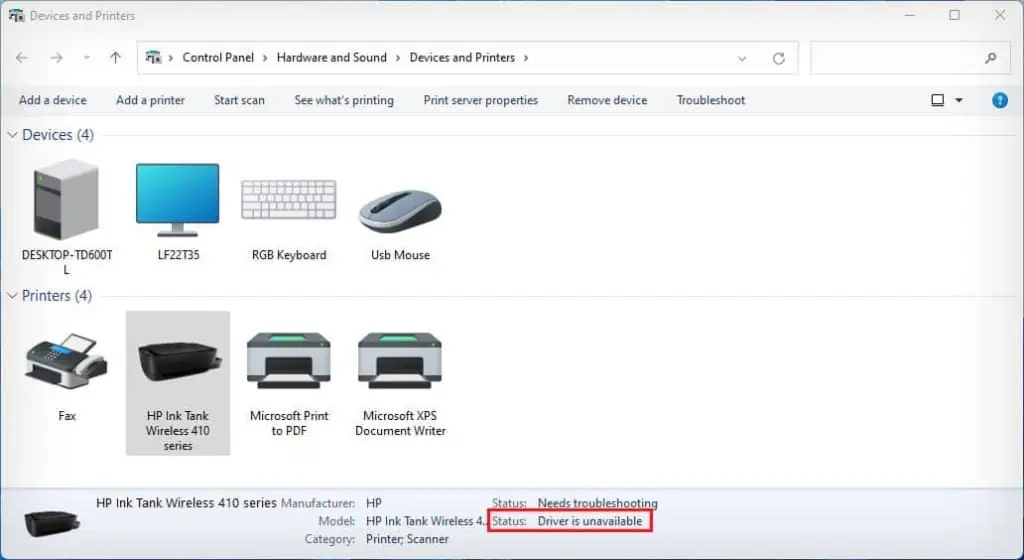
Now that you have installed the printer, you will be able to access the basic print functions. However, you will still see the “Driver is unavailable” status on the control panel.
To get rid of this error, you need to install compatible drivers for your printer from the official website of the printer manufacturer.
Without the official drivers installed, the printer can stop working anytime. It can also, at times, throw errors like a paper size mismatch error. Besides, you can not access the advanced functionalities of the printer, likechanging the paper size, color and grayscale settings, and maintenance options like head alignment andprinthead cleaning.
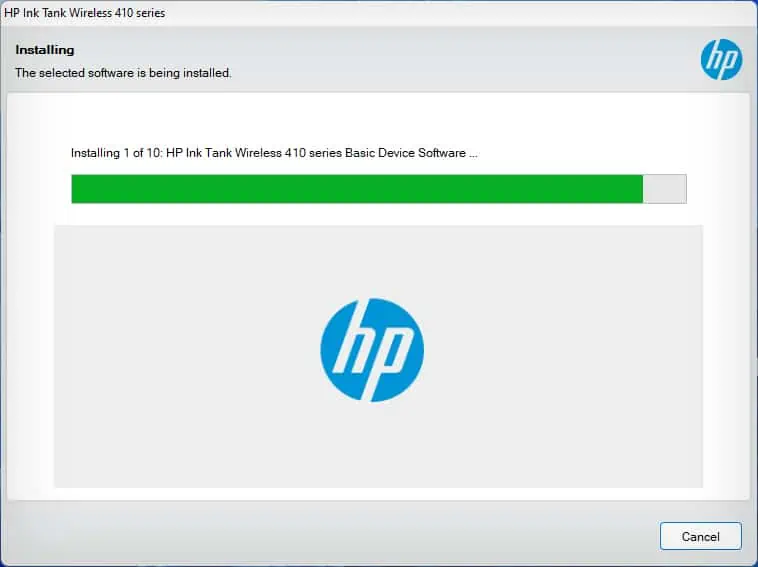
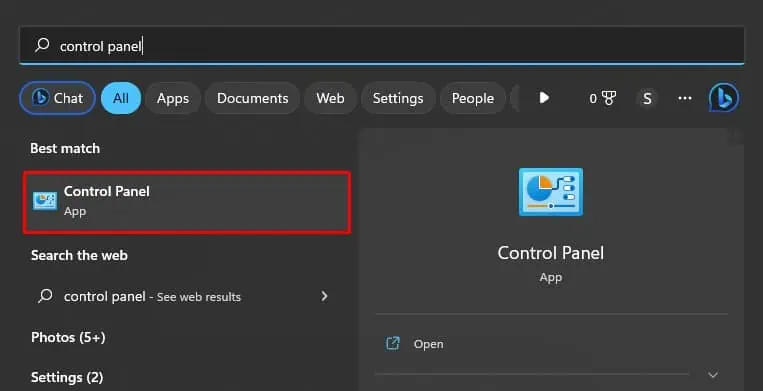
Here’s how you can install compatible drivers for your printer from the printer manufacturer.
Adding a Network Printer in Windows
You can also connect your printer to a Wi-Fi network and access it via any device on the network. Once the printer is connected to a network, you don’t need to move your printer frequently, and it provides the flexibility of printing from your desk.
Step 1: Connect the Printer to Wi-Fi
Depending upon your printer model, you may use a variety of methods to connect it to the Wi-Fi network. If it has a touch screen available, you can navigate to the wireless settings and connect it to the Wi-Fi.
Similarly, you may use aWPS button on your routerand a Wireless button on the printer to connect it to Wi-Fi without using a password. Further, you could also use manufacturer’s specific applications like HP Smart for HP printers to connect them to the Wi-Fi.
The steps to connect the printer to Wi-Fi solely depend upon the printer manufacturer and model. So, please consult the user manual of your printer and connect it accordingly.
Step 2: Add Printer to Your PC
Once you have connected the printer to the Wi-Fi network, connect your Windows PC to the same Wi-Fi. Then, follow these steps to add the printer.
Manually Adding Network Printer
You can manually add a network printer if Windows can not auto-detect it. However, you need the IP address of your printer to manually set it up.
To find the IP address of your printer, you’re able to print a network configuration page of the printer or view the wireless summary from the touch screen panel. Then, use it to connect the printer to your PC.

you’re able to also refer to this article on how tofind the IP address of your printer. Then, follow these steps to add the printer to your computer.