Create and 3D print QR codes easily. You can convert it into a 3D model and 3D print it. You can create physical objects embedded with the QR code, like keychains, business card holders, Wi-Fi passwords, and even embed them on photo frames, which when scanned, redirect to a personal video. The ideas are endless.
3D-printed QR codes can withstand environmental factors that might damage traditional printed codes, which makes them helpful even for outdoor use. All you need is a reliable FDM 3D printer. Check out ourbest 3D printersfor recommendations if you don’t already own one. We will take you through the process of generating the QR code, embedding it into a 3D model, and preparing it for 3D printing. You will also show you how to convert a QR code in 2D image into a 3D model.
Generating the QR Code
You can use various tools to generate the QR codes; we will use theqrcode2stlin this article. After clicking the link, you can follow the steps below:
1.Select the QR code options: text/URL, Wifi, E-mail, Contact, or SMS. For our case, we shall choose Text/URL and thenenter the website URL.
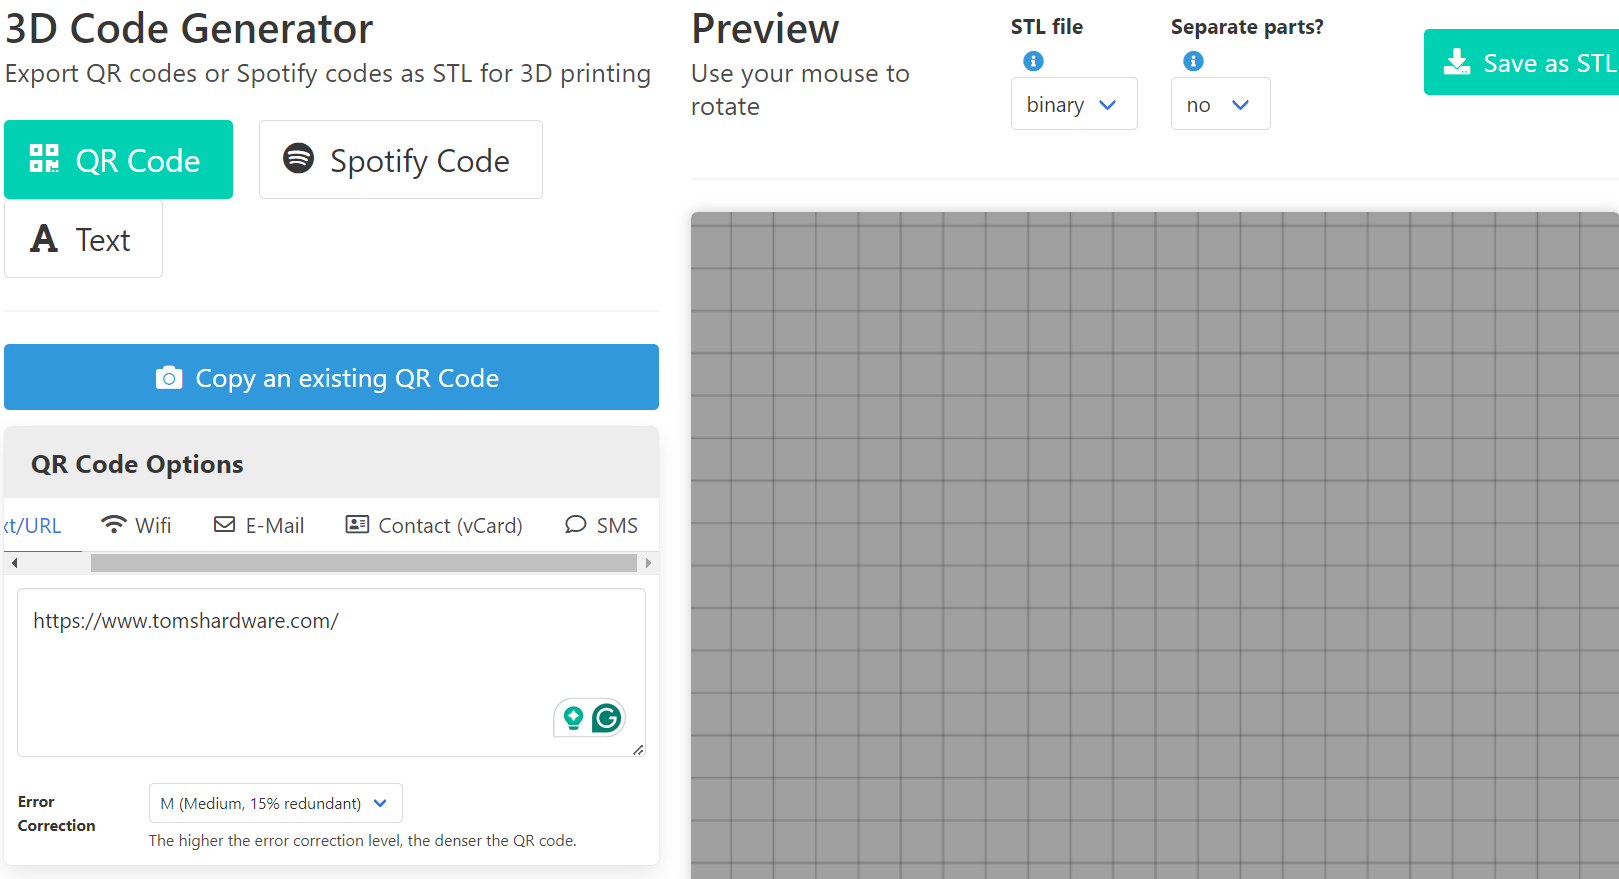
2.Choose error correction. When the value is higher, the QR code will be denser. In our case, we shall retain the medium value of 15%.
3.Specify 3D model settings, that is, base options like the shape, width, corner radius, and border settings. You can also add custom text and attach a hole to the side of the tag, which you can attach to your keychain by selecting theKeychainbox. Specify the QR Code settings like the depth, margin, block size, and Icon.
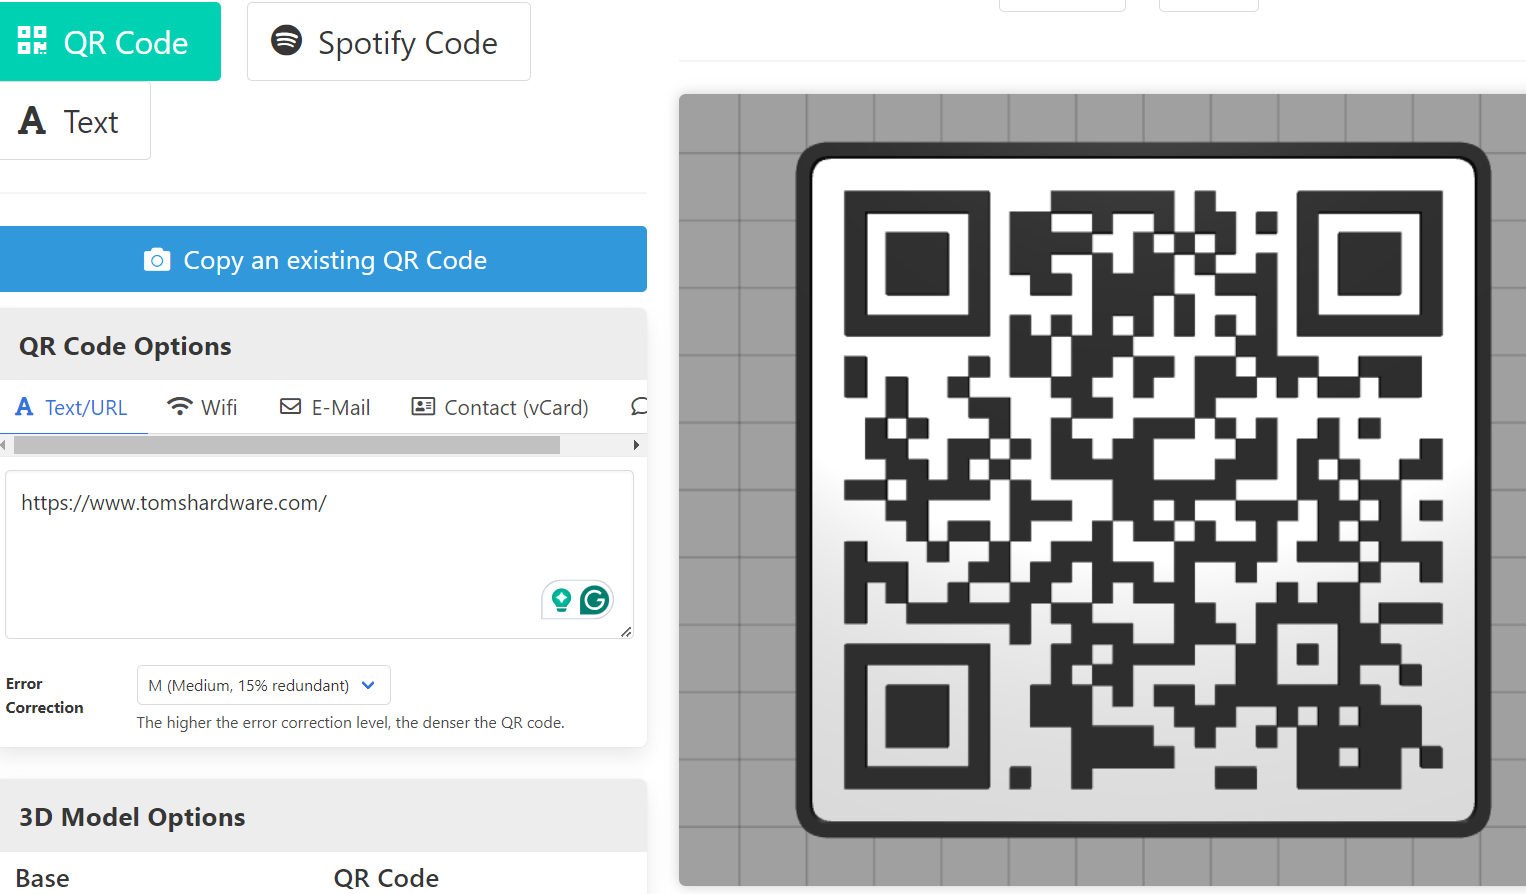
- After applying the settings,clickGenerate 3D Model,and it will display in the right section, as shown below.
Get Tom’s Hardware’s best news and in-depth reviews, straight to your inbox.
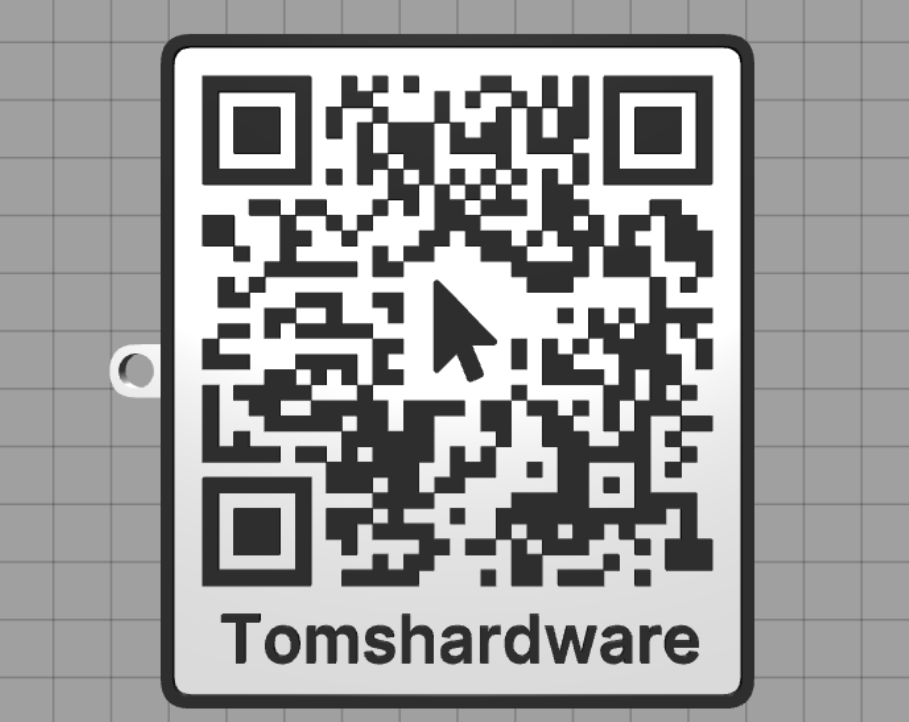
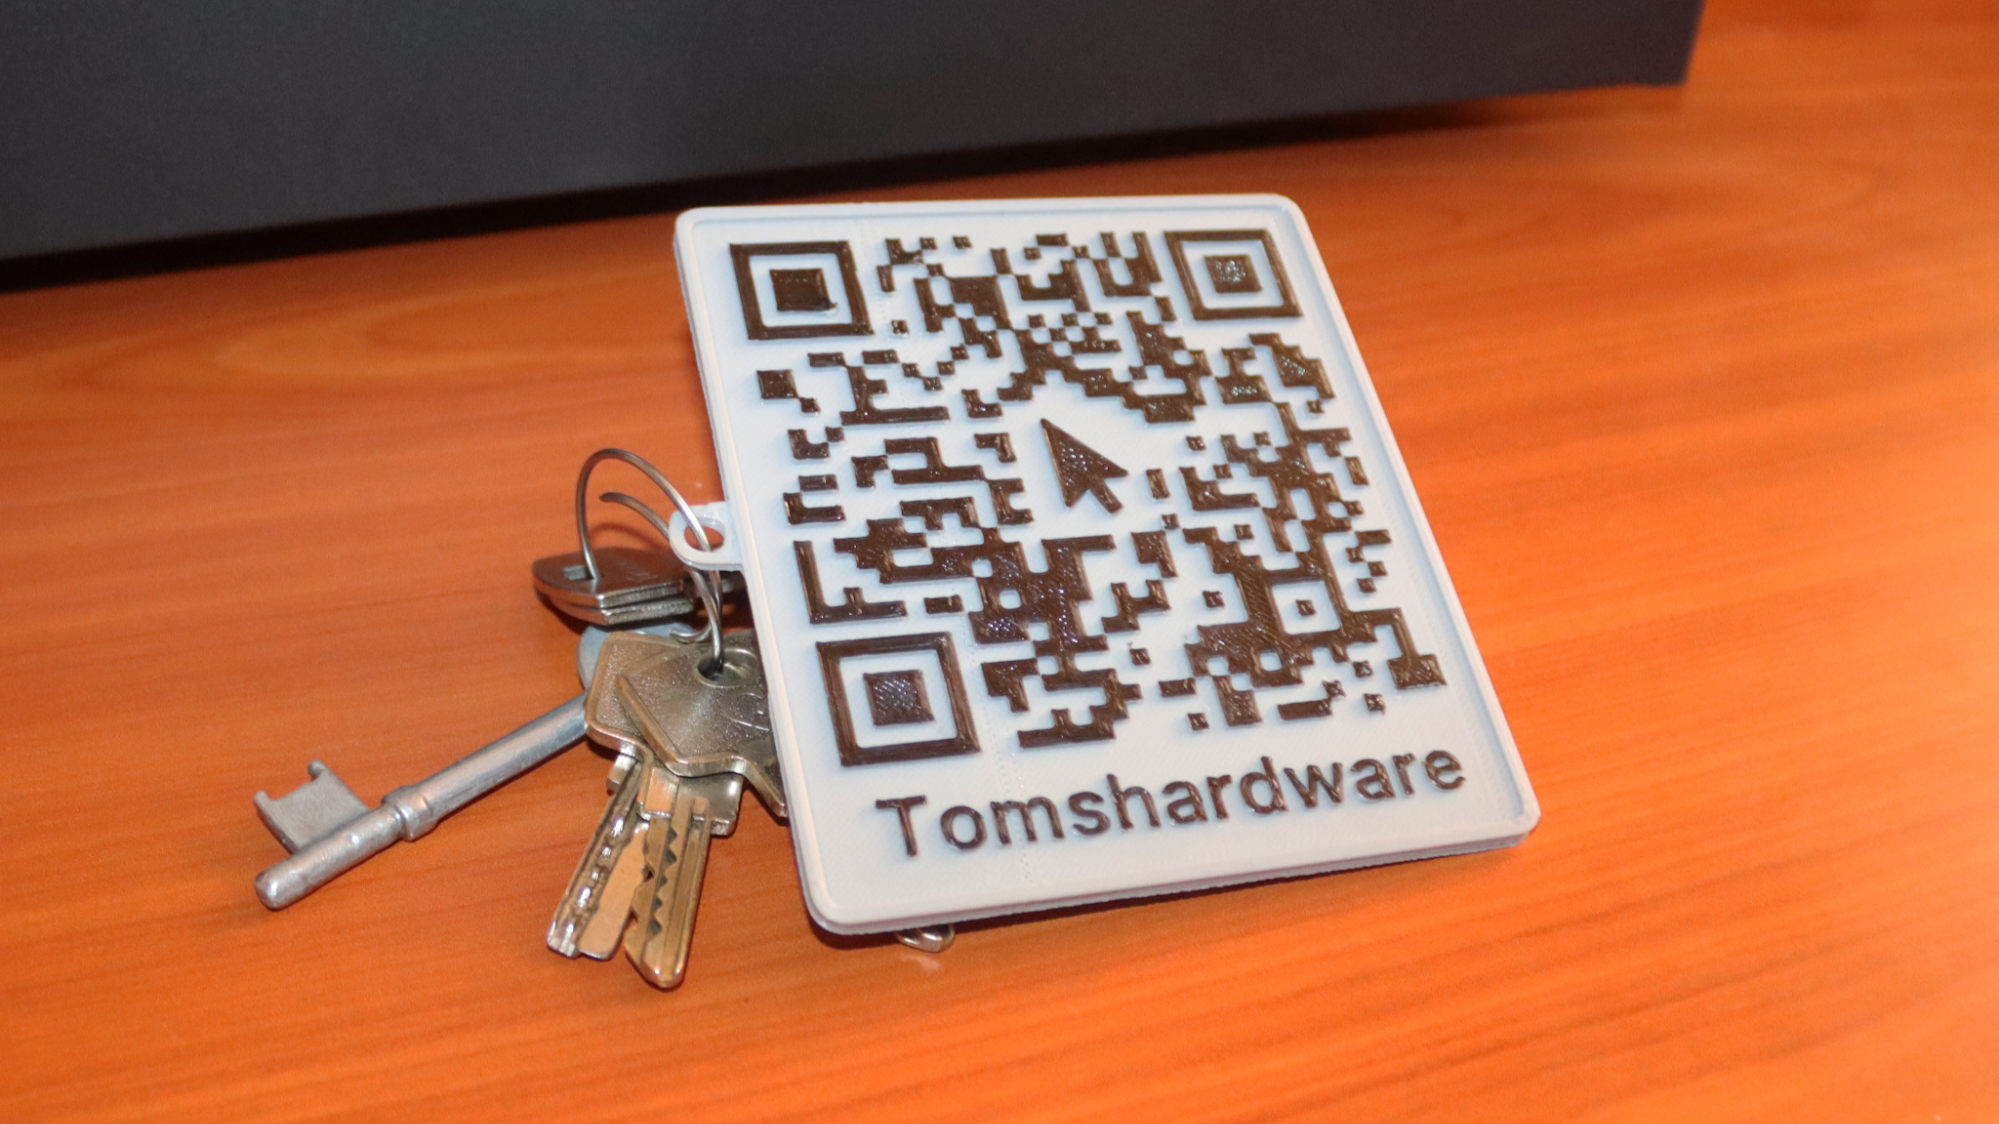
The QR code below was generated after adding a custom text, icon and selecting theKeychainbox.
6.Download the STL fileby clickingSave as STL.
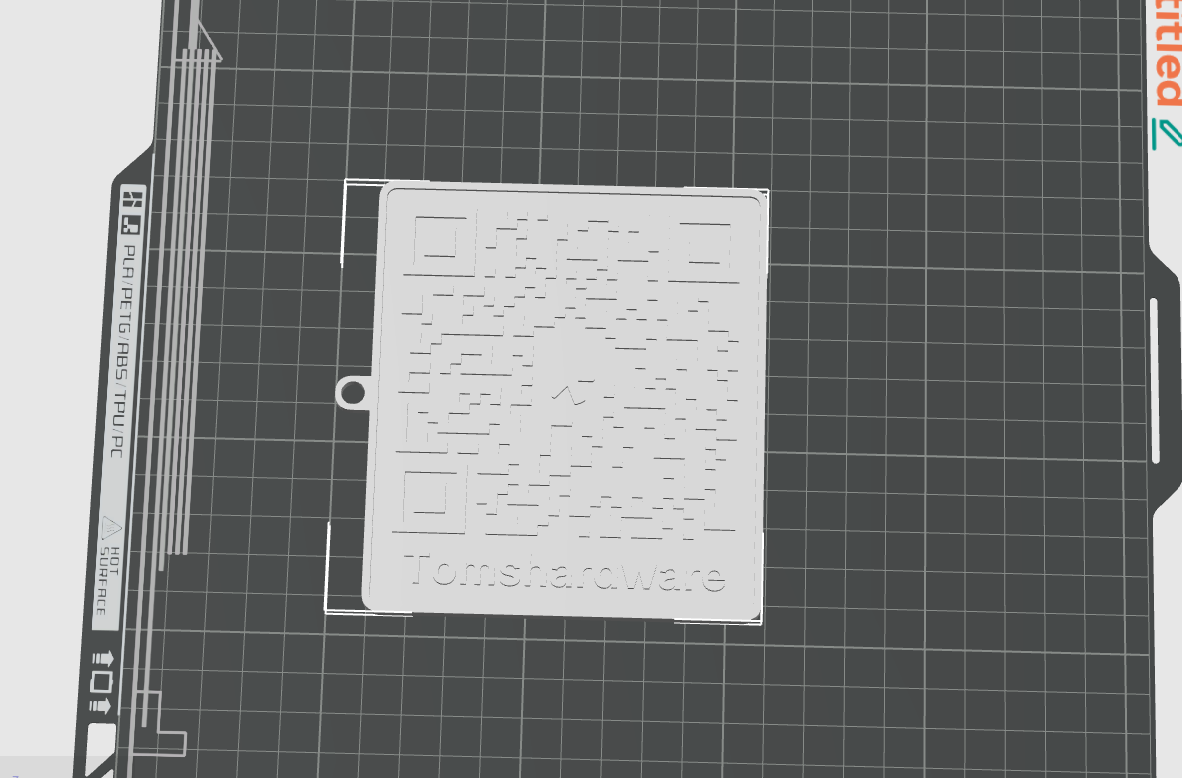
7.Import the STL fileto a3D printer slicerof your choice.
If you are using a single-extruder 3D printer and you don’t want the process of painting the file after 3D printing, you will need to change the filament during the 3D printing process. To do this:
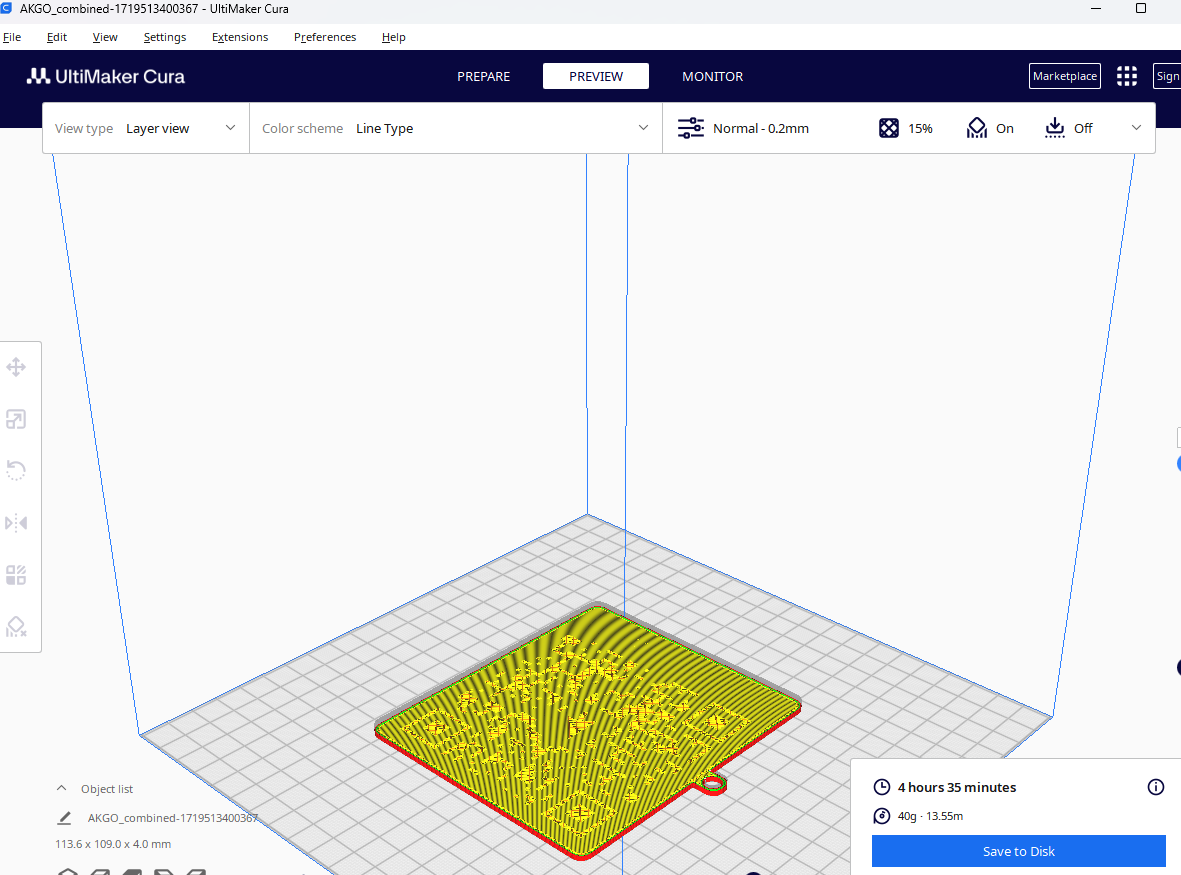
1.Locate the layerwhen the color changes as you preview the slicing. In my case, it will be at layer 9.
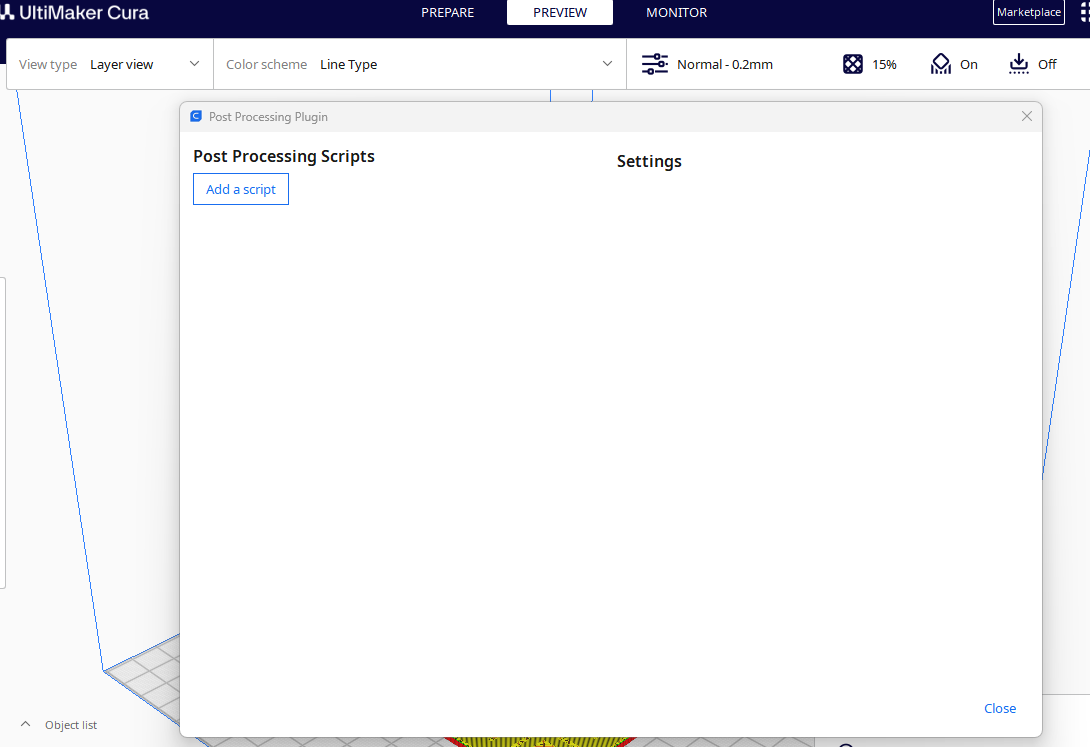
2.Install the Modify G-Code extensionin Cura. you’re able to find it on Extensions > Post Processing.
- After installing, go toExtensions > Post Processing>Modify G-Codeand then proceed by clickingAdd a script.
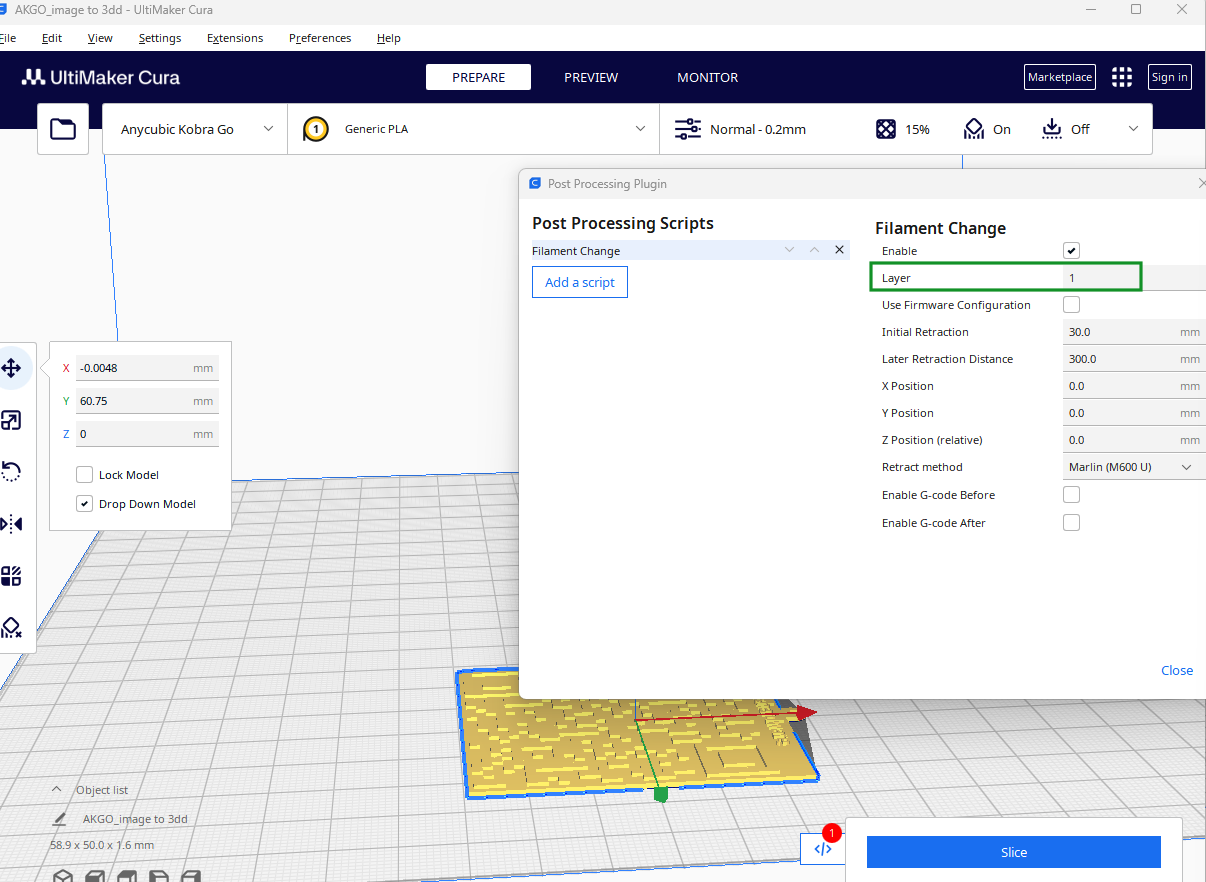
4.Select Filament Change, and in theLayersection, set theLayervalue from step 1. Mine was 15.
5.Re-slice the designand send the G-code to your 3D printer.
The 3D printer will pause when it reaches the layer that you have specified and it will move to the origin of the print bed so that you can swap the filament. In case you don’t have white and black filaments and you have a single extruder 3D printer, you can 3D print as it is.
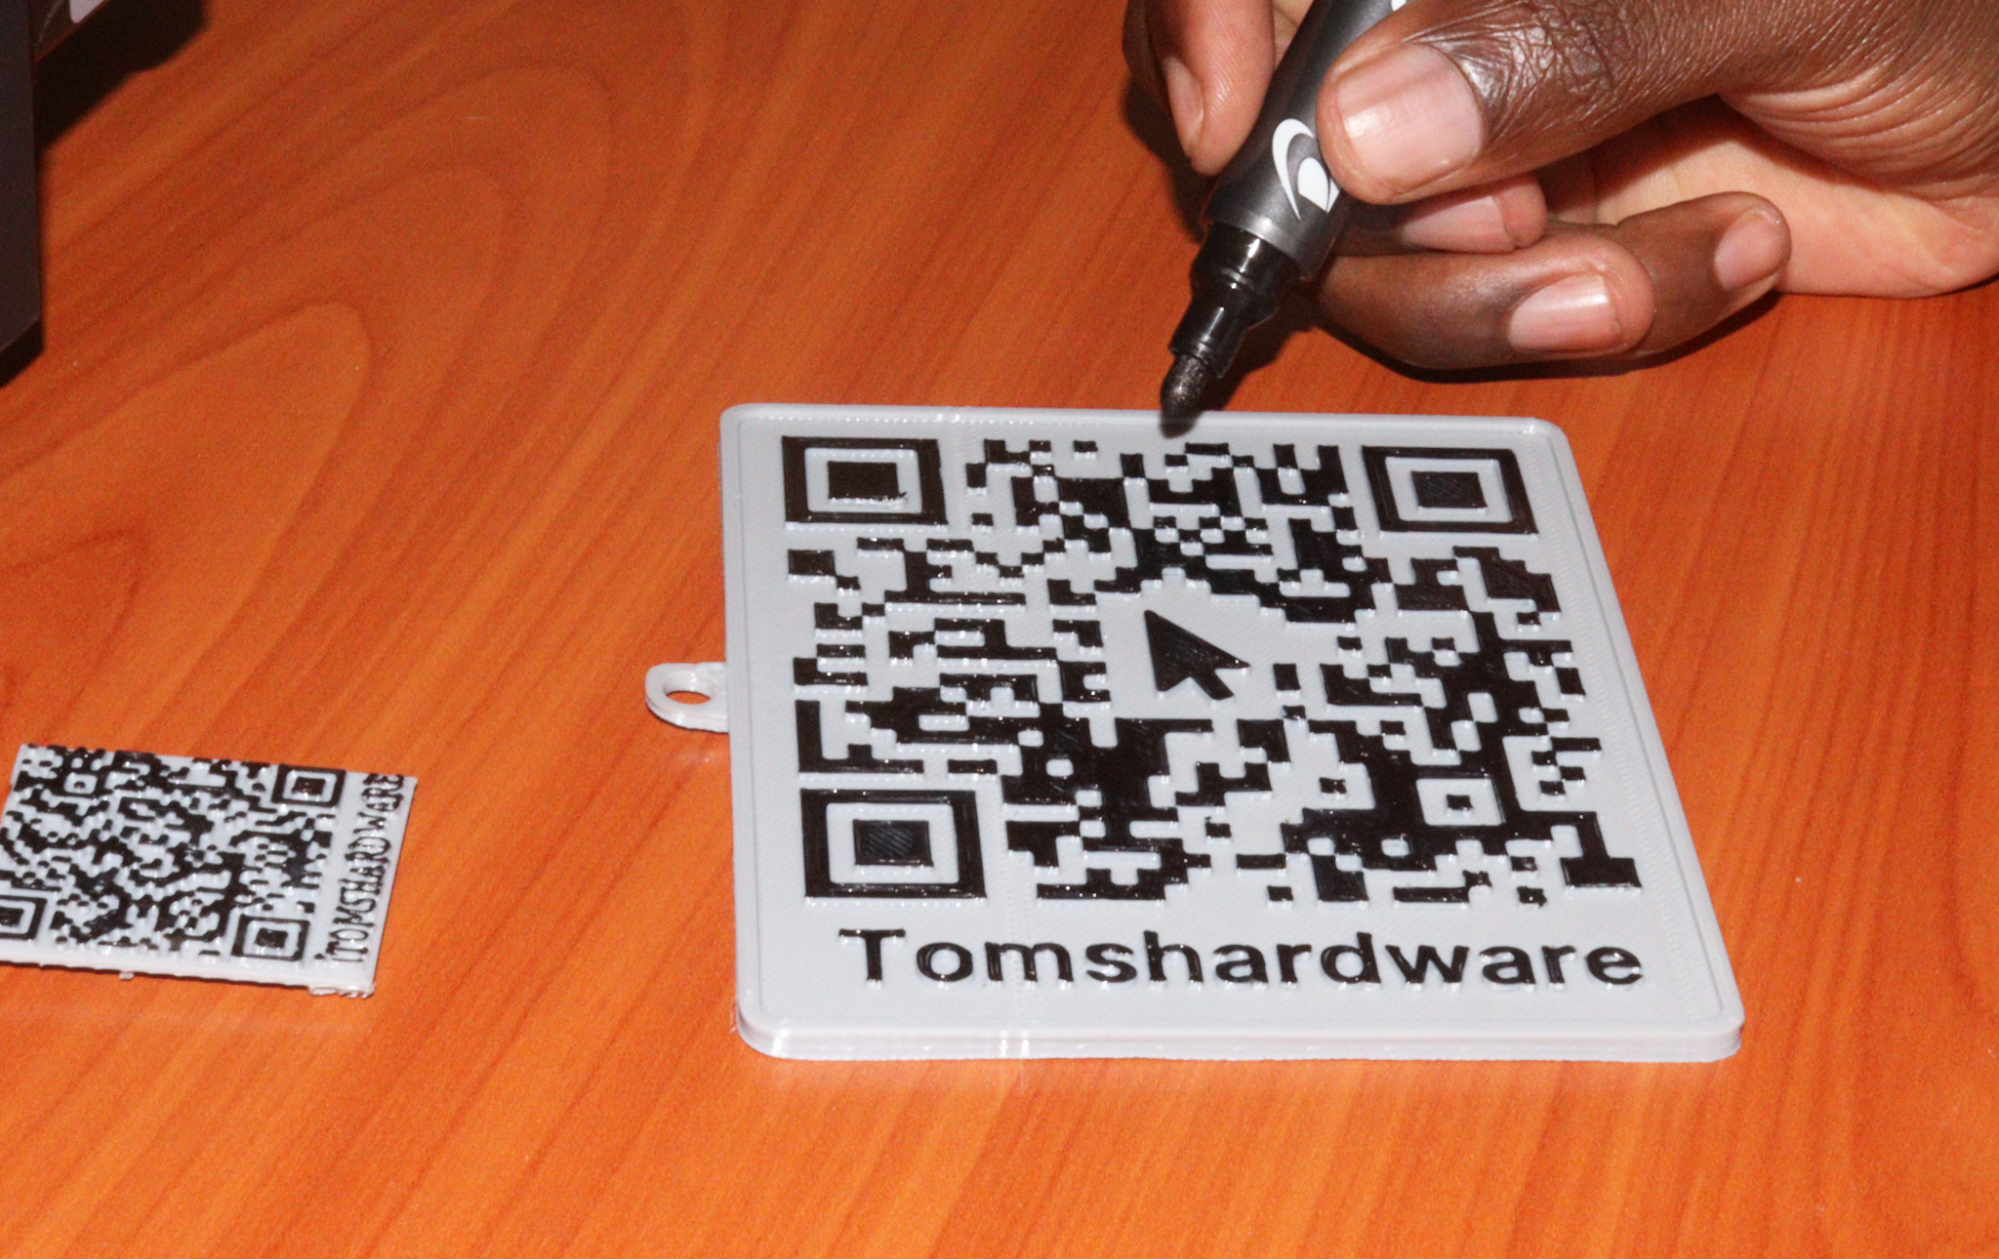
The next step will be to paint the QR code part to distinguish it from the rest of the sections so the camera can pick up the code. you’re able to use a small brush or a black marker pen and must ensure that you do it precisely to avoid distorting the QR code.
Multi-Color 3D Printing QR Codes
If you own a dual-extruder 3D printer, you may customize the colors in your QR code in the slicer before sending it for 3D printing. Follow the steps below to prepare the file for multi-color 3D printingusing Orca slicer.
1.Import the file to Orca slicerby holding and dragging it to the workspace orclickCreate new project, then go to where you have stored your file and import it.
2.Click on the file, then go toColor Painting.
3.Select the height rangeoption andput the depth valueyou specified earlier when creating the QR code. For my case, I used the website’s default value, which was 1. Apply on it then change the color of the second filament to black and you will see a design similar to the one shown below
4.Slice and send itto your 3D printer.
Converting 2D QR Code to 3D
If you have a 2D QR code that you would like to turn into a 3D model, you can follow the steps below.
- Let’sgenerate a 2D QR codeto use as a sample usingQR Code Generator.
When you click Download, you will see an option to download it either in PNG or SVG. We are going to choose SVG.
2.Import the SVG file to TinkerCAD. you may also specify the dimensions thenclick Import.
TinkerCAD will automatically convert the SVG file into a 3D model.
Add the base frame using a cube and then download and import it to your 3D slicer. Besides TinkerCAD, there are many other tools that you’re able to use to convert 2D images to 3D models, such as Blender, Alpha3d, Embossify, and many others.
Creating a QR Code in a 3D Modeling Software
The software we will use is TinkerCAD as it has the QR code option. Follow the steps:
1.Launch TinkerCADandclickCreatethen3D designto create a new project.
2.Locate the QR code generatorin theShape Generatorssection, then place it in the workspace by dragging and dropping it.
3.Add the linkin theTextsection, and you will see the shape changing.
4.Add a shape below the QR codeto act as the base. you’re able to do this by going to the basic shapes section, then selecting the box option and dragging it to the workspace. You can then resize it so the QR code is well visible.
Use the align tool to center them correctly.
5.Customize itfurther by adding the text using the text shape and then resize it.
- You canadd a logo to the designby going toImportsection and then go to where you have stored it. Ensure that the logo is in SVG format.
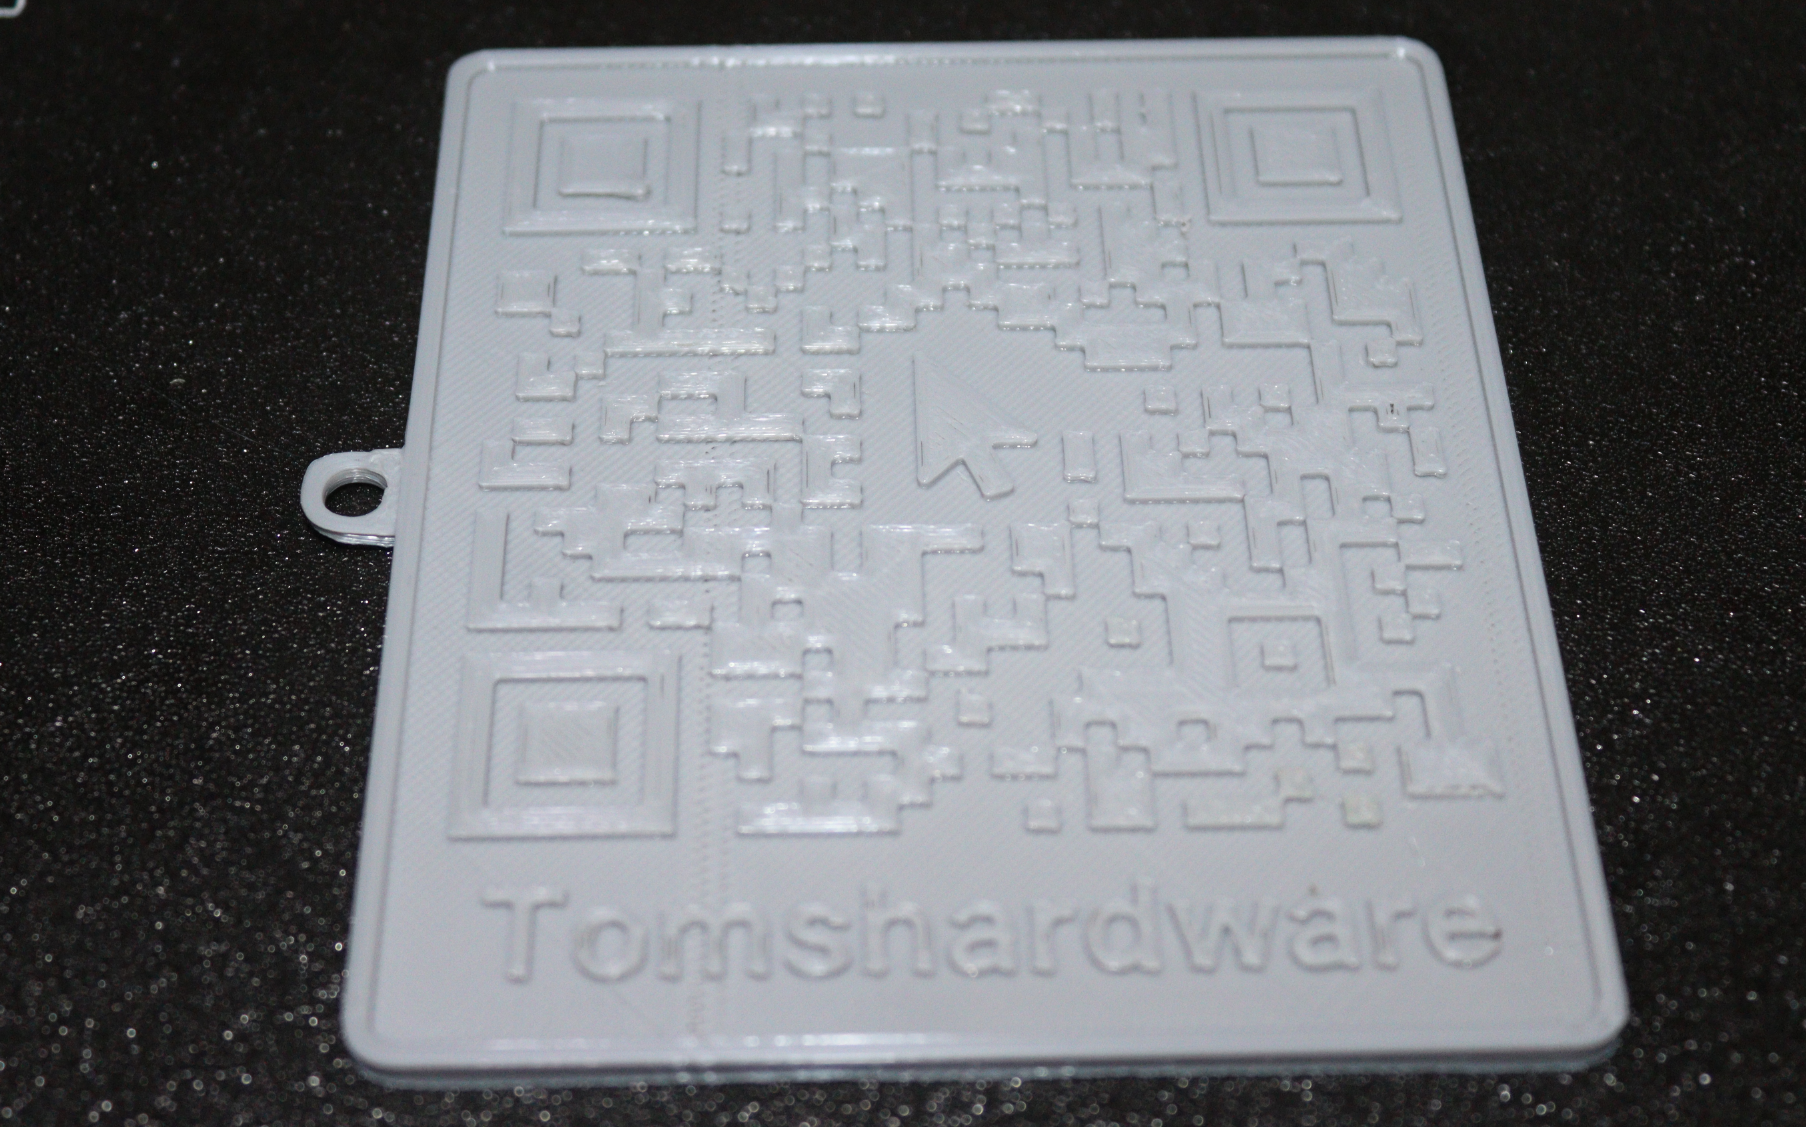
7.Export the file in STL formatandslice it. For multi-color 3D printing, you can follow the steps we highlighted above. If you don’t have a dual-extruder 3D printer, you will paint it after 3D printing, most preferably with a white filament. I imported mine to Cura, scaled it before 3D printing, and after painting, I got the design below.
Customizing QR Codes
You can find QR codes online to customize and add the necessary details before 3D printing. An example is theMakerworld QR code generator, which is meant to be 3D printed in Bambu 3D printers, but you can also download and 3D print. To use this option:
- Once you visit Makerworld website using the link above, it will launch the QR code generator, and you will need toto start customizing.
2. After signing up,Click theCustomizebutton on the bottom-right section.
- In the new window that launches,choose theQR code typeyou want to create. That is, whether Text, Wi-Fi, phone call, or vCard.
3.Click Generateto modify the QR code.
- You can alsoadjust the dimensionsand appearance of the QR code, add other options like a keyring hole or a label, and thenclickGenerate.
5.Download the filebyclickingDownload, then import it to your slicing program, and follow the steps we discussed above for dual-extruder 3D printers and swapping filament for the 3D printers that don’t support multi-color 3D printing.
After 3D printing your QR code, it’s also important to 3D print a stand if it will be placed on a flat surface like a table.
