DHCP (Dynamic Host Configuration Protocol) is one of the network protocols thatdynamically assigns IP addressesto every device in a network. This ensures that there is no IP address conflict between two or more devices and hence fewer chances of network errors.
However, if you haveinstalled multiple routers,we highly recommend disabling DHCP in one of them. After that, it’s necessary to set a static IP address, subnet mask and default gateway.
Enabling and disabling DHCP on Windows is possible from the built-in Settings, Control Panel, terminal, or even your router’s configuration interface.
How Does DHCP Work?
Before diving into the DHCP configuration, let’s get a brief insight into its working.
When a computer or any other device wants to connect to a network, it generates a request, which is picked by a DHCP server. Now, the server assigns a dynamic IP address to it and keeps monitoring its use.
Once the device is inactive, the DHCP server pulls back the IP and stores it in a pool of addresses. This will be reassigned to another device when it tries connecting to the network.
How to Enable or Disable DHCP in Windows 11
In most Windows-based PCs, theDHCP server is enabledby default. Hence, these devices obtain IP addresses automatically. But there can be times when you want to use static IP addresses for better DNS support, reliable communication, bypassing firewalls, etc. To achieve this, you’ll need to first disable the DHCP server.
From Windows Settings App
The in-built Settings app on Windows lets you set various configurations, like System, Network, Gaming, Accessibility, and many more. Likewise, enabling and disabling DHCP is also possible here.
Enable DHCP
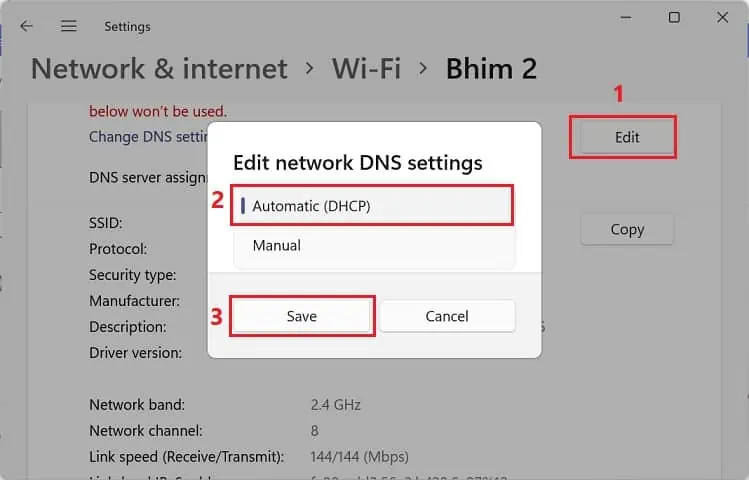
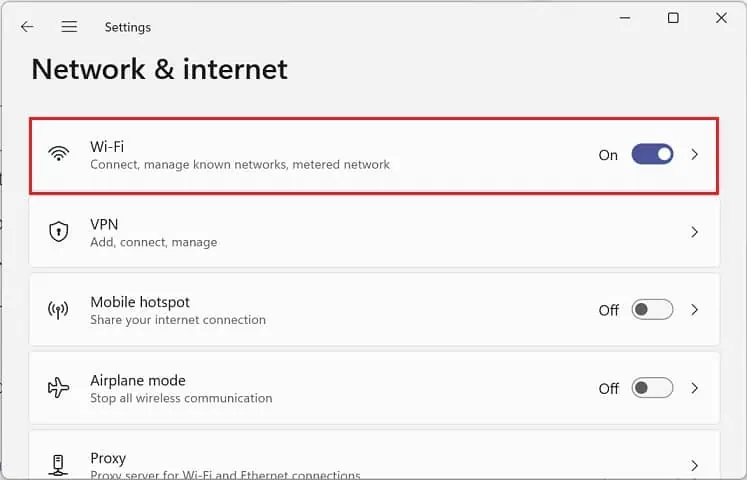
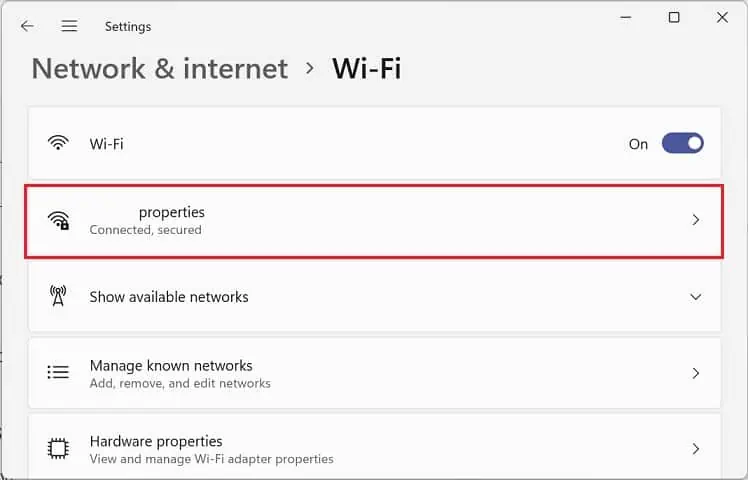
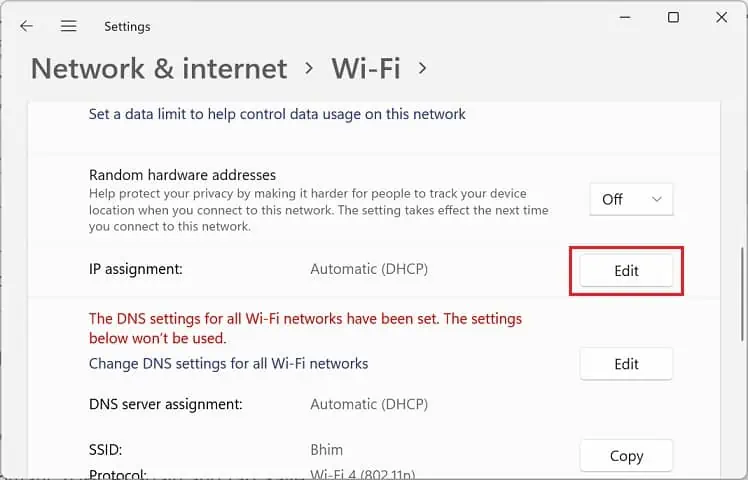
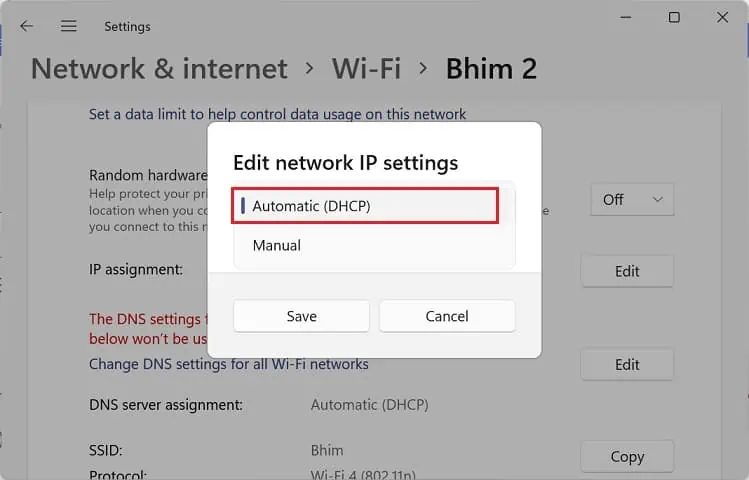
Firstly, let’s learn how to enable DHCP from theWindows 11 Settings:
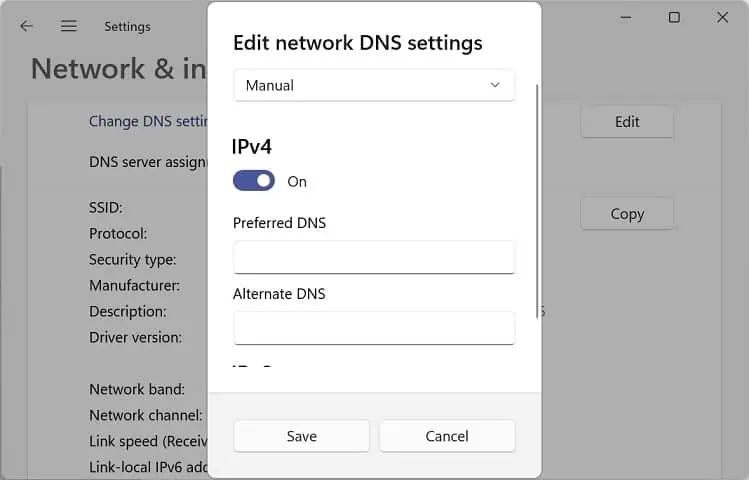
Disable DHCP
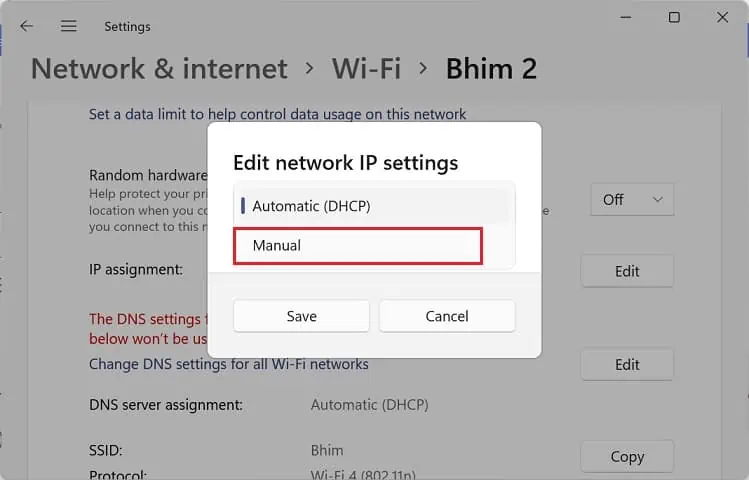
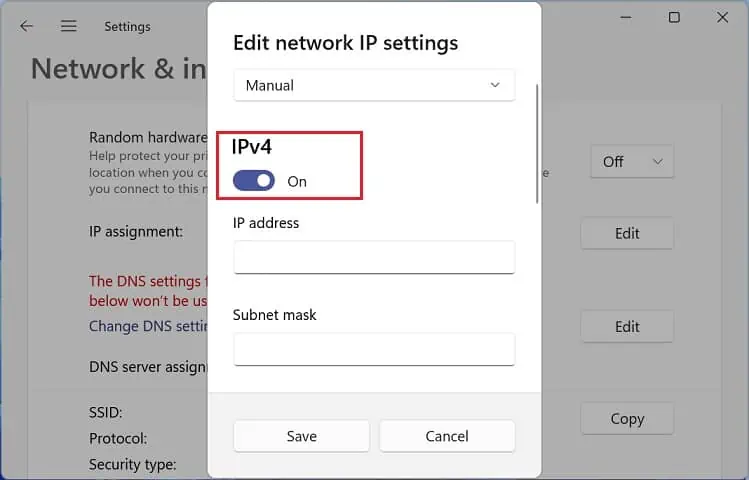
If you’re planning to set a static IP address on Windows, the first thing to do is turn off DHCP. Kindly follow the below instructions on how you’re able to do just that:
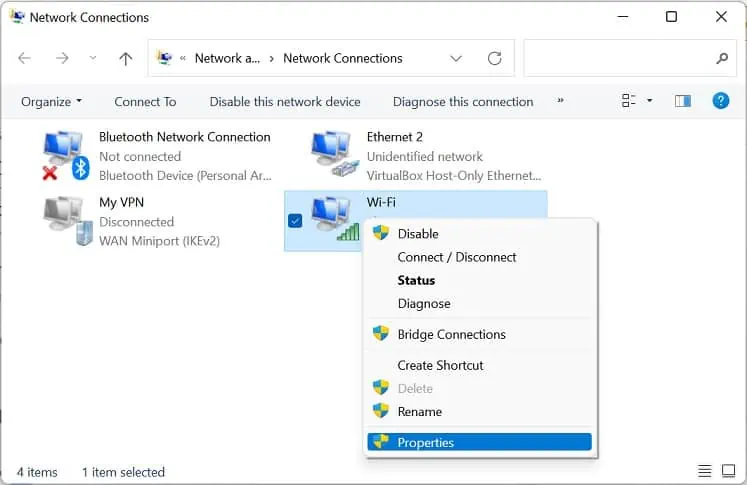
Via Network Connections
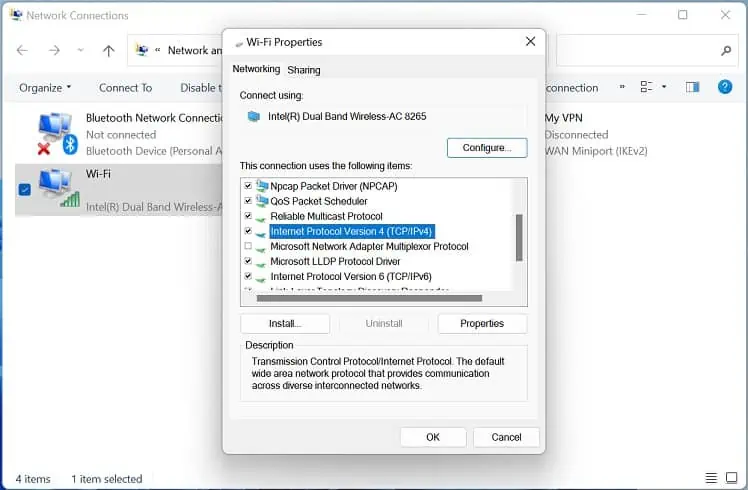
Network Connections is a dedicated section in Control Panel that lets you configure and manage all the adapters (Ethernet, Wi-Fi, Bluetooth, Virtual Private Network, Virtual Machine, etc.). In this section, you will learn how to tweak IPv4 or IPv6 to enable/disable the DHCP server.
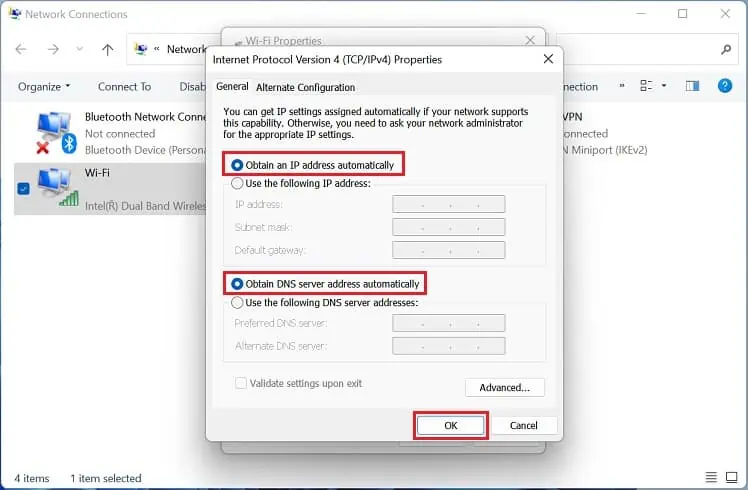
As we know, DHCP means automatically assigning the IP addresses on your computer. So, you’re able to use the Network Connections utility to configure this in order to enable DHCP:
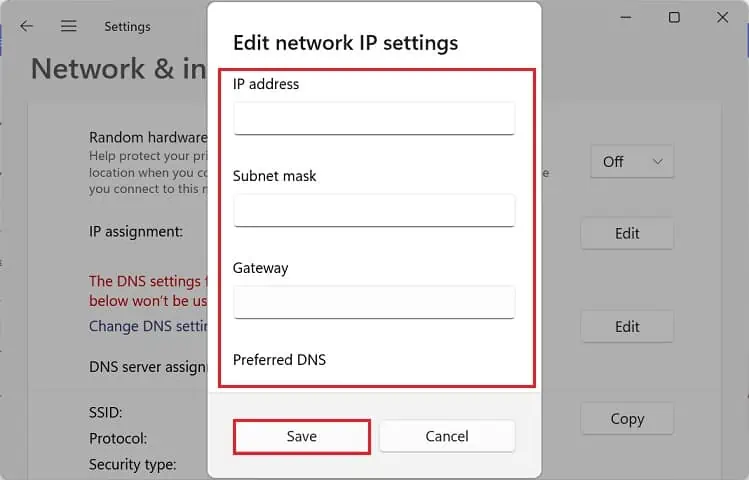
To disable DHCP on Windows, you’ll need to set your custom IP address, Subnet Mask, and Default Gateway:
In Windows Terminal
Well, it’s possible to enable/disable DHCP via the Windows terminal if you prefer CLI over GUI. Before jumping into the dedicated command lines, we suggest checking whether this is turned on or off:
If the DHCP enabled field states No, here’s how you’re able to enable it:
If the DHCP enabled field shows Yes, here’s how you can disable it:
From Router Settings
The final method to configure DHCP settings is from your router’s configuration page. Indeed, this is much more reliable and even applies to all the other devices on your network. Below are the involved steps that should help you enable/disable DHCP on any router: